Getting Started With Buckets: Overview of Amazon Simple Storage Service
This article will give an overview of S3 buckets.
What are Buckets and Objects?
Data in S3 is stored in the form of buckets. A bucket is a namespace for a singular instance of data storage. It can be a database, folder, or file. S3 allows 100 buckets initially but this limit can be increased later.
An object of a bucket is a single entity of the total data stored on the instance (bucket). For example, a folder is hosted on an S3 bucket. The folder contains 10 files. Each of these files is an object that has its own specific “Key Pair”’ value for identification and use.
Now that we are aware of what S3 is and how it works. Let us head to its use:
How to Use Amazon Simple Storage Service?
To use Simple Storage Service, an AWS account is required. So, create and set up your account first as below:
Step 1: Head to the Console and Search S3
You will also need an S3 bucket before starting this. If these prerequisites are completed then let us head to our console. Now, search S3 and the below screen shows up:
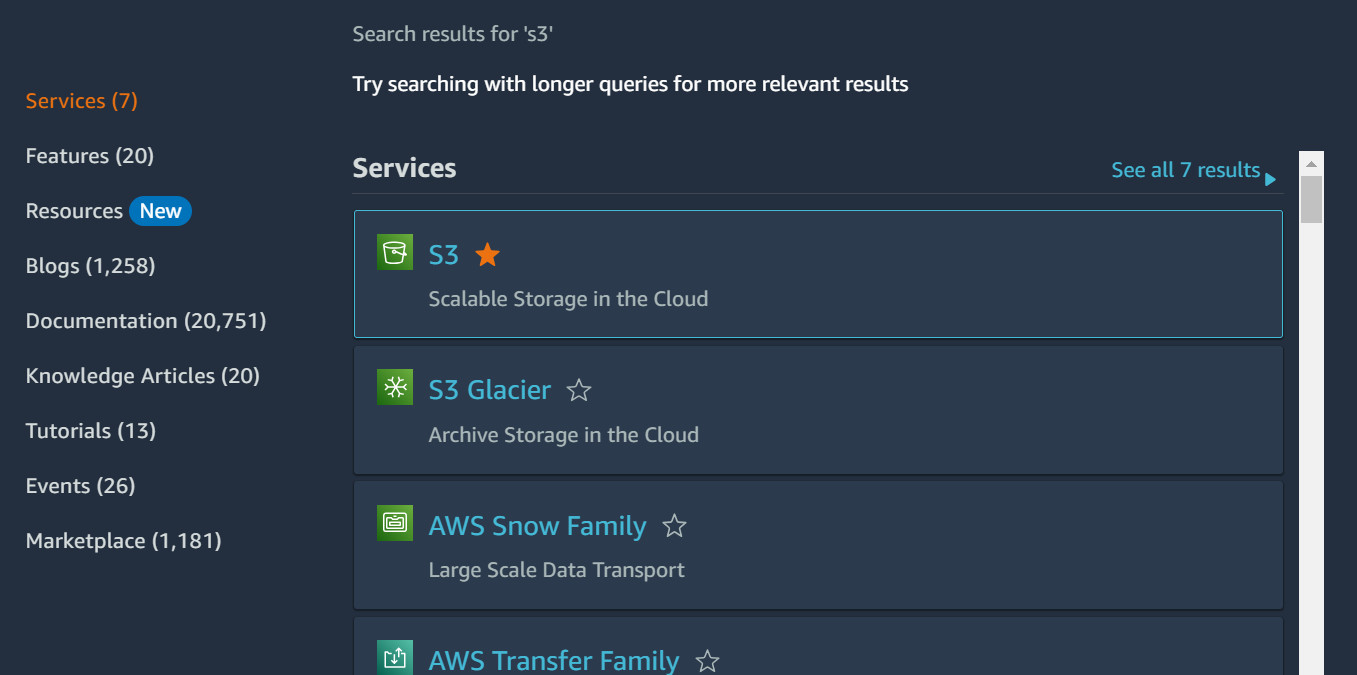
Click on S3 which pops up a new window as below screen:
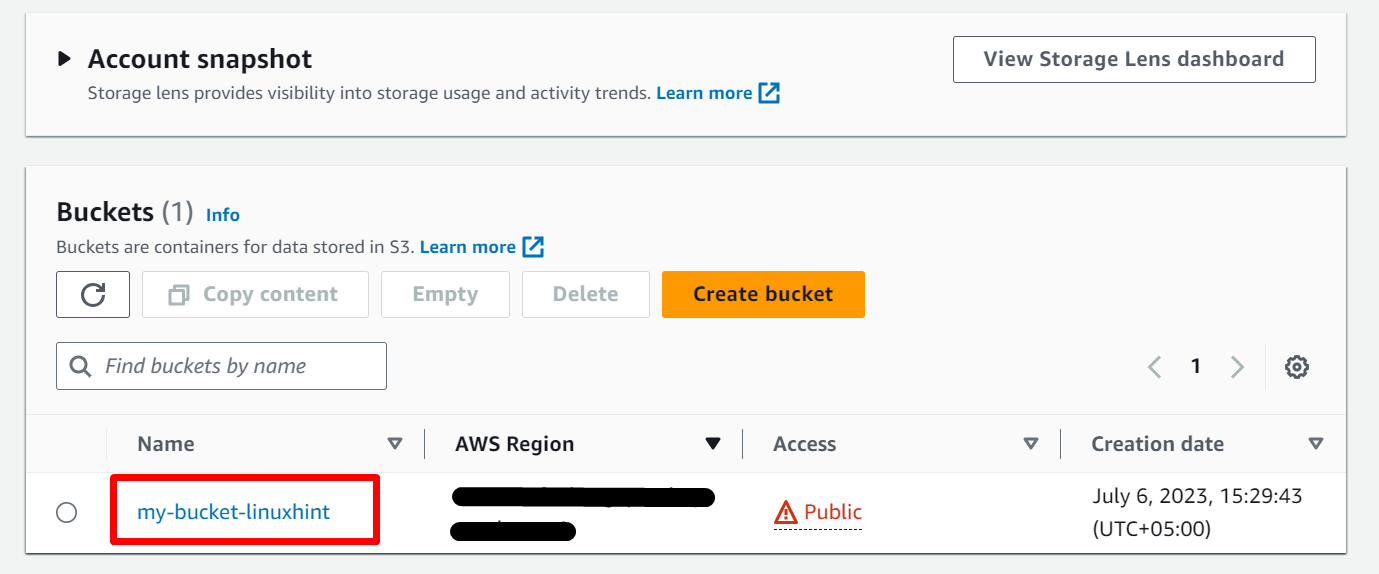
You can see there is an already created bucket called “my-bucket-linuxhint”. To set up an S3 bucket from scratch, click here our already written article.
These are some of the basic actions that we can perform using the service:
Step 2: Check Bucket Contents
Click on the bucket name to check its contents. By doing this, the following screen pops up:
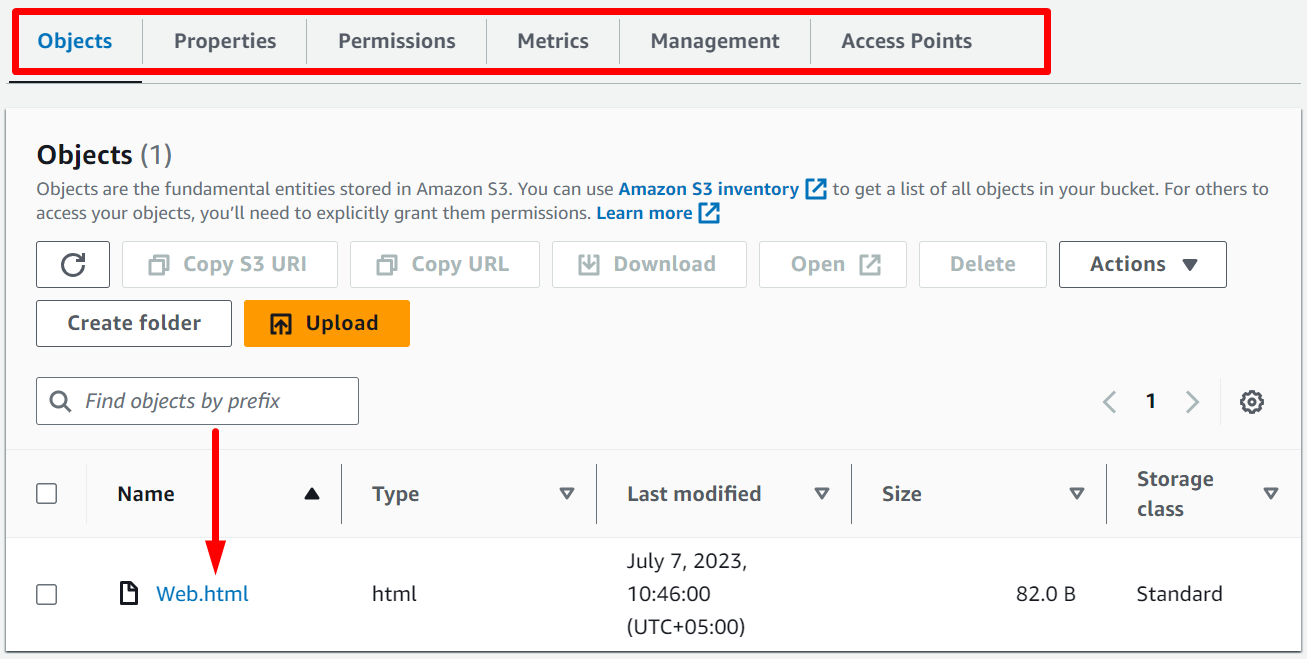
This will lead you to the contents of the bucket. “Web.html” is the only object in this bucket.
Step 3: Create a Folder
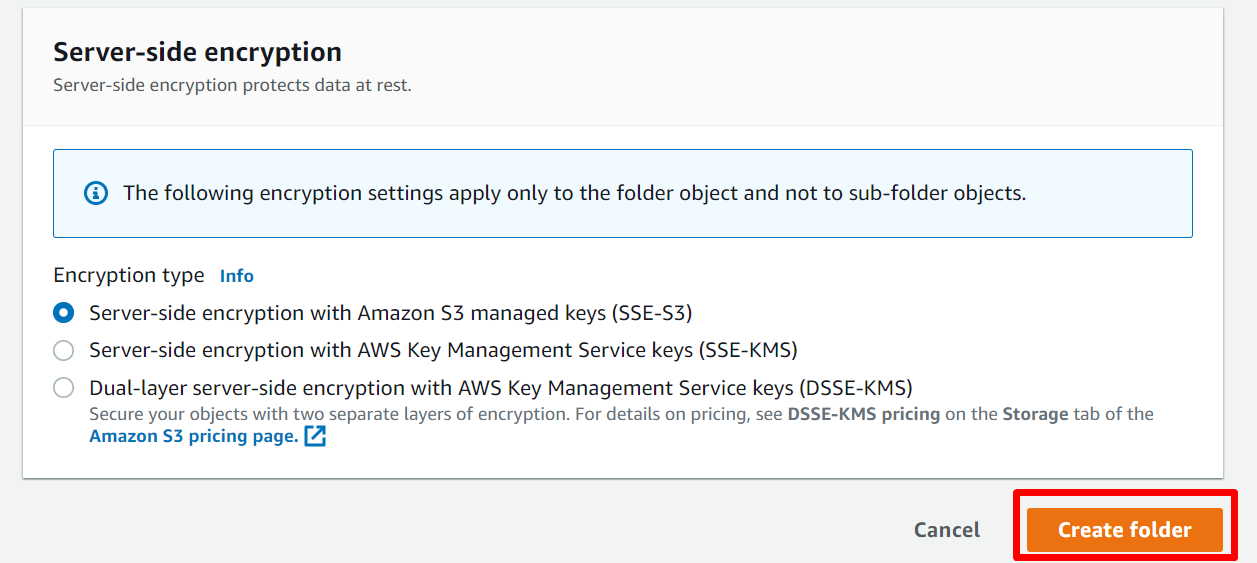
Also, there are a few other options, such as the “Create folder” and “Upload” buttons. Let us create a folder. For this, click on the option and the following screen appears:
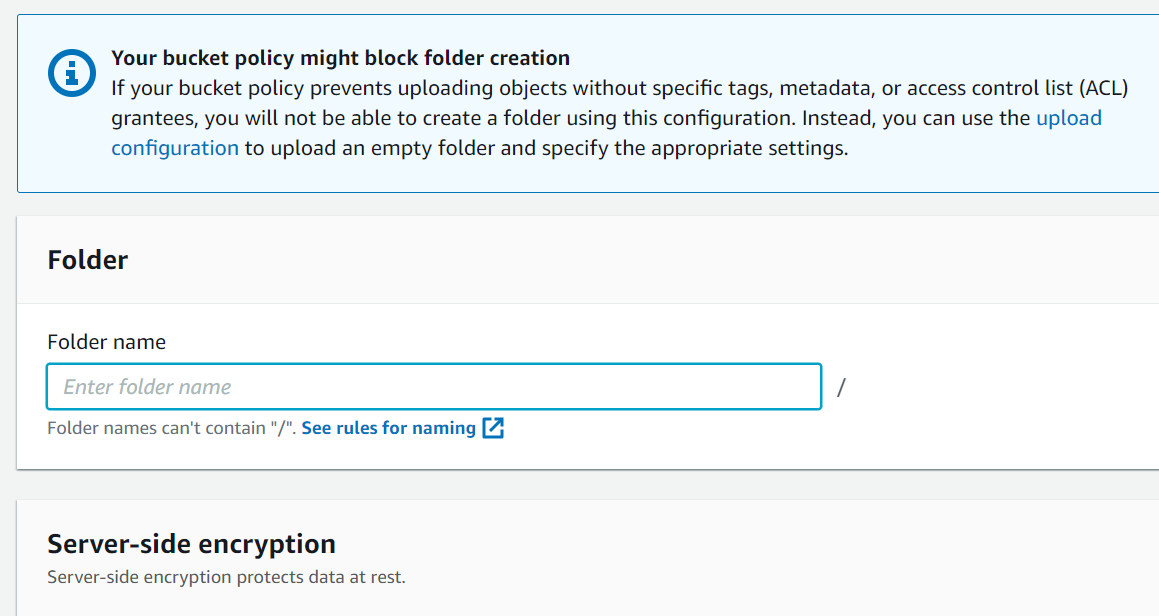
Provide the folder name and click on the “Create folder” button as shown below:
Step 4: Upload the Folder
You will see a folder in your bucket now with the provided name. Let us upload an image in our bucket now. For this, click on the “Upload” button as shown below:

The following screen pops us when we click on the “Upload” button:
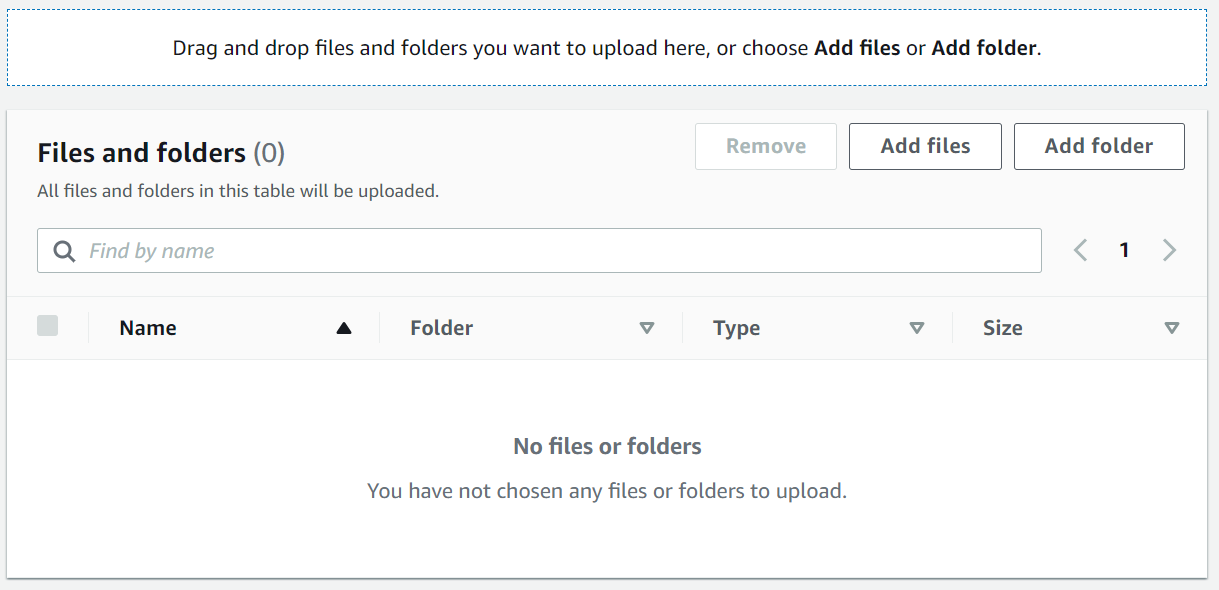
You can drag and drop as well as click on the add buttons to upload files or folders.
Step 5: Add Files
The “Add files” button allows the user to upload any file to the bucket. The below window pops up when this button is pressed:

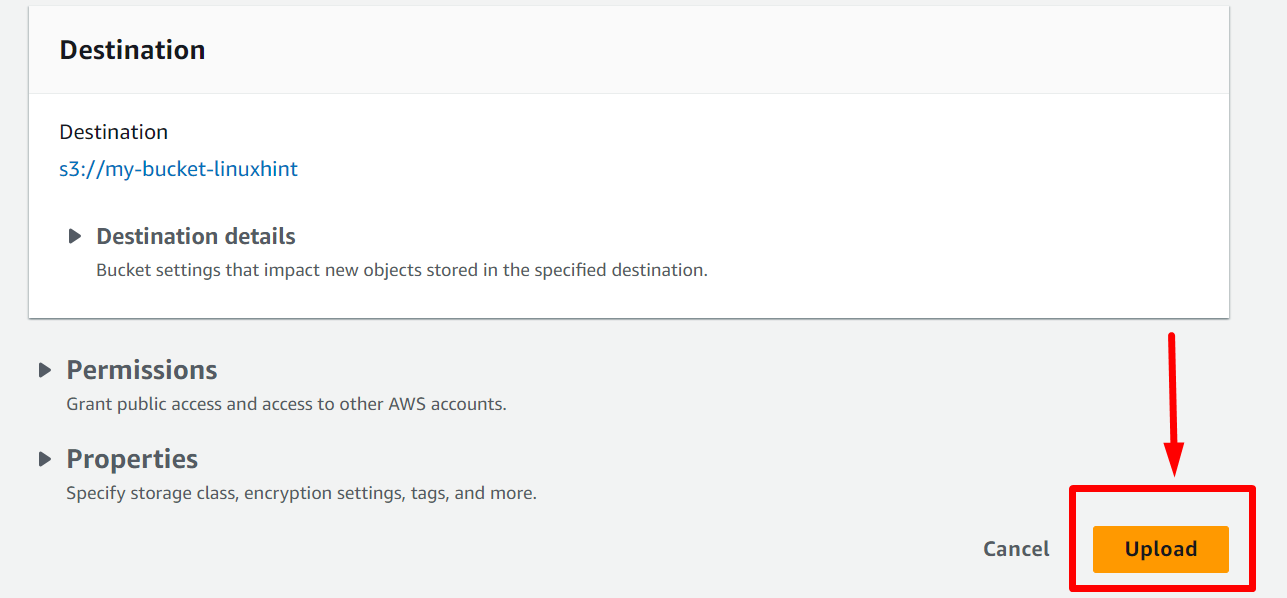
Step 6: Upload the File
Select any file and press the “Open” button. After this, click on the “Upload” button as shown in the figure below:
The following screen appears because of this action:
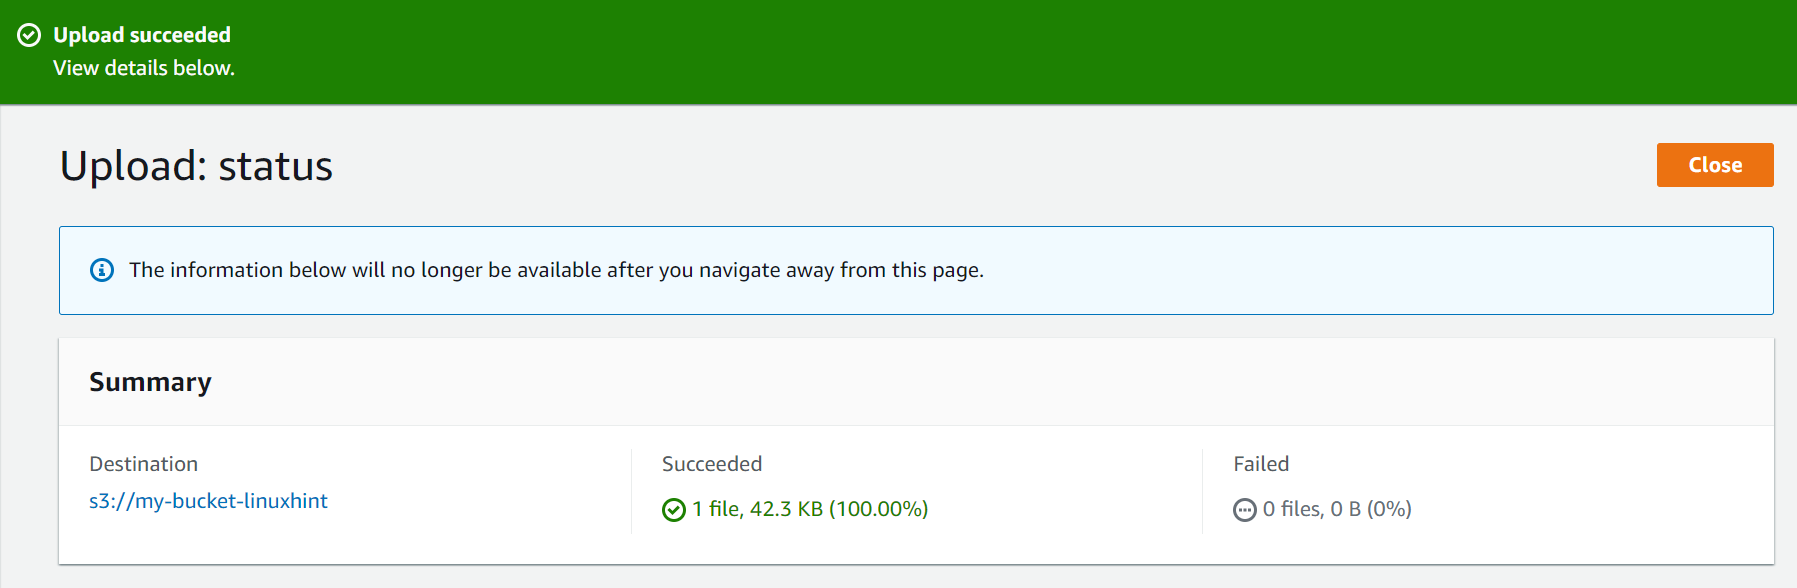
Step 7: Close the Window
Now click on the “Close” button on the right side of the screen as shown below:

Now, you will be redirected to the bucket’s contents and you will see your uploaded file here like this:
You can upload more files and folders just like this.
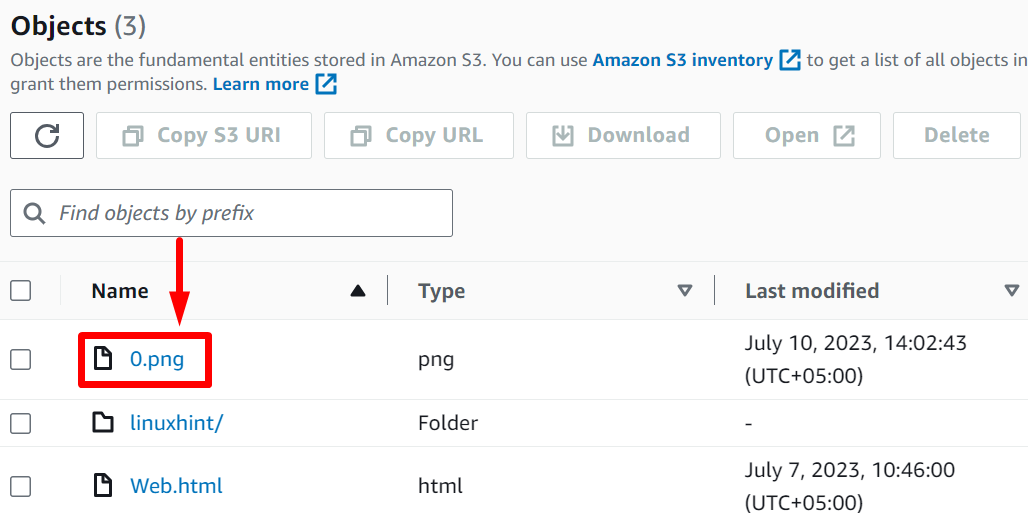
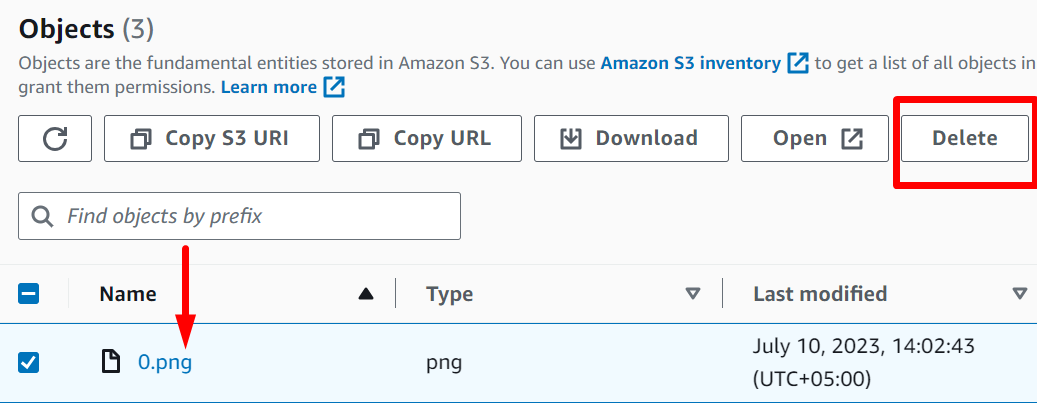
Step 8: Delete Objects
Similarly, you can also select files and folders and click on the “Delete” button to delete your files and folders. For instance, select any file and click on the “Delete” button:
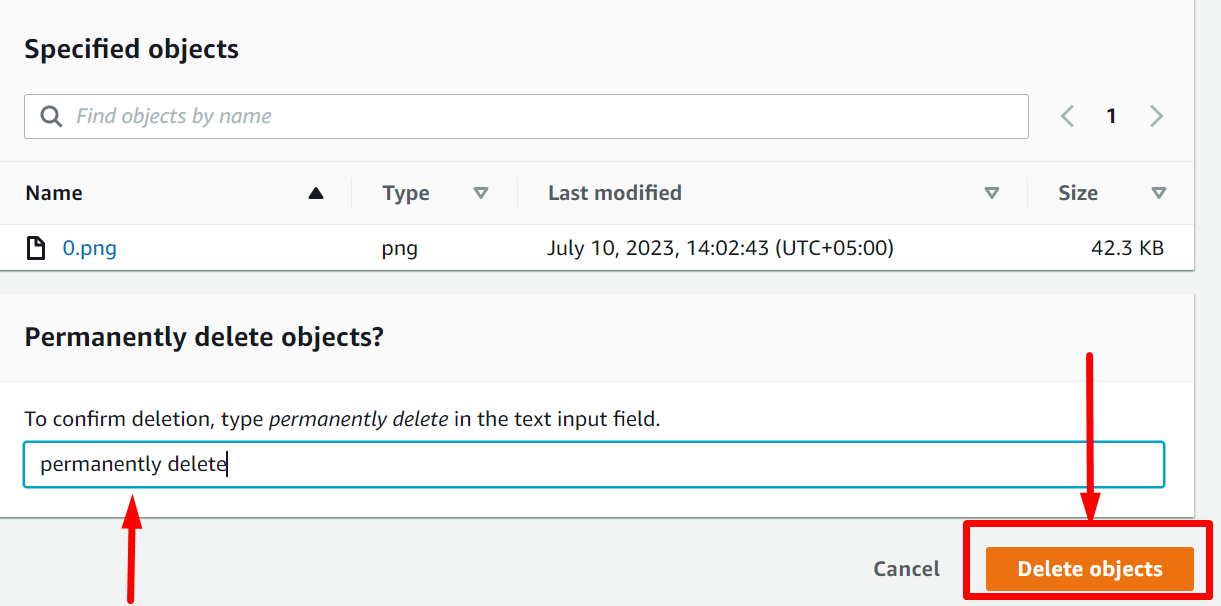
Now, type “permanently delete” and click on the “Delete objects” button as shown below:
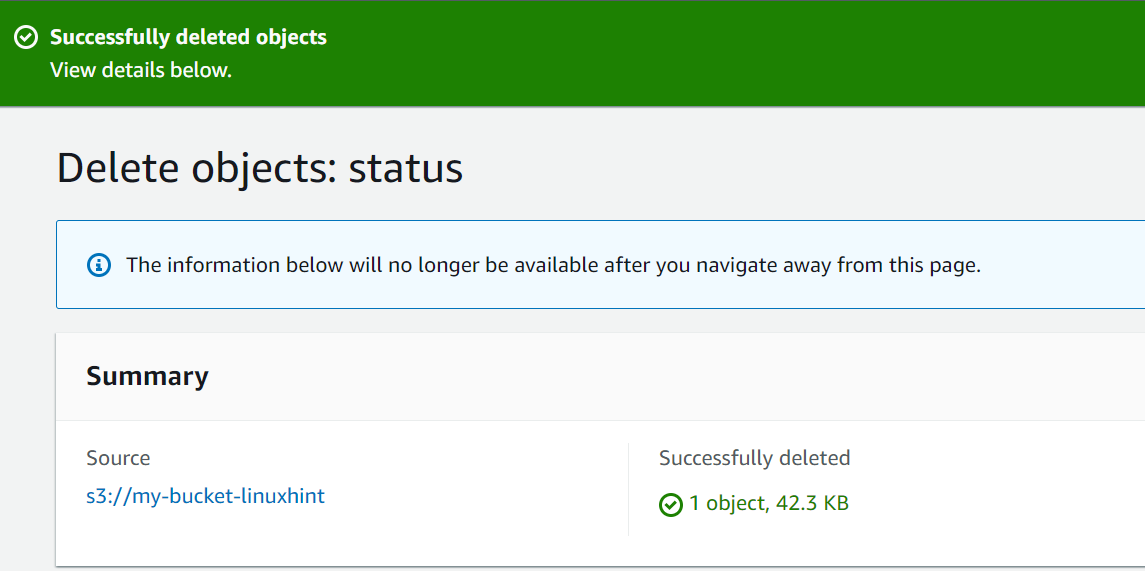
The following screen appears as a result:
This was a basic overview of the S3 bucket where we learned how to upload and delete objects.
Conclusion
S3 is a cloud service that serves the purpose of a storage service. The contents of a single bucket are called objects. Every object has a specific value for identification called a “Key Pair”. The buckets can be configured and manipulated to user requirements. This article has explained the Amazon S3 bucket in detail.
Source: linuxhint.com