Form Inside a Table-HTML
This post explains the method for creating a form inside the table.
How to Create a Form Inside a Table?
You can create a table using the “<table>” tag, then define table rows with the help of “<tr>” and use “<td>” to add data inside the table. In the middle of the “<td>” tag, utilize the “<form>” element for creating a form in the table.
To create a form inside a table, follow the given instructions.
Step 1: Make a div Container
Initially, make a div container by using the “<div>” tag. Also, add an “id” attribute and specify a name to the id for identification.
Step 2: Design a Table
Next, design a table using the “<table>” tag. Then, define the table rows and table data inside the table. To do so, follow the stated steps:
- “<tr>” is used to insert the table rows inside the table.
- “<td>” is deployed for putting the data inside the table rows.
Step 3: Create Form
Next, inside the “<td>” opening and closing tag, create a form with the help of the “<form>” element and define the following element in the form:
- “<label>” element specifies the label for a field in a user interface.
- “<input>” is used for making effective controls for web-based forms to accept user data. To do so, add “type” and “placeholder” attributes.
- “type” attribute determines the stated type of the defined input.
- “placeholder” attribute is utilized to add the value in the form field to display:
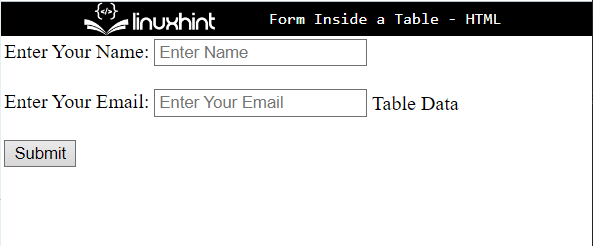
Output
Step 5: Style the div Container
Access the div container with the help of the “id” selector and the value of the “id” as “#main-table”. Then, apply the below-mentioned CSS properties in the code block:
border: 4px solid rgb(35, 238, 8);
color: rgb(29, 7, 230);
background-color: rgb(248, 233, 192);
padding: 30px;
margin: 20px 40px;
}
In the above code snippet:
- “border” is used to define a boundary around the element in an HTML page.
- “color” specifies the color of the text inside the element.
- “background-color” is utilized for allocating the color at the backside of the defined element.
- “padding” adds space around the element inside the defined boundary.
- “margin” determines the space outside of the defined border.
Output

Step 6: Apply Styling on Table data
Access the table data with the help of its name and apply styling according to your preferences:
border: 3px groove rgb(15, 11, 252);
}
To do so, the “border” is defined around the table data.
As you can see that the border has been added successfully outside of the table data:

Step 7: Style Form
Now, access the form and apply the CSS properties according to your choice:
background-color: rgb(140, 140, 245);
}
As, we have applied the “background-color” property to specify the color at the backside of the form element:

That’s all about creating the form inside the table.
Conclusion
To create a form inside the table, first, create a table with the help of the “<table>” tag. Then, add rows by using the “<tr>” and data with the “<td>” element. After that, in between the “<td>” element, create a form by utilizing the <form> element and add attributes according to your preferences. This post has explained the method for creating a form inside a table.
Source: linuxhint.com