ffprobe Linux Command Example Usage
You can use ffprobe as a standalone application or with a different textual filter to perform advanced processing, such as plotting and statistical processing.
You can use ffprobe with different options. In this article, you will learn some of the common usage examples of the ffprobe to enhance your video analysis and information extraction skills. Let’s get started!”
Getting Started With ffprobe
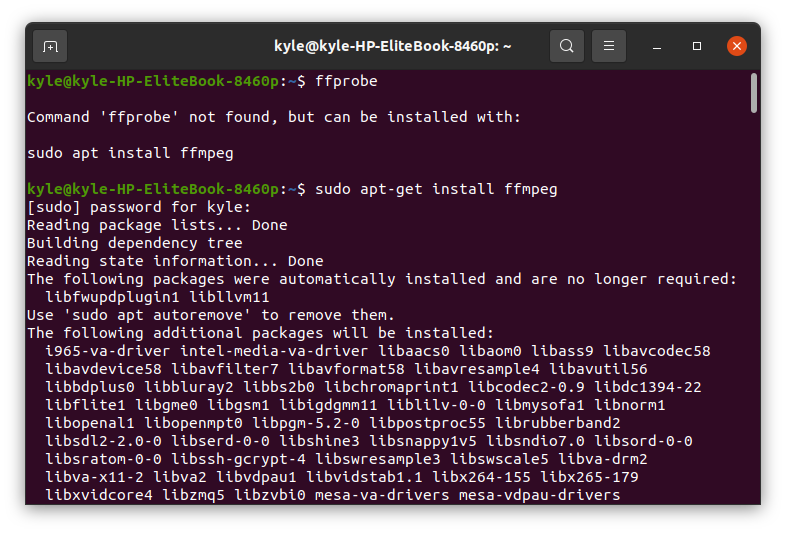
You can install ffprobe using the package manager on your Linux. You need to install ffmpeg, which in turn installs the ffprobe using the command below:
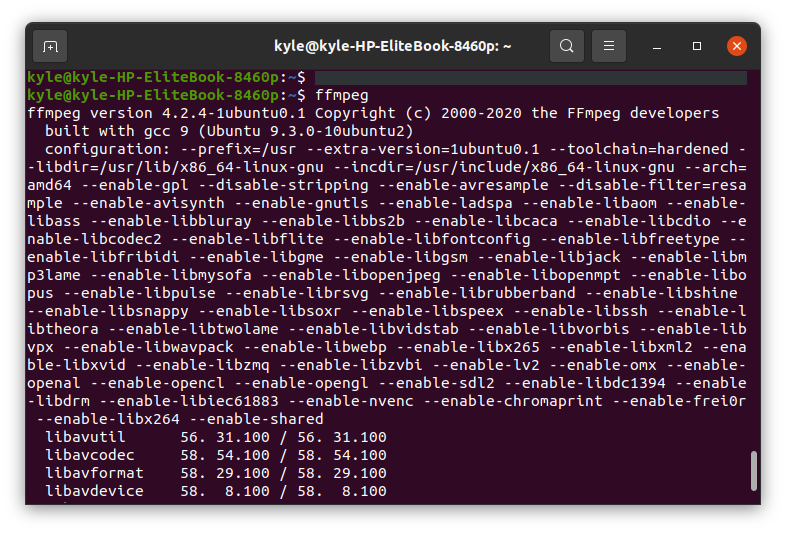
To verify the installation, type the ffmpeg command on the terminal. It should display the configuration and version of the installed ffmpeg.
Basic Usage Examples of ffprobe
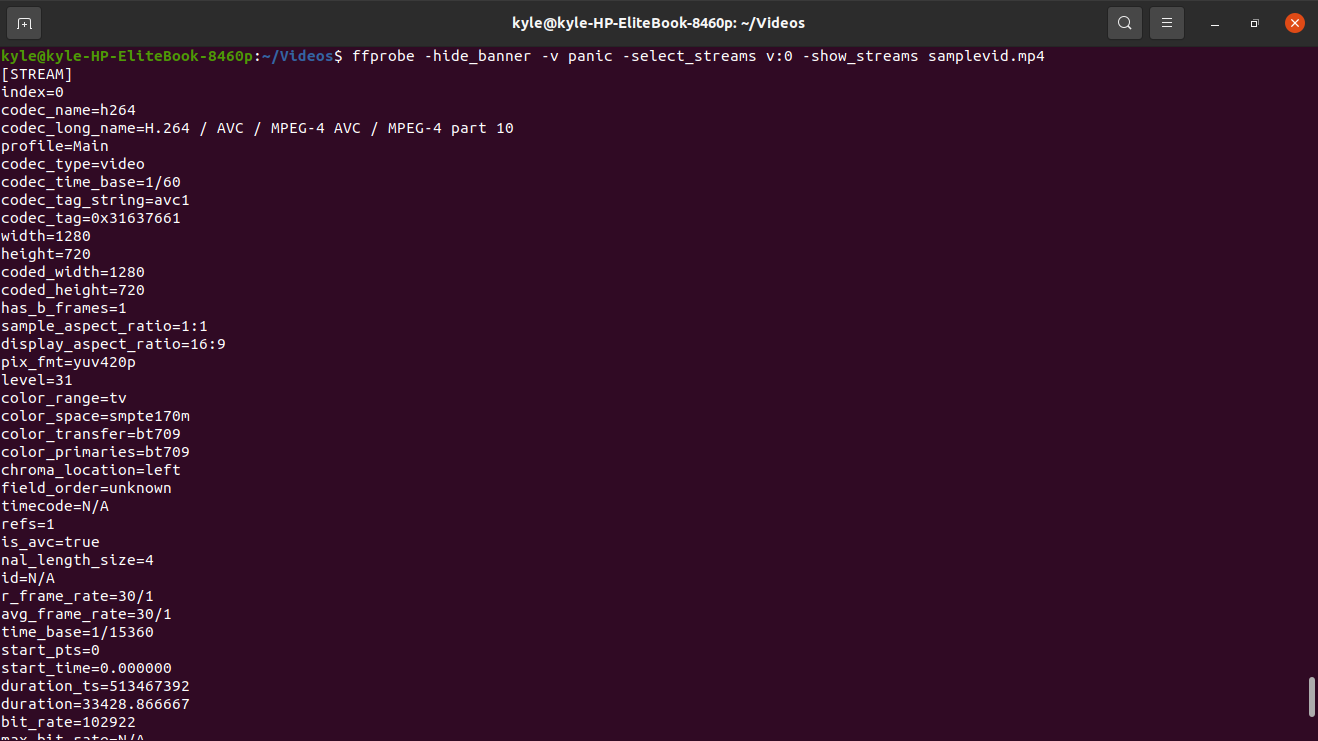
1. Get File Properties
You can use the ffprobe with the multimedia file to retrieve all its details. In this example, we will use a downloaded video, samplevid.mp4, located in our Videos directory.
The command will be:
The displayed output is:

You can notice that the output has too much “noise”. You can filter the information and hide the banner to only display the needed information using the -hide_banner option
The output without the banner will look like the one below.

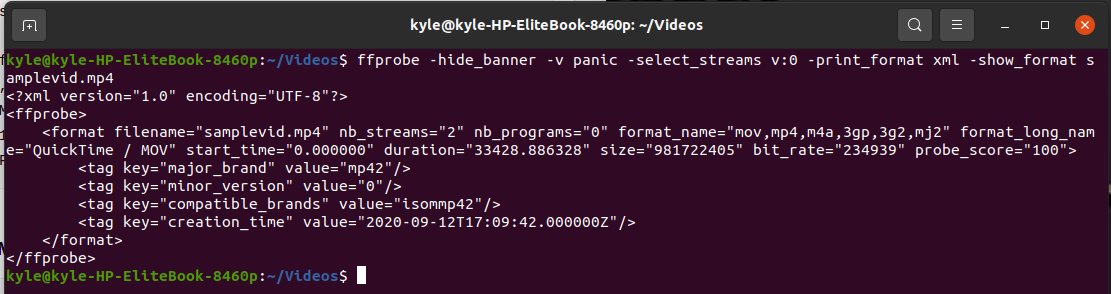
Key details from the output include:
- Our samplevid.mp4 is using the format “mov,mp4,m4a,3gp,3g2,mj2”.
- You can also see the date and time the file was created, 2020-09-12.
- The duration represents the length of the video file and its corresponding bitrate of 234 kb/s
- We can also note that the multimedia file has two streams, video and audio.
2. ffprobe Stream Specifiers
Most multimedia files contain audio and video streams, and some even in multiple languages. Using the ffprobe, you can choose only to inspect a specific stream.
When you print the output of the video file, it displays the two streams. Stream #0:0 represents the video stream, and Stream #0:1 represents the audio stream.
In ffprobe, to specify which stream to use, the select_streams option is added. Use ‘v’ or ‘V’ to choose a video and ‘a’ to choose audio. For the subtitle, use ‘s’.
In our case, to inspect the audio stream and get its bit rate, use the command:
The -v panic or -v error help to reduce the displayed output.

To inspect the video stream, replace the a with v as shown below:

3. Hide the [STREAM] and [/STREAM] in Stream Specifiers
To get rid of the annoying wrappers surrounding the results of the stream specifiers, you need to add –of noprint_wrappers=1
The previous command to display the audio stream can be rewritten as:
The new output will be:

4. Get Information for Each Stream
If you need to access information of all the streams of the given multimedia file, use the -show_streams specifier.
You can view many details from the output, including size, profile, pixel format, bitrate, frame rate, height, etc.
5. Get Details of the Container Format
To get the details of the container-format, use the -show_format
The details of the container, including the bitrate, size, and tags, will be displayed as shown:

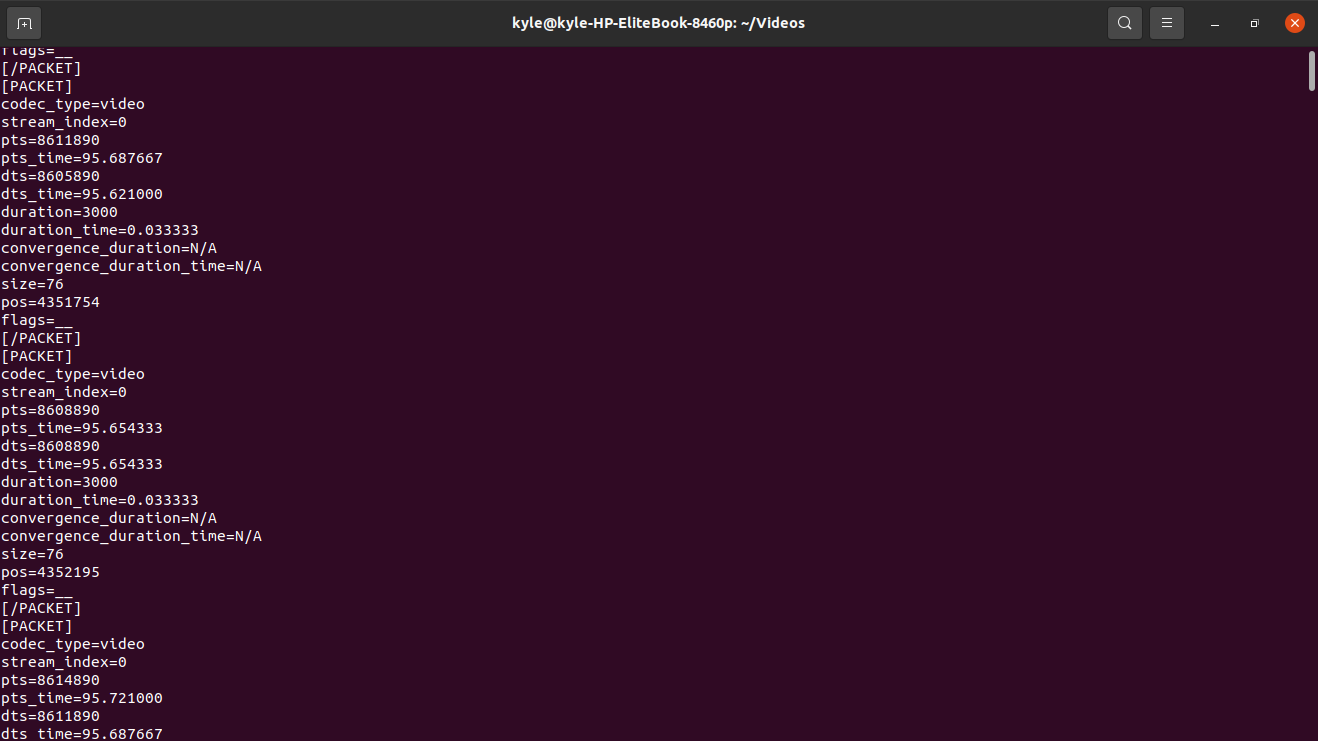
6. Get Information on Each Packet
For a video file, you can get the details of every packet using the -show_packets specifier.
The output displays size, duration, and convergence details, enclosed between the [PACKET] [/PACKET].
7. Get Details of Each Frame
A video has many frames, and we can extract the information of the frames, such as height, picture type, timestamps, and color space, using the show_frames. The frame has tons of information, but they are helpful.
The output of each frame will get enclosed within the [FRAME] and [/FRAME]

8. ffprobe Output Format
Luckily, ffprobe allows you to choose the desired output format, such as CSV, JSON, and XML formats, using the -print_format <format>
We can easily choose which format to display the output using the above examples. For instance, to show the format of the container in different formats, see the examples below.
To Use CSV:

To use JSON:
 To use XML:
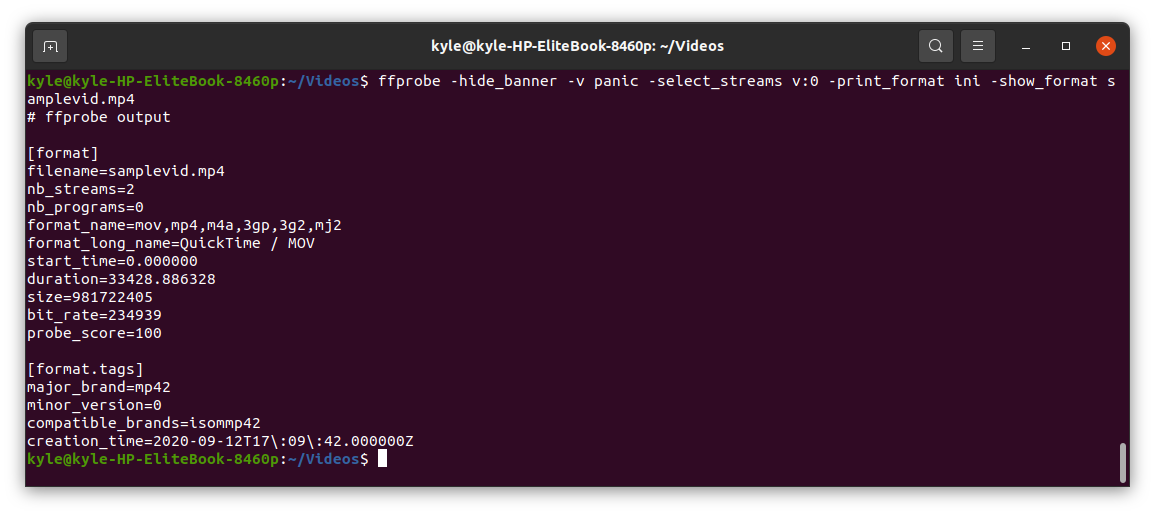
To use ini:
9. Extracting Specific Details From Streams
With ffprobe, it’s possible to fetch specific details such as width, height, PTS (Picture Timestamp), duration, etc.
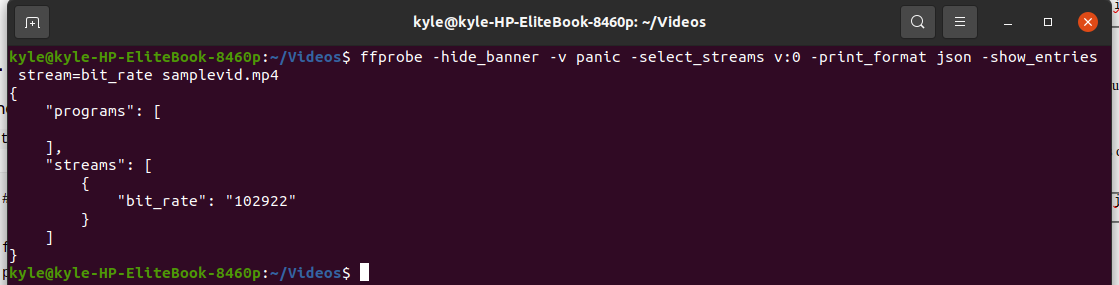
To get the bitrate
The video’s bitrate can be extracted using the stream=bit_rate specifier. In this case, we will print in JSON format.
To get the picture type
Each frame has a different picture type. You can display the picture type in any format using the frame=pict_type specifier. We will show the picture type in a flat format using the command below.

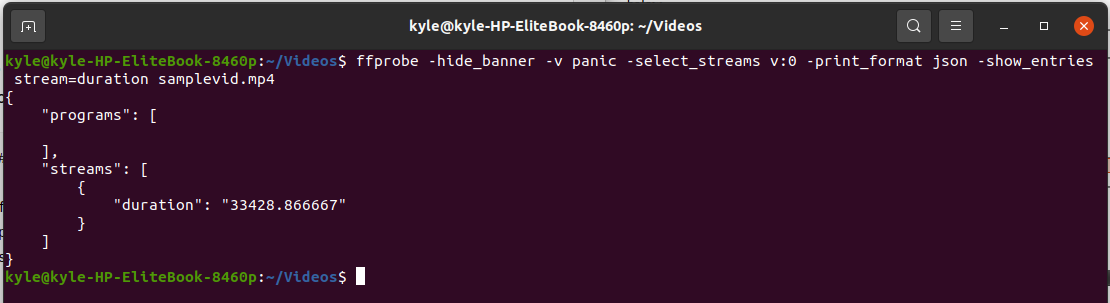
To get the duration of the video
For this, use the stream=duration specifier as below to get the duration in JSON.
To get the Width and Height
Using ffprobe, you can extract the width and height of the video in any format as shown.
Use the stream=width,height specifier.

To get the PTS
The packet=pts_time specifier will get all the PTS of all packets.
 Conclusion
The ffprobe is a powerful Linux utility tool, and what we’ve covered here is just a scratch of the surface. There are plenty of specifiers you can combine with ffprobe to achieve functionality. However, we’ve touched the common once, but you can check the ffprobe documentation to understand it more. Have fun with ffprobe!
Source: linuxhint.com