FFMPEG Images To Video Tutorial
FFMpeg is open-source software that consists of sets of libraries and programs to handle the videos, audio, and other multimedia items and files. This set of programs is called a suite. It is a command line tool that is designed to process the audio and videos. It has a variety of uses; some of those uses include extracting the pictures from a video, creating videos with the help of images, adding subtitles or text to videos, compressing a video or image, removing any audio from a video, adding audio to a video, cutting parts of a video, etc. FFmpeg also comes with sets of tools such as “ffplay” which is a media player and “ffprobe” which is a command-line based tool to display the information of a media. A very famous media play called “VLC Player” uses the libraries of FFmpeg. Its libraries are also used by famous websites such as “YouTube” and “Bili Bili”.
To create a video from the images, we simply have to integrate all those images and play them. The actual videos are a series of integrated images. Those images are played at such speed that it becomes a sort of optical illusion.
It is not difficult to add images to a video because they are a collection of images. Videos are a suite of still images that change quickly and seem like continuously played videos. Same as this, we can also extract a single image from the video which is also known as a frame. Generally, the videos may have 30 frames per second which is the same as 1,800 frames per minute. The frame rate refers to how many images are displayed each second.
Installing FFmpeg on Linux
FFmpeg is preinstalled in some operating systems such as Ubuntu. But in others, you have to install it by yourself. Let’s first determine whether FFmpeg is already installed in our machine. To do this, use the following command:
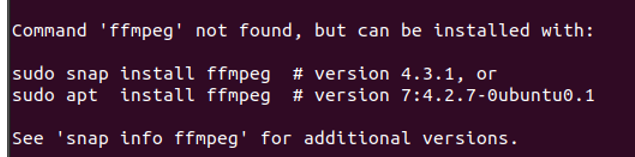
This command gives you a version number. You are not required to install a software if it has a version number because it is already installed. You must first install the software if there is no version number. To install the software, you can visit their website. After running the previous command, we get the following error which shows that there is no FFmpeg installed in our system. Now, it’s time to install the FFmpeg.
To install the FFmpeg, we first update the version of our system. To do that, we execute the following update command:
After executing the previous command, it starts fetching the updates after the completion of getting all updated packages. It will ask you to enter the password to verify whether you are the superuser or not. When you enter the password, it starts updating all the packages as seen in the following snippet:
Reading package lists… Done
Building dependency tree
Reading state information… Done
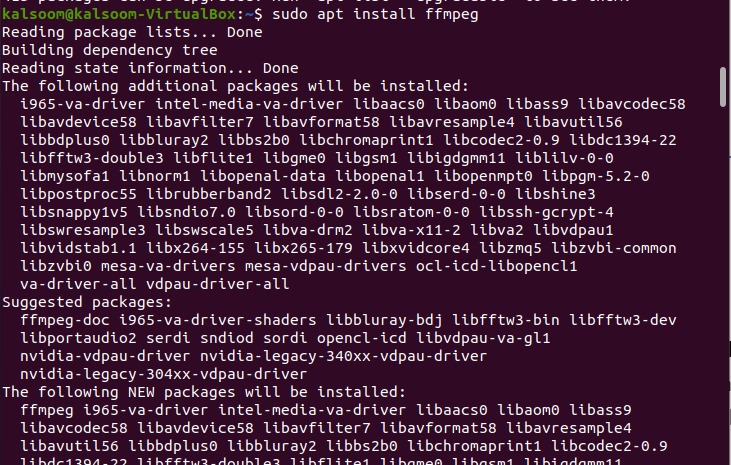
Now, it’s time to install the FFmpeg. To do this, we run the following command:
The installation of FFmpeg starts downloading the packages when we run the previous command. It takes a while to complete. Unless it is installed, make sure you are connected to a high-speed Wifi. The following figure shows the installation of the FFmpeg software:
Now, let us check whether our software is installed in our system or not. For that, we run the version command for FFmpeg. If it doesn’t exist, it displays the “FFmpeg not found” error. If it is successfully installed, it displays the version details of FFmpeg. To do that, we execute the following instruction:
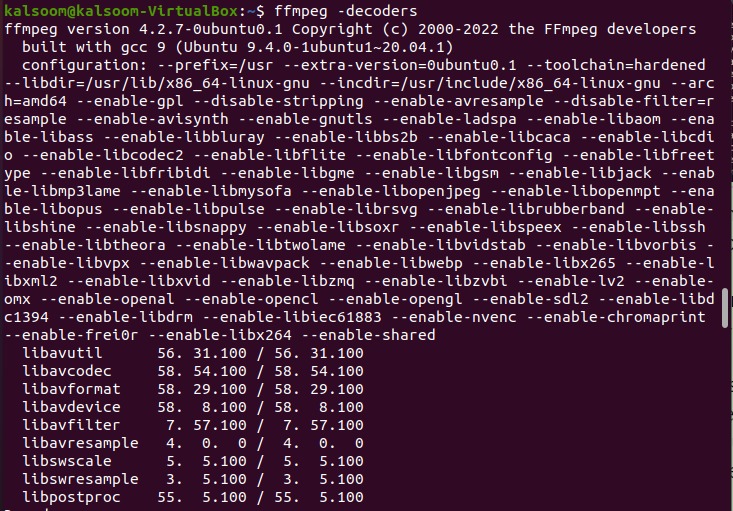
Executing the aforementioned command results in the following output which includes all of the details:
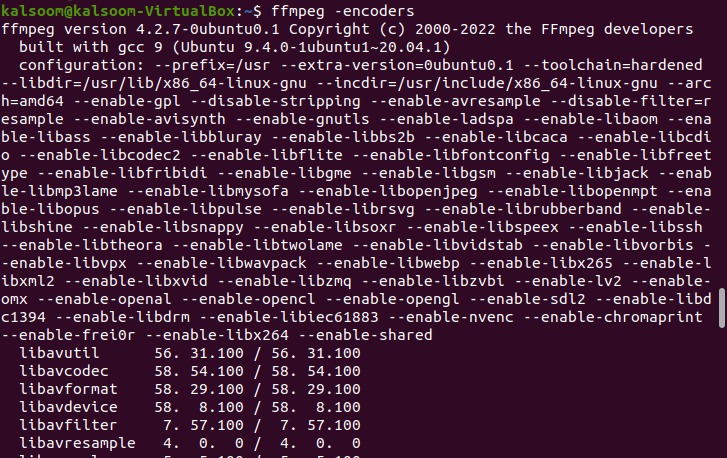
Now, we check the encoder and decoder. For this, the following command is executed:
kalsoom@linux-VirtualBox:~$ ffmpeg –decoder
When we try to run the previous commands, it starts the installation of the encoder and decoder for FFmpeg as displayed in the following:
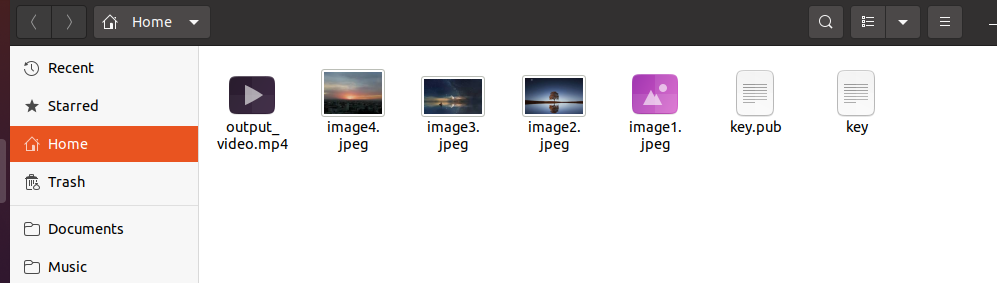
The first step in creating a video from a series of images is to create the images. The images should be saved in a directory that is easy to access. Following the completion of the photos, the video is generated using the FFmpeg command. The following command can be used to make a video out of a collection of images:
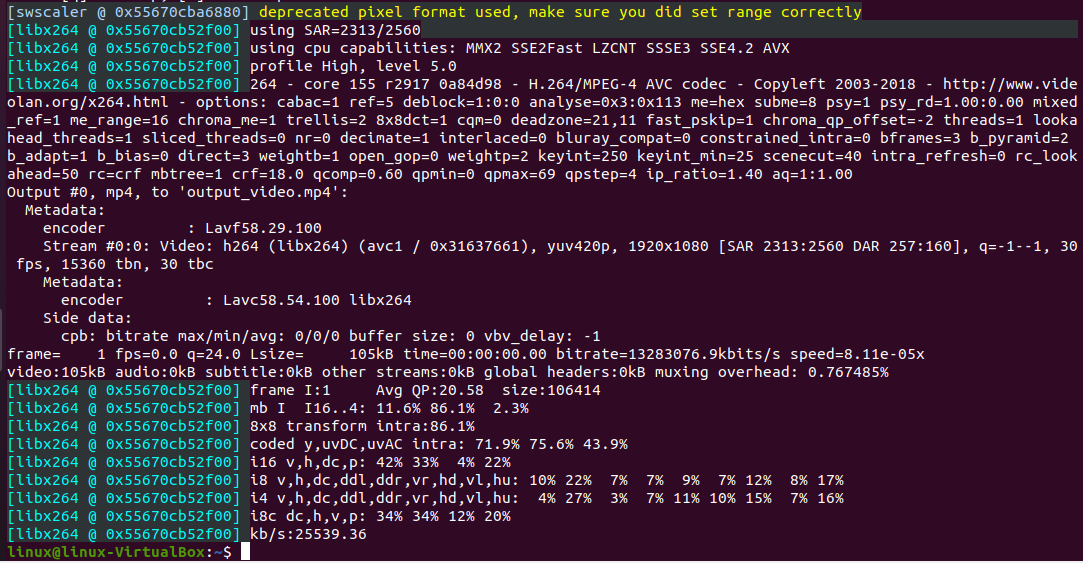
This command takes 10 images and creates a video with a resolution of 1920×1080 using the libx264 codec at a frame rate of 30 frames per second. It is saved as a “video.mp4” output after being created. The -vf scale parameter sets the resolution of the video. If a different resolution is desired, this parameter can be changed. The -c:v libx264 parameter sets the codec to be used. The -preset slow parameter sets the encoding speed with slower speeds resulting in better quality. The -crf 18 parameter sets the video quality with lower numbers resulting in higher quality.
The -pix_fmt yuv420p parameter sets the pixel format to be used. The -r 30 parameter sets the frame rate of the video. If a different frame rate is desired, this parameter can be changed. Once the command is executed, FFmpeg begins creating the video. Depending on the size of the photos and the computer’s speed, this process could take a few minutes or several hours. Any video player can be used to see the finished product once it is generated. Aside from those two options, it can also be used in a variety of different ways or can be published online.
Conclusion
We discussed how to use the FFmpeg open-source multimedia framework to create a video from a series of images. After explaining the installation process of FFmpeg, we implemented an example to explain the method of converting multiple images to a video. We tried our best to explain the methodology.
Source: linuxhint.com