Expose Kubernetes Service to an external IP address
Prerequisites:
You need the following tools installed and properly configured in your system before you begin forward:
- Kubectl command line tool
- Kubernetes cluster
- Minikube cluster
- Ubuntu 22.04 or another later version installed
- Cloud providers like amazon web services, etc
Once you have these tools installed, you are ready to expose a Kubernetes service to an external IP address.
How Can I Make a Kubernetes Service Accessible to External IP Addresses?
Here is a step-by-step guide to exposing a Kubernetes service to an external IP address.
Step # 1: Start Minikube
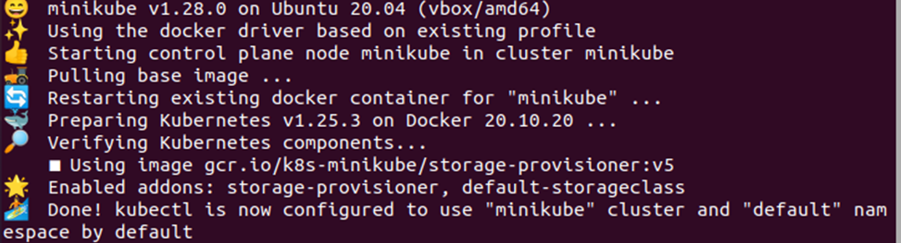
Let us start with initiating the minikube cluster. It is important to start the minikube cluster every time you need to configure something or run your applications in your Kubernetes environment. Starting the minikube cluster properly ensures that the minikube cluster is up and running and ready to execute your application. Therefore, just use the command shown below to launch the minikube cluster:
Step # 2: Create a Deployment
In this guide, we are exposing Kubernetes service to an external IP address by using a deployment. We have the configuration defined in the load-balancer-example.yaml file which we will use to create a deployment in the cluster. To create the deployment, we will execute the following command:

As shown, a deployment entitled hello-world was successfully generated.
Step # 3: Verify the Deployment
Now, let us check what kind of deployment has been created and its associated details. To verify the deployment, the command given below will be used:
This command will display the details of the deployment, see the output below:

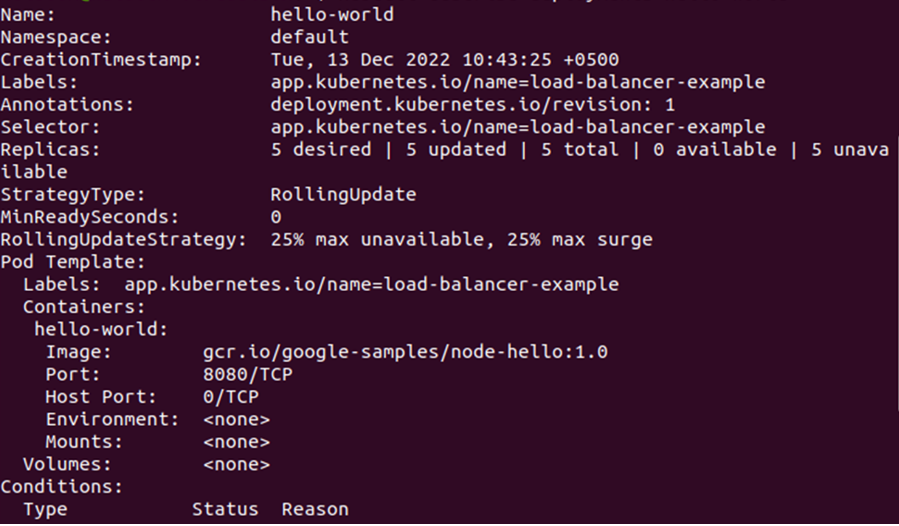
As shown, the deployment hello-world has been created with a replica set containing five pods. Each of the five pods will run the hello-world application. However, this command has shown a brief detail of the deployment, if you want to check more details of the deployment, you can use the following command:
The ‘kubectl describe’ command provides an in-detail description of the deployment which helps you know more about the deployment. Refer to the output given below to get a detailed description of the deployment:
Step # 4: Verify the Replicasets Objects
As we know, the deployment has been created with a replicaset object. So, let us check the details of those objects. To inspect the replicaset’s details, we can employ the command listed below:

As shown, the details of the replicasets include: name, desired, current, ready, and age. If you want to know more about the replicasets of the deployment, you can use the following command:
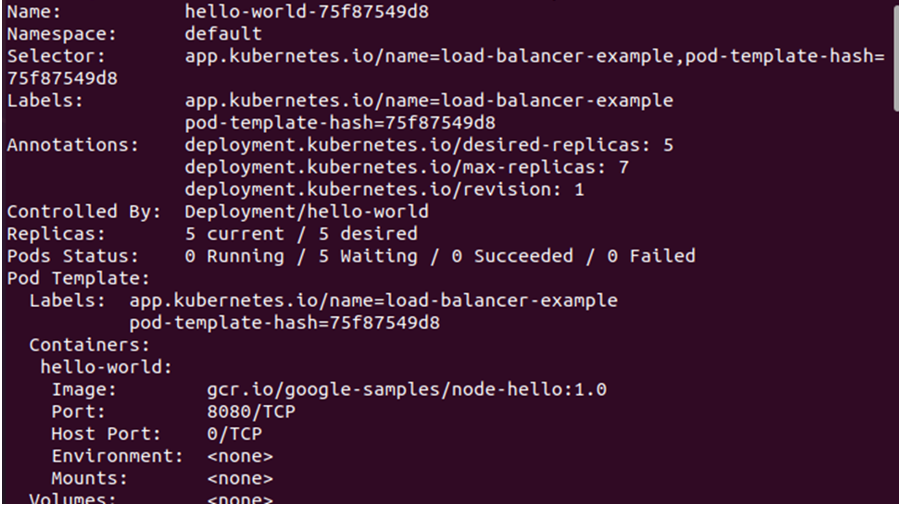
This command will give you the in-depth details of the replicasets associated with the hello-world deployment, see the output given in the screenshot below:
Step # 5: Create a Service Object to Expose the Deployment
Now, let us expose the deployment by using a service object. As we are exposing Kubernetes service to an external IP using a deployment, we will be needing a service object to expose the deployment.
As you can see, there are two flags used with the command, –type=LoadBalancer and –name=my-service. The first flag determines the type of balancer and the second flag determines the name of the service object. Now, let us refer to the output given below:

As you can see in the output given above, a service object named my-service has been successfully exposed.
Step # 6: Get the Details of the Service Object
The next step is to see the details of the service object which we have created previously. We can use the command given below to get the details of the service object:
The ‘kubectl get’ command is used to get access to the cluster, pod, node, or anything in the Kubernetes environment. We are trying to get the details of the service object. So, we have provided the ‘services’ flag followed by the service object name my-service. See the output below:

Again, if you need to know more about the service object, you can always use the ‘kubectl describe’ command. The complete command is given below for your reference:
After executing this command, you get a similar output to the one given below:
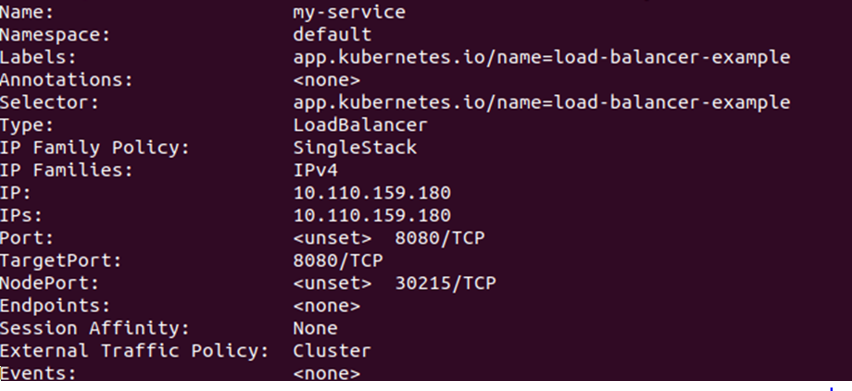
From the output above, you can note that the IP address is 10.110.159.180. The port used is 8080 and NodePort is 30215, while there are no Endpoints, and the IP address belongs to the IPv4 family.
Step # 7: Check the Pod Address
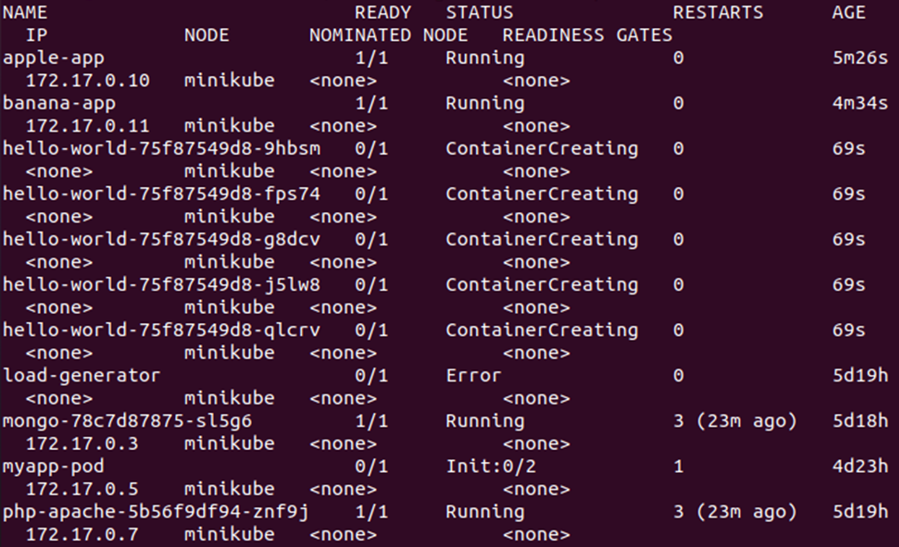
Now that we know the details of the service object, we can check the address of the pods on which they are currently running the hello-world application. The command described below makes it simple to accomplish this:
This command will show us the address of the pods that are running the hello-world application, see the output given in the snapshot below:
So, this is how to expose Kubernetes services to an external IP Address.
Step # 8: Clean Up
After successfully exposing the Kubernetes services to an external IP address, make sure you delete the service object along with the deployment. This can be done with the following command:
With this command, the service object will be removed from the cluster:
![]()
Now, to delete the complete deployment including the pods and replicasets, use the following command:
![]()
Conclusion
In this guide, we learned how to expose the Kubernetes services on an external IP address. With the help of a step-by-step guide, we exposed a Kubernetes service to an external IP address using a deployment. After exposing the Kubernetes service to an external IP address, we also performed a proper cleanup process.
Source: linuxhint.com