Difference Between git stash and git stash pop Commands
For this purpose, Git provided many solutions such as worktree, git stash and git stash pop, git stash apply, and many others.
In this write-up, we will describe:
Difference Between Git Stash and Git stash pop Commands
When Git users want to switch branches without facing an error, they need to save the current working and repository indexes. For this purpose, the Git command “git stash” is utilized to save the repository’s current work and repository working index in the stash file. However, the Git command “git stash pop” is utilized to pop out the saved content. When the Git user moves back to the main branch and wants to continue the work, the “git stash pop” or “git stash apply” command can be utilized.
Use Git stash and Git stash pop Commands
To utilize the Git stash and Git stash pop commands for saving and retrieving the work history, follow up on the below-given procedure.
Step 1: Open Git Repository
From the start menu, launch the “Git Bash” terminal:
Step 2: Move to Git Local Repository
By using the “cd” command, move to the local Git repository:

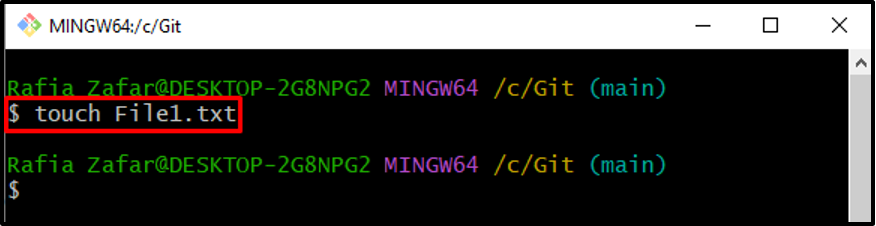
Step 3: Create New File
In order to create a new text file in the Git repository, utilize the “touch” command:
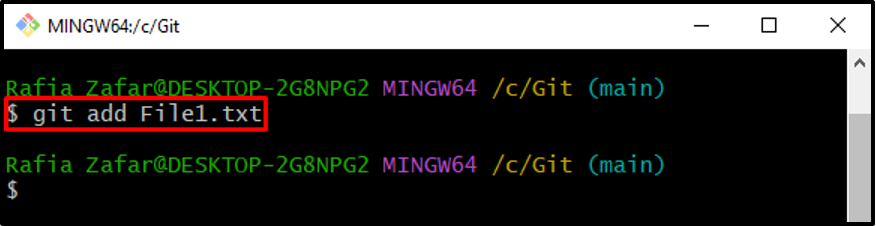
Step 4: Add File to Staging Area
After creating the new text file, add it to the staging area using the provided command:
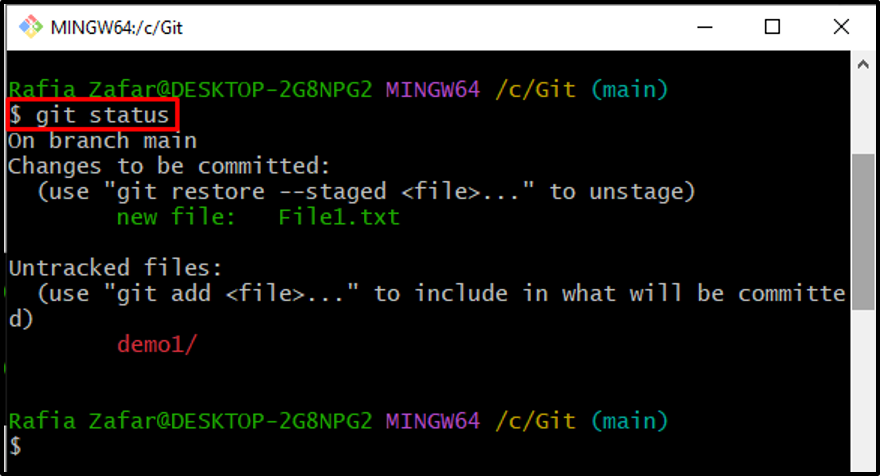
To verify if the file is added to the stage area or not, check out the Git repository state:
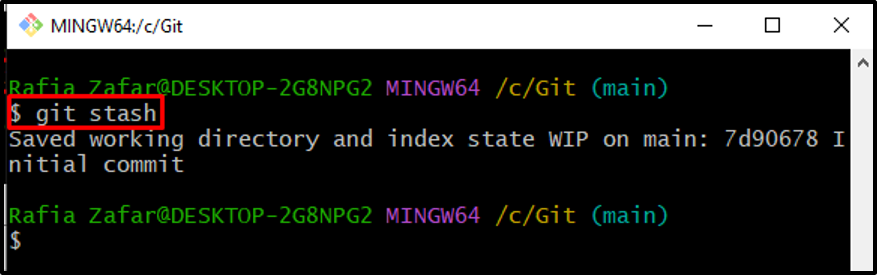
Step 5: Save Current Work Using Stash
Suppose we need to switch to another branch to implement some feature or to resolve a bug. For this purpose, save the current branch work and repository indexes in the stash file by utilizing the “git stash” command:
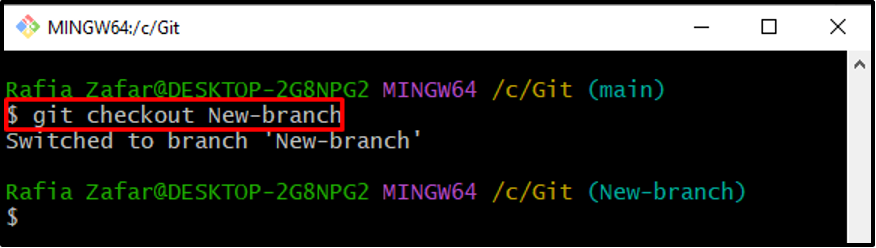
Step 6: Switch to Another Branch
Move to another branch using the Git “checkout” command and start implementation or debugging according to your requirements:
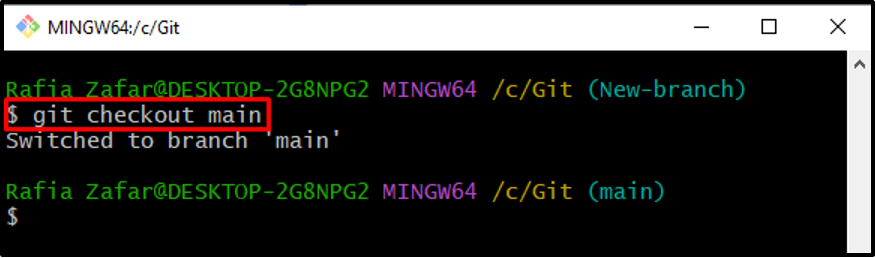
After resolving the problem, roll back to the main branch to continue the work using the “git checkout” command:
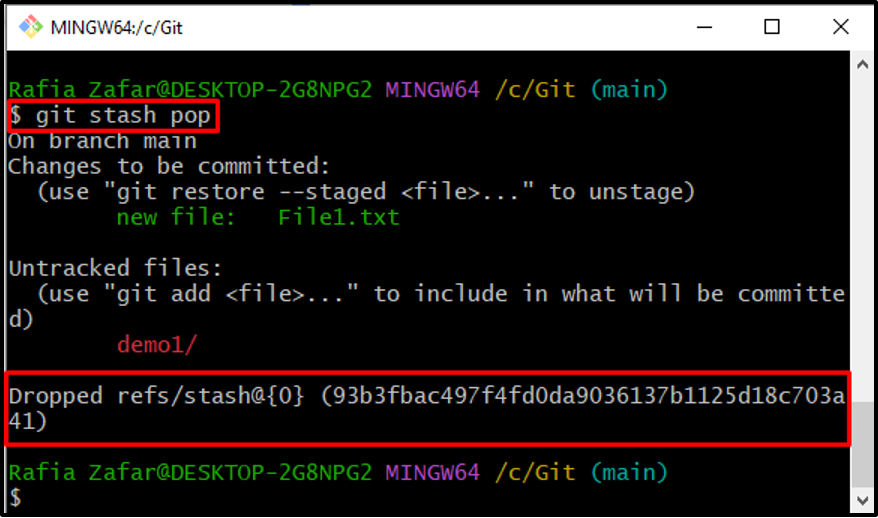
Step 7: Pop out Store Work
Run the “git stash pop” command to retrieve saved work from the stash file:
As you can see, we have successfully recovered the saved repository indexes:
We have described the difference between the Git stash and Git stash pop commands.
Conclusion
The primary difference between these two operations is that “git stash” stores repository indexes for the user to use, whereas “git stash pop” drops or pops out stash save indexes for the user to utilize. This article has described the difference between the git stash and git stash pop commands and practically demonstrated it with the help of an example.
Source: linuxhint.com