Developing Custom Bot Actions in Botpress
Understanding Actions in Botpress
Actions in Botpress are server-side functions that are executed by the bot during conversational flows. They have the power to alter the conversation’s state, send customized messages, execute arbitrary code (such as calling the APIs or storing the data), and more. Essentially, actions are regular JavaScript functions which means that they can perform almost anything within the limitations of the platform.
When an action is invoked by the Dialogue Manager (DM), it receives several arguments that provide context to the function. These arguments include the user attributes, session variables, temporary variables, bot-level variables, the latest user event in the conversation, passed arguments from the Visual Flow Builder, and a sandboxed vm that contains some environment variables.
Registering New Actions
To add the custom bot actions, you need to create a JavaScript file (.js) and place it in the data/global/actions folder within your Botpress project. Unfortunately, there is no way to programmatically add new actions during runtime. Using the JavaDoc comments in your code, you can provide meaningful information about the actions such as their name, description, arguments, and default values. You can also hide an action in the flow editor by adding the @hidden true flag in the JavaDoc comment.
How to Create Custom Actions in Botpress
Here are a few steps that you can follow to create a custom action in Botpress:
Step 1: Create Your Bot and Add a Node
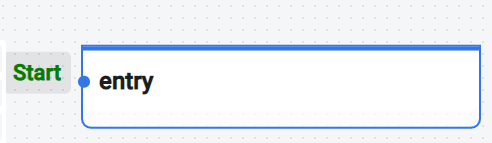
To get started, create a new bot in Botpress. Once your bot is created, add a new node to the conversation flow.
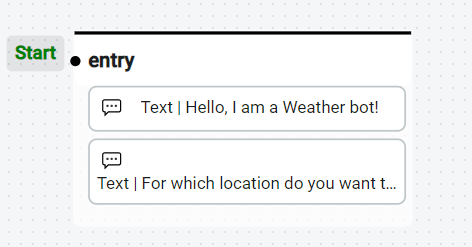
Step 2: Add Appropriate Messages to Your Node
In the newly created node, add the necessary messages to facilitate the content exchange with users. For example, you can add a text message to greet the user and ask for their name.
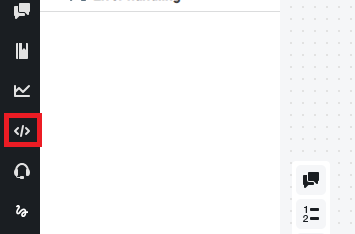
Step 3: Open the Execute Code from the Sidebar
Navigate to the sidebar in the Botpress Flow Builder and open the “Code editor”. This is where you can construct and administer your custom actions.
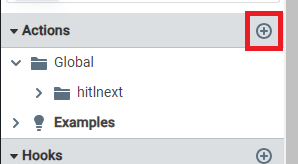
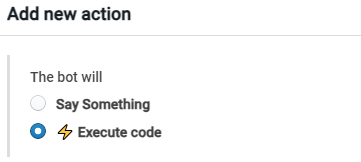
Step 4: Click on the “Add Action” Button
In the “Execute Code” section, click on the “Add Action” button. This action opens up the “Create a new action_legacy” window.
Step 5: Specify a Name for the File and Click on the Submit Button
In the “Create a new action_legacy” window, give a meaningful name for your custom action file; for example, customAction.js. Once you specified the name, click on the “Submit” button. This creates the “customAction.js” file.

Step 6: Write Your Custom Code
Open the newly created “customAction.js” file. Inside the file, you’ll see the boilerplate code that’s generated for a new action. Provide a meaningful description for your custom action using the appropriate comments.

Now, write your custom code within the function. This code defines the behavior of your custom action. You can use JavaScript to perform various tasks such as making API calls, accessing the databases, or handling complex logic.

Step 7: Modify Your Node to Use the Custom Action
Go back to the Botpress Flow Builder and modify the node where you want to trigger your custom action. Add an “Execute Code” card to the node.
Step 8: Select Your Custom Action Name and Specify the Action Parameters
In the “Execute Code” card, you’ll see a dropdown list that contains the names of all your custom actions. Select the name of your custom action from the list. If your custom action requires any parameters, you can specify them in the “Parameters” section of the “Execute Code” card.

Step 9: Make Your Bot Perform the Action
Finally, add another card to the node to make your bot perform the custom action. You can use the variables that are saved in the event (specified in the “Execute Code” card) to access the results of your custom action and include them in the bot’s response.
Example Custom Action
Let’s say you want your chatbot to provide the current weather information for a specified location. You can create a custom action that calls a weather API and returns the weather data.
const getWeather = async (user, session, args) => {
const location = args.location || 'New York';
const apiKey = 'your_weather_api_key';
const apiUrl = `https://api.weatherapi.com/v1/current.json?key=${apiKey}&q=${location}`;
try {
const response = await axios.get(apiUrl);
const weatherData = response.data;
return `The current weather in ${location} is ${weatherData.current.condition.text} with a temperature of ${weatherData.current.temp_c}°C.`;
} catch (error) {
return 'Sorry, I couldn\'t fetch the weather information at the moment. Please try again later.';
}
};
return getWeather(user, session, args);
This action takes certain arguments including the user, session, and args which provide the context and data for the action to work with. In this example, the “getWeather” custom action takes the location as an argument or defaults to “New York” if not provided. The action calls the Weather API using Axios, fetches the weather data, and returns a message that contains the weather condition and temperature.
Advantages of Custom Actions
Custom actions in Botpress offer several advantages that enhance the capabilities and functionality of your chatbot:
- They extend the chatbot functionality beyond the built-in capabilities.
- They create tailored interactions for a better user experience.
- They fetch a real-time data from APIs for dynamic responses.
- They integrate with backend systems and databases.
- They handle intricate scenarios with custom code.
- They reuse the actions across chatbots and flows.
- They implement the custom error handling and logging.
- They optimize the resource-intensive tasks.
- They leverage the external services for scaling.
- They access and share the pre-built custom actions.
Conclusion
Custom actions in Botpress extend the chatbot capabilities, personalize interactions, and integrate external APIs. Developers create the server-side JavaScript functions and invoke them from the Botpress Flow Builder. These actions offer code reusability, improved performance, and scalability which make chatbots more versatile and powerful tools. Leveraging the custom actions in Botpress creates innovative and engaging chatbot experiences.
Source: linuxhint.com