Debian Package Managers: dpkg, apt and Aptitude Explained
This tutorial explains how to install, remove, search and list packages using dpkg, apt and aptitude Debian Linux package managers.
After reading this tutorial, the reader will be able to make a variety of package related operations. This article is valid for all Debian based Linux distributions including Ubuntu.
All given examples contain screenshots, making it easy for every Linux user to understand how package managers commands are applied.
The content is optimized both for users looking for fast implementation and users looking for understanding on how package managers work.
The dpkg Packages Manager
Dpkg is the Linux Debian packages manager. It can be used to install or remove programs, list them, or find specific information on them.
When apt or apt-get frontends are used, they invoke the dpkg program to install or remove applications while including additional functions like dependencies resolution.
How to Install Packages in Debian Using dpkg
To install packages on Debian or Ubuntu Linux using dpkg, run dpkg with privileges followed by the -i (install) flag and the .deb installer path or name. The syntax is the following:
Or
For example, to install a package named protonvpn-stable-release_1.0.3_all.deb, the user must execute the command shown in the screenshot below.
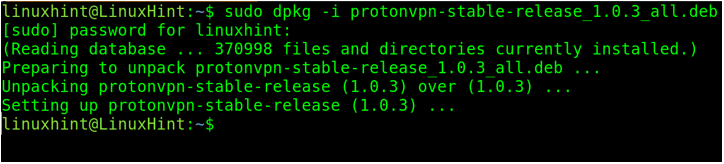
When installing the software, the dpkg packages manager checks for previous versions installed. If older versions are found in the system, dpkg runs the prerm script previous to the old package removal. Then, it runs the preinst script before installing the package, unpacking new files while backuping old versions if found to be restored in case of errors.
The postinst script then completes the installation process, enables package related services if necessary and configures the package. After the installation, older packages complete their removal with the execution of the postrm script.
Since installing and removing software affects the system and permission protected directories (Like the /usr directory where programs are stored), the dpkg command requires privileges (sudo) when installing or removing packages.
Removing and Purging Software Using dpkg in Debian
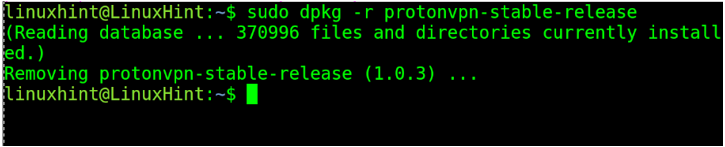
Removing software with dpkg while keeping configuration files consists of executing the dpkg command with privileges (sudo) followed by the -r or –remove flags followed by the package name.
When deleting software using dpkg, the user does not need to type the .deb installer name but the package’s name. If the user starts typing the package name, the command line will autocomplete the correct name. Alternatively, the user can instruc dpkg to reveal a program exact name. This is explained later below in this tutorial.
The proper syntax options are the following:
Or
In the example below, ProtonVPN stable release is deleted using dpkg followed by the -r flag.
Alternatively, if you want to fully delete packages including configuration files, dpkg must be followed by the –purge flag.
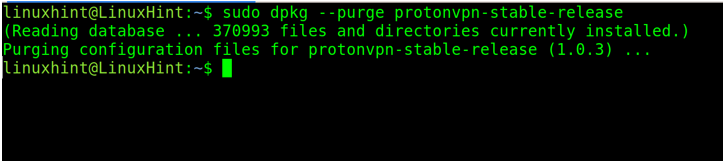
Purging package configuration files is a good option when the user uninstalls software to reinstall it to fix errors.
Show Packages, Dependencies, Directories and More With the dpkg Command
The dpkg packages manager allows additional packages management related operations.
The commands explained below print packages related information. Since contrary to installation or removal, they don’t affect system permission protected directories. They can be executed without privileges.
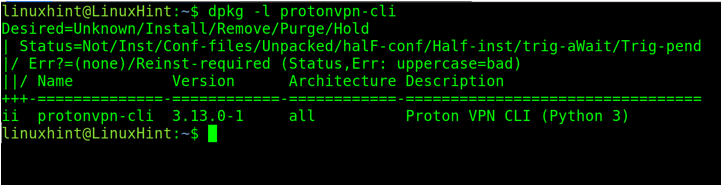
To list all installed packages, use any of the following options:
Or
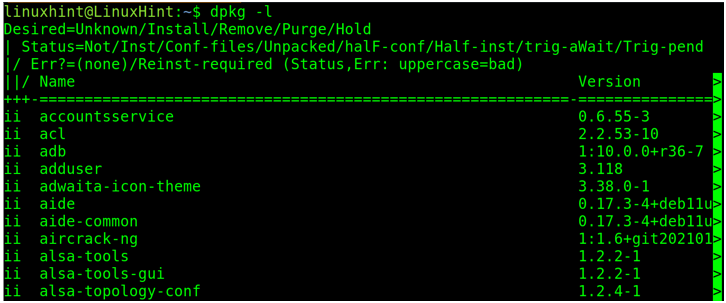
By adding a package name, dpkg -l (or –list) will display information on the specified package.
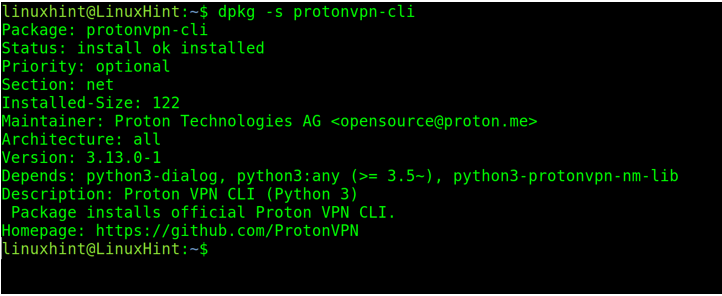
For additional information including dependencies, on a specific package use the following syntax:
For example:
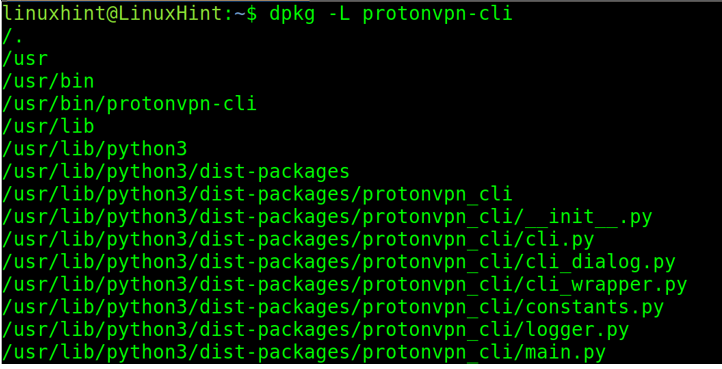
To show all files belonging to a package, use the -L (Upper case) parameter as shown below.
The -c flag will show all directories belonging to a specific package. When using this flag, it is necessary to target the .deb file. The syntax is shown below.
For example:

The dpkg program is the Debian official packages manager. Dpkg frontends, like apt-get, offer additional features and don’t require manual packages download.
The apt or apt-get Package Managers
The apt and apt-get commands are advantageous over dpkg because they resolve dependencies and download updated software automatically.
Both apt and apt-get are frontends for the previously explained dpkg Debian official packages manager.
While apt and apt-get package managers have a very similar syntax, they are not the same. Yet this section covers both of them because they work and are used very similarly.
Differences between them are explained after practical examples.
Brief Debian/Ubuntu Repositories Description
Debian and Ubuntu repositories are package directories used by apt and apt-get. Normally, apt and apt-get fetch packages from online servers defined in the sources.list file but they also can point to local DVD or USB devices as packages source. The servers are officially provided by each Debian/Ubuntu distributions and must be configured in the /etc/apt/sources.list file.
Initially after installing Debian, we need to edit this file commenting the line pointing to the Debian DVD/USB installation path and adding the proper repositories. Probably your system has repositories already added.
If your system has not proper repositories added, edit the /etc/apt/sources.list file with privileges with a text editor.

Look for current repositories in the example at this url: https://wiki.debian.org/SourcesList#Example_sources.list
Copy and paste them in the /etc/apt/sources.list as shown below.
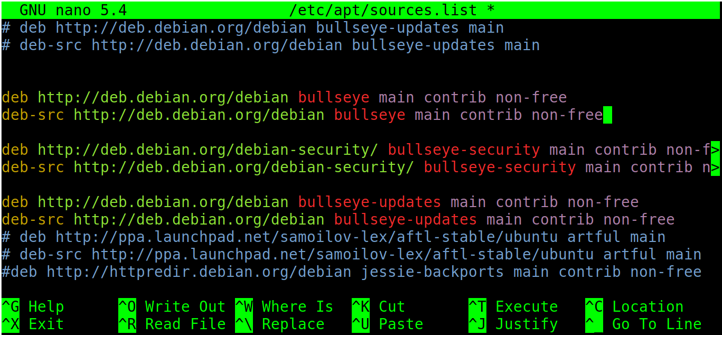
Exit saving changes and follow the instructions explained below.
Updating Repositories and Upgrading Packages With apt and apt-get
Both updating packages repositories prior installation and upgrading packages are almost mandatory practices to install updated packages and keep existing ones up to date.
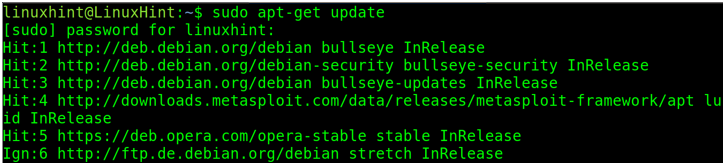
To update the packages repositories with apt to be able to fetch last package versions, execute the following command:

To do the same operation with apt-get, use:
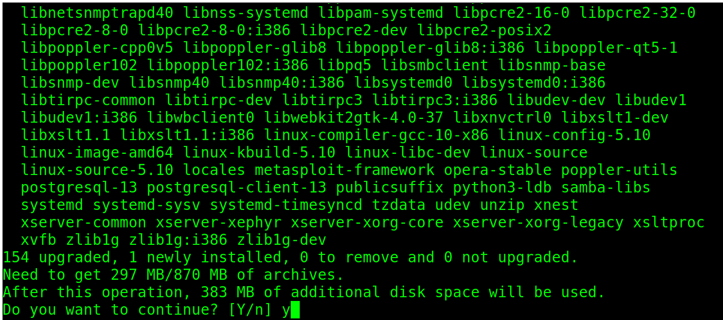
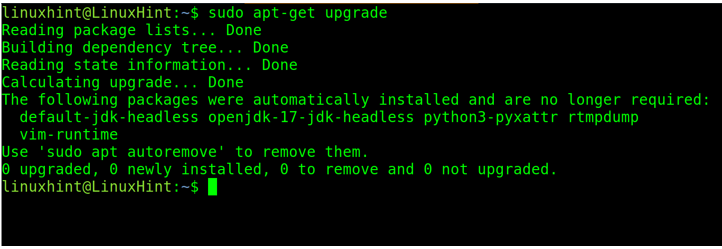
To upgrade installed packages run:
As you can see, the user is asked for confirmation and required to type Y and press ENTER to proceed, or type N to cancel.
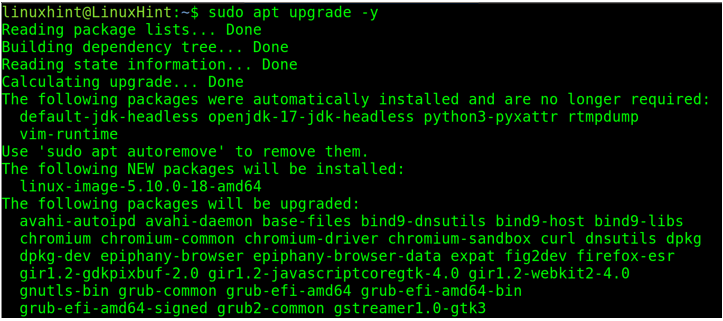
To prevent the confirmation request, the user can implement the -y flag when executing the command.
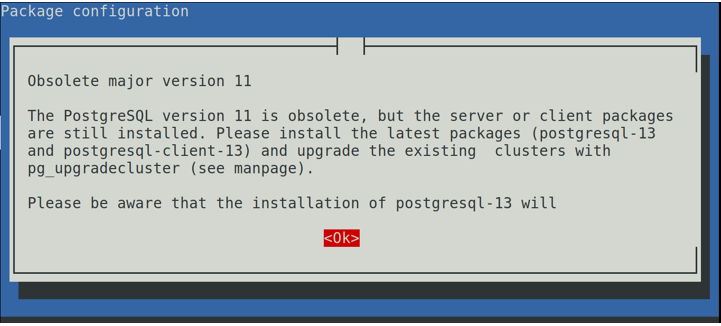
During the upgrade process, the user may be required to confirm some actions or make choices between available options, like in the screenshot below.
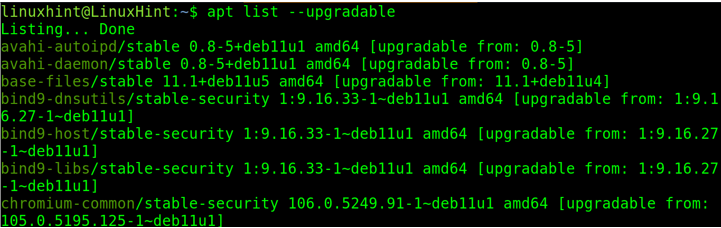
If the user wants to see a list of all software to be upgraded without proceeding with the upgrade, he can run the command shown in the screenshot below.
To upgrade installed software with apt-get run:
Now, the user knows how to update repositories, he can proceed with packages installation.
How to Install Packages With apt and apt-get
The syntax to install a package using apt is the following:
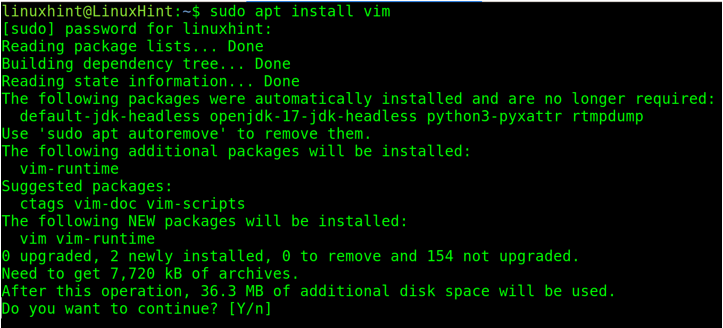
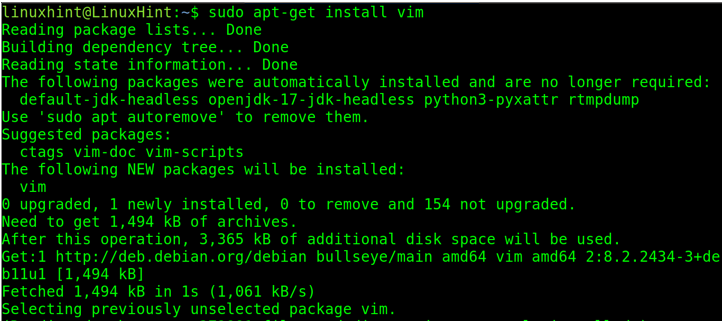
For example, to install the vim package, the user must run:
As you can see in the screenshot below, after running the command, the user is requested to confirm the installation. The user must type Y and press ENTER to proceed, or type N to cancel the installation.
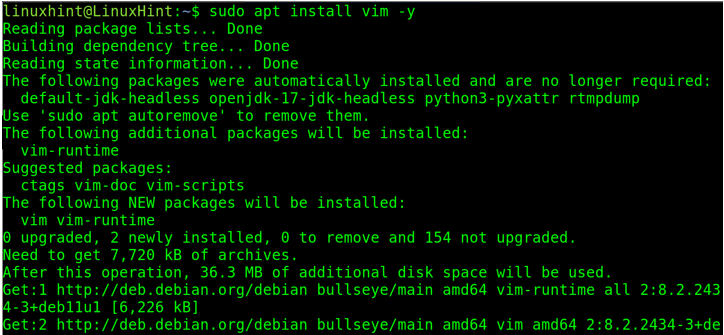
To prevent apt from requesting confirmation, the user can implement the -y flag as shown below.
The syntax to install packages with apt-get is very similar as shown below.
For example:
How to Delete and Purge Packages With apt and apt-get
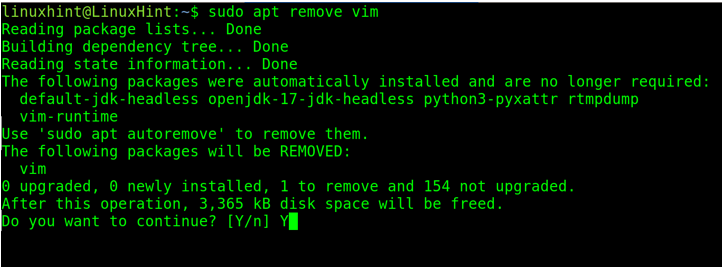
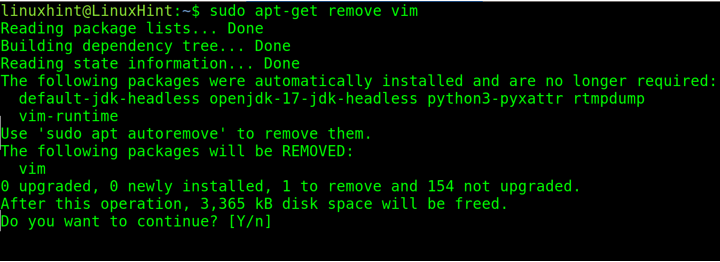
To remove packages with apt, use the syntax shown below. This command may keep configuration files and to also delete configuration files use the purge option explained below.
Practical example:
As you can see, sometimes the user may be requested to confirm the package removal.
The user must type Y to confirm, N to cancel, and then ENTER to apply.
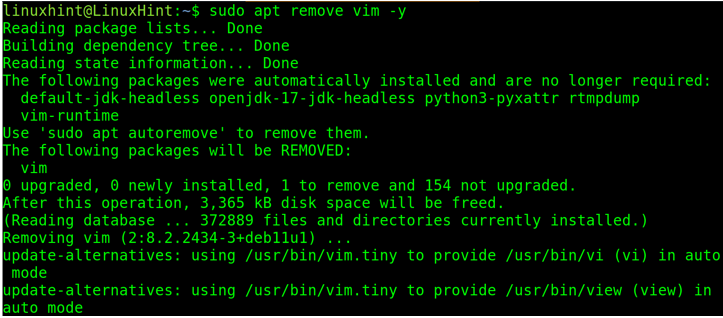
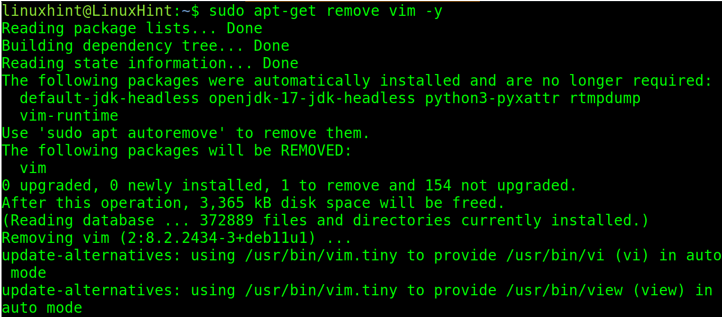
To prevent the installation confirmation request, the user can add the -y flag as shown below.
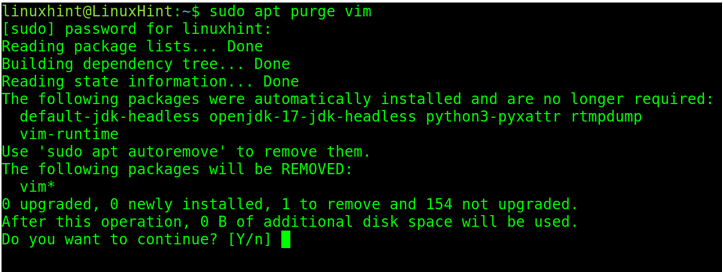
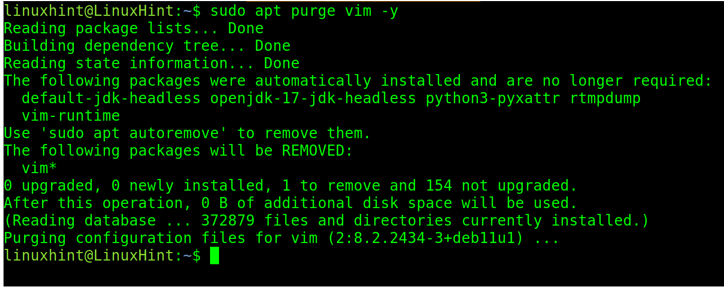
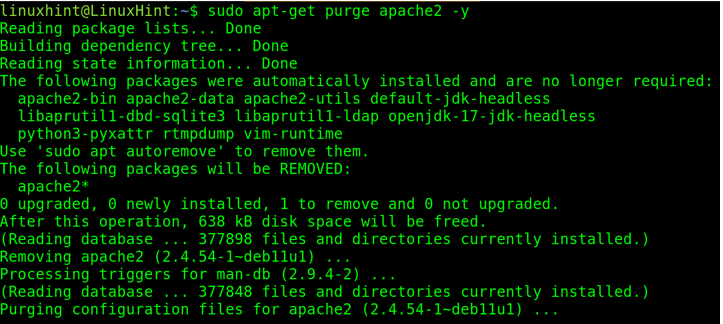
To purge packages and deleting configuration files use the following syntax:
Practical example:
As you can see in the following figure, the user is requested to type Y and press ENTER to confirm.
The user can prevent the confirmation request with the -y flag as shown in the image below.
Removing packages with apt-get is almost the same, with the following syntax:
Practical example:
When using apt-get the user may get asked for confirmation.
Preventing the confirmation request with apt-get also requires the -y flag implementation.
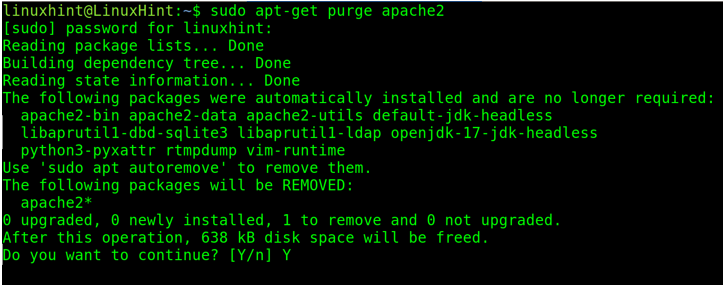
To purge packages and deleting configuration files with apt-get, use the following syntax:
For example:
As you can see below, the user is requested to confirm the operation by typing Y and pressing ENTER.
To prevent the confirmation request, apt-get the user also can implement the -y flag.
Searching, Listing, and More with apt and apt-get
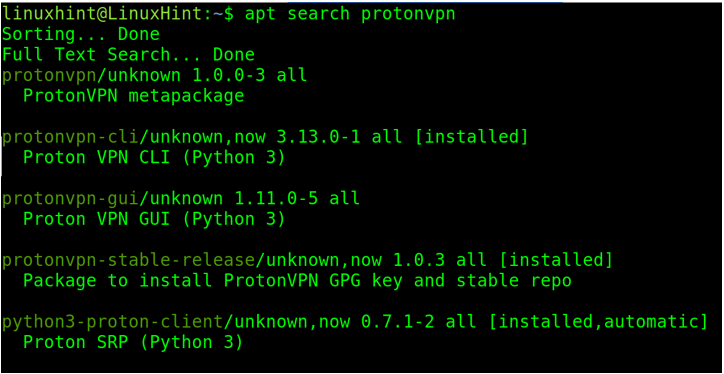
You can search packages by name using apt with the following syntax:
Example:
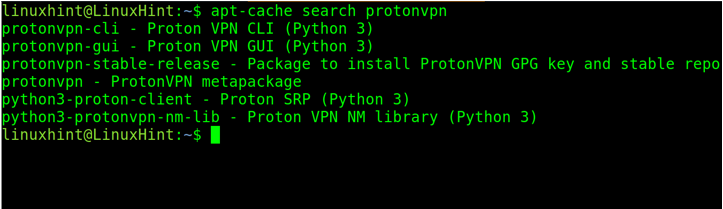
To search packages with apt-get, use:
Practical example:
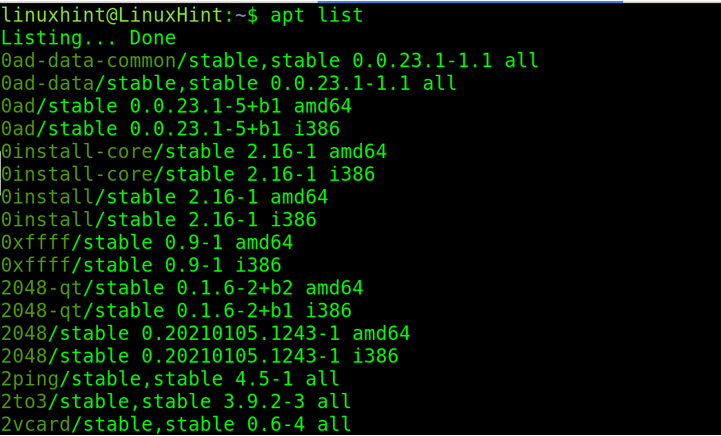
To list all packages with apt, use the following command:
apt-get Troubleshooting Commands
In case apt-get or apt returns errors, it is recommended to execute the following commands sequence:
sudo apt-get autoclean
sudo apt-get -f install
sudo apt-get --fix-missing install
sudo apt-get --purge autoremove
sudo apt update
The aptitude Packages Manager
The aptitude packages manager works similarly to apt and apt-get. It also allows downloading and installing software and has an interactive text mode.
This packages manager has an interactive mode which allows users to see and browse packages by status, install and remove packages.
It can also be used from the command line with similar options to the apt package manager. Aptitude uses the same repositories apt and apt-get do.
Introduction to the aptitude Interactive Mode
To see the interactive mode, call the program running the command aptitude without additional options in the console.

The user can browse New, uninstalled, obsolete packages, and more. Within each category, the user can perform actions like installation and removal.
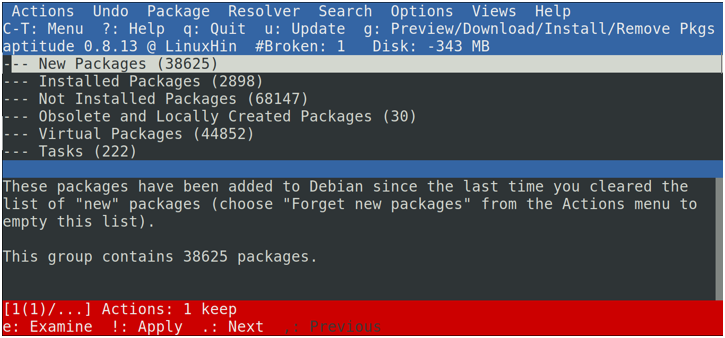
To quit the interactive mode, just press Q and confirm pressing Y.
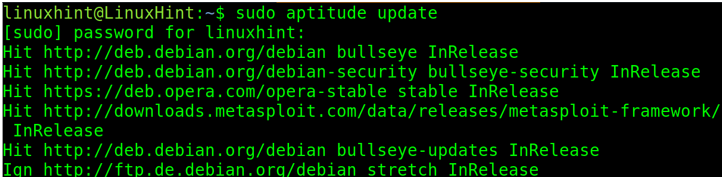
Updating Repositories and Installing Packages Using aptitude From the Command Line
To update repositories, execute aptitude as shown below.
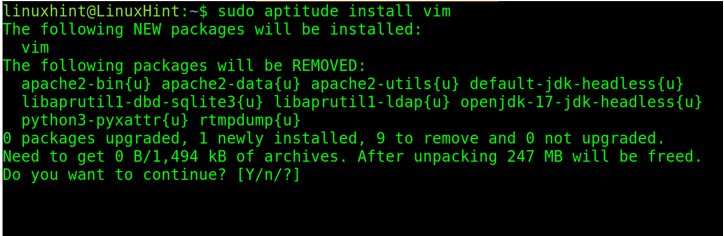
To install packages with aptitude, use the syntax shown below.
Practical example:
As you can see, aptitude also requests confirmation.
To avoid confirmation, use the -y flag.

How to Remove and Purge Files With the aptitude Packages Manager
To remove a file with aptitude, the syntax is:
Practical example:

To avoid confirmation when removing files with aptitude, the user can implement the -y flag.

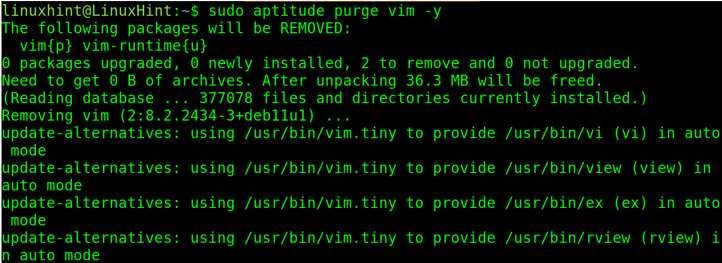
To purge packages, including configuration files in the removal process, use the syntax shown in the following example, where the vim package is purged.
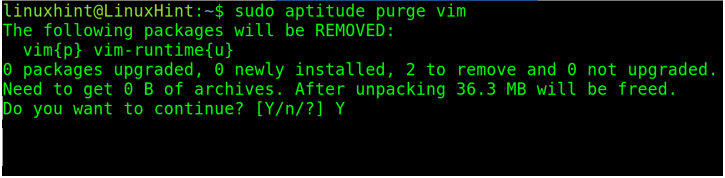
Also, when purging packages, the user can use the -y flag to avoid confirmation requests.
Searching, Listing, and Upgrading Packages With aptitude
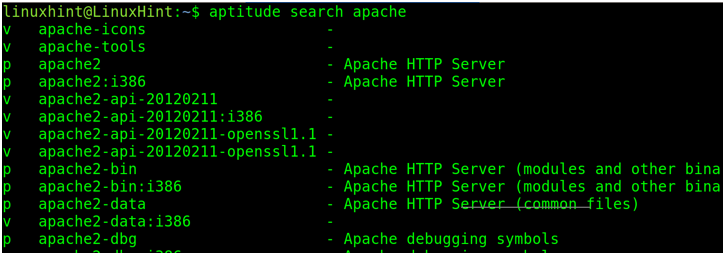
To search an available package, use the syntax of the example below, where the user searches for the apache package.
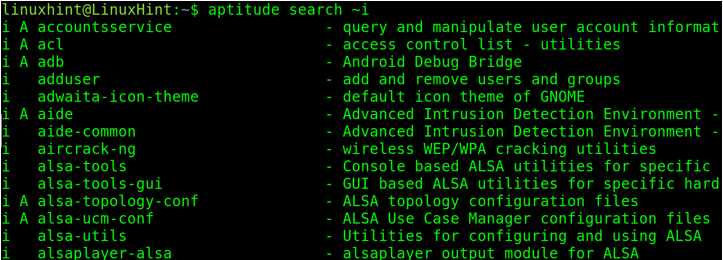
To list packages with a description, run the following command:
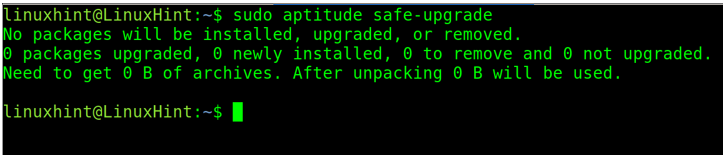
To safely upgrade packages, execute the command of the example below.
Differences Between apt and apt-get
The main difference between apt and apt-get package managers is the first one was designed to be more user friendly. This includes both simplified commands and outputs.
Both apt-get and apt have almost the same features but apt offers a few more functionalities like apt list, which was previously described. apt-get works at a slower level than apt.
Although, apt-get is not discontinued, users trend to apt, which is shorter, simpler and more friendly. Yet, both of them are valid.
Conclusion
Debian package managers are easy to use and include a variety of features to deal with software. It is recommended to reproduce all given examples to incorporate this knowledge.
The instructions in this tutorial are valid for almost every Debian based Linux distribution including Ubuntu, Mint, Kali, etc. Remember to check each command man page to learn additional options.
Source: linuxhint.com