CSS Round Image
The use of images is very important in HTML code especially when you have been working on a website project containing a lot of pictures sliding at its home page or any other pages. For the use of images in the HTML scripting language, we tend to use the “img” tag in it. These images can be set to their original sizes, or the size can also be altered in terms of height, and width. Along with that, the HTML language provides you with the “border-radius” property to change the radius of any element like heading or image. In the case of images, it will change the corner shape of an image from one to another. Within this article, we will be deliberating the use of the border-radius property to convert an image to a rounded one. We will be looking at the image that will be utilized in the HTML codes to shape it around the Visual Studio code. You can see the image named “new.png” attached in the screenshot below. We will use it in our Visual Studio code to make it round.
Example 01:
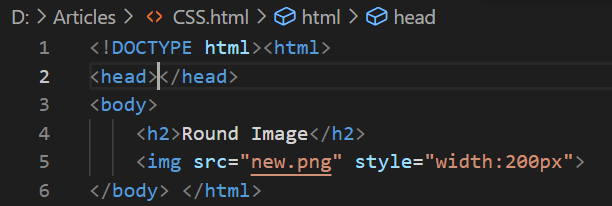
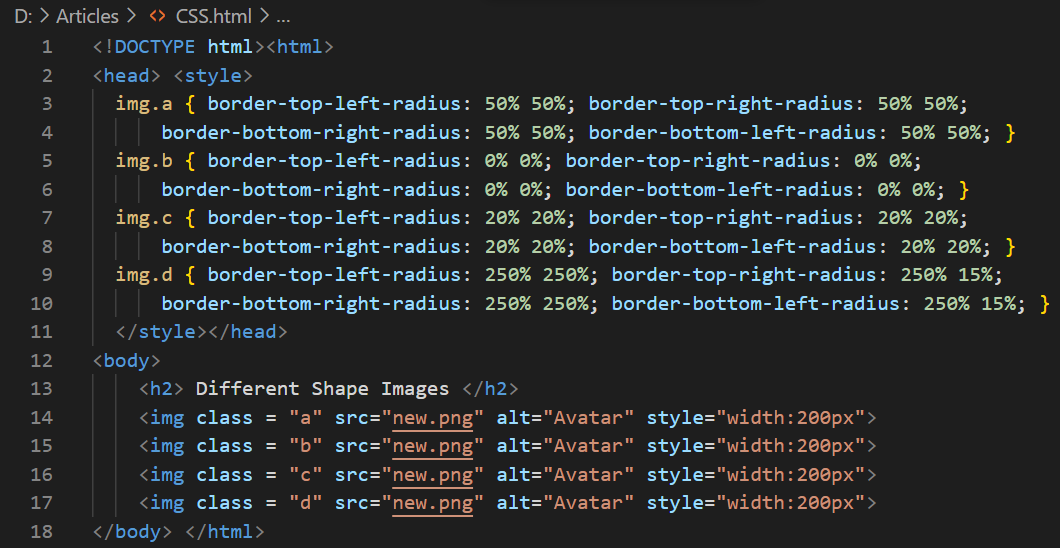
Before shaping an image to round, we must see how an image can be inserted into the HTML webpage without changing its original shape. So, we will be using the “new.png” image in this piece of HTML code. We have created a new HTML file in our current directory of Windows and named it “CSS”. After this, we opened it within the Visual Studio Code and added the HTML script shown below. This script has been started with the standard “DOCTYPE” html tag followed by the “html” single tag. The html tag is showing that this will be an HTML-based web page and the html tag will be closed after all the tags at the end.
After the html tag, we have the two most basic and most-used tags of HTML files: head and body tags. The head tag contains the information regarding the header— title and styling. While the body tag will contain all the data, containers, and other elements using the other tags. Right now, we have left the head tag empty and added the heading tag of size “2” and the image “img” tag within the “body” tag. The heading tag is used to simply put a heading at the start of an HTML webpage while the image tag has been used to insert the new.png image in the webpage by using the “Src” variable.
Also, we have been using the “style” tag within the “img” tag to set the width “200-pixels” of an image using the “width” property of an image. The body and html tags were closed here.
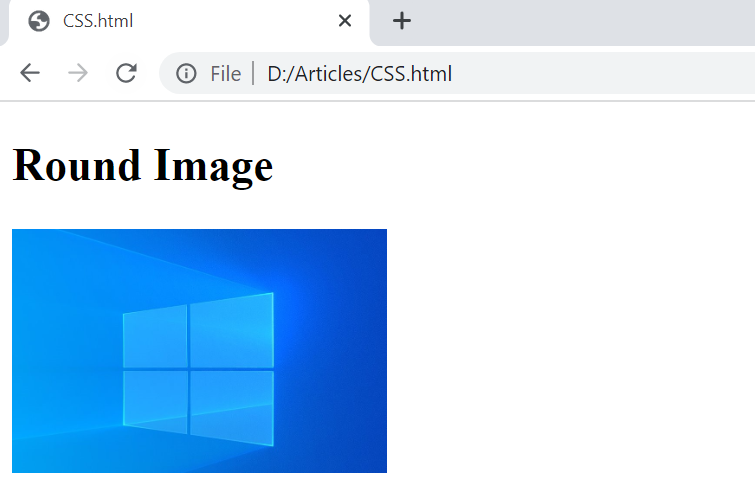
Let’s just save our code within the file by using Ctrl+S and debug it using the “Run” button on the taskbar of Visual Studio code. It will ask you for the browser platform in which you want it to be executed. We have selected Chrome to run it. The output has been shown below. The HTML webpage is showing the black heading of size 2. The image has been displayed with its original shape with a different size. The width equals 200 pixels as set in the style property.
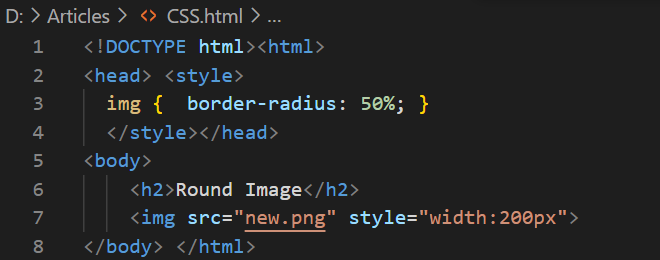
Let’s look at shaping our image “round” within the same HTML code. For this, we need to open the same HTML file in Visual studio code and update it. As you know, making changes to any image shape lies in the styling section. So, we need to use the CSS styling in this same HTML code with the help of a “style” tag in the header or “head” tag. The rest of the code will be left intact and will not be updated.
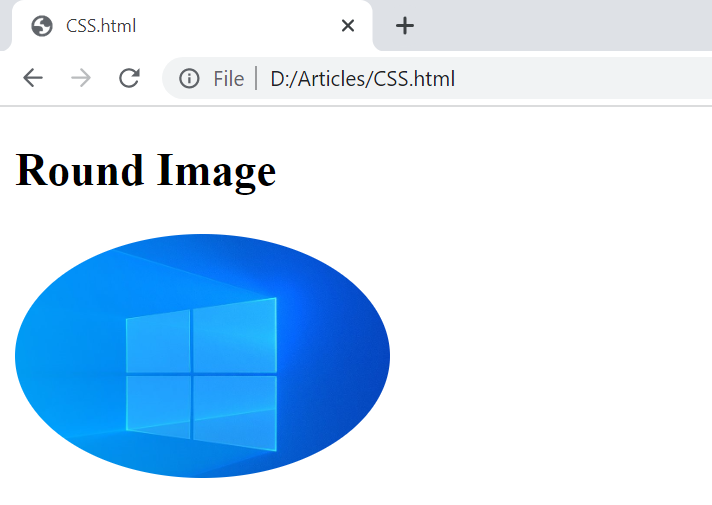
Now, within the “style” tag of this code header, we have to mention the name of an element to be updated (i.e., the “img” tag.) Add curly brackets and start adding properties to change the element according to your need. So, we have been using the “border-radius” property within the curly brackets of an “img” tag for styling and specifying its value as 50 percent. You can also add pixels over a percentage when it comes to choosing a unit for any numerical value in CSS styling. This is about the change. Let’s save this code first. After saving this code with CTRL+S, we need to simply run it using the “Run” button from the Visual Studio Code taskbar. Again, you need to select the browser in which you want it to display its output data.
Running this code would lead us to the output as displayed below. The use of border-radius property values up to 5 percent makes the image “new.png” square to round. The edges would be rounded as shown in the image below. This is about using the border-radius property to convert a simple square shape image to a rounded shape or any other shape.
Example 02:
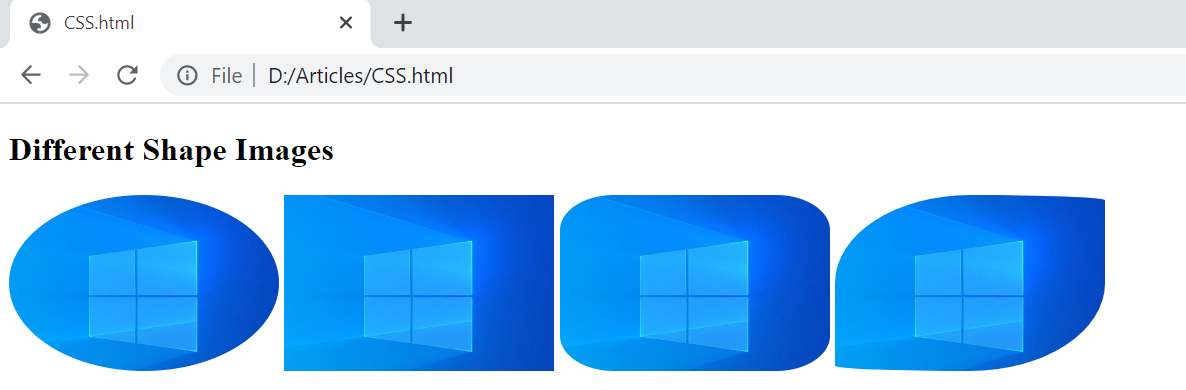
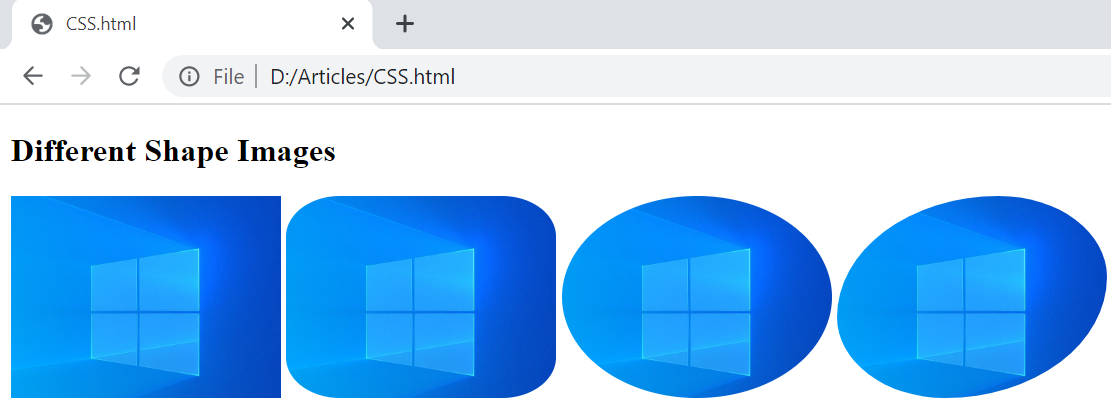
The same property can be used in other ways to alter the shape of an image. Within this example, we will see how random values can alter the shape of a simple image. So, within the body tag of this HTML script, we have been utilizing the “img” tag 4 times. In all these 4 tags, we have been using the same “new.png” image repeatedly with the width of 200 pixels for each shape.
Also, to separately alter the shape of images in a style tag, we need to specify them with different classes: a, b, c, and d as shown in each “img” tag. Within the style tag, we have been using the “img” tags along with their specified classes (a, b, c, and d) to alter the corners of each shape separately. The values 50%, 0%, 20%, and 250% 15% have been used for 1st, 2nd, 3rd, and 4th images respectively. Let’s execute this code to see the results.
The 4 different shapes of one image have been generated as shown below.
The very same or similar shapes can be achieved with the simple border-radius property using the 4 side values at a time: top-left, top-right, bottom-left, and bottom-right as shown below. We have tried this simple border-radius property for 4 corners along with the width and height property of images set to 150 pixels for all. Let’s save and run this code.
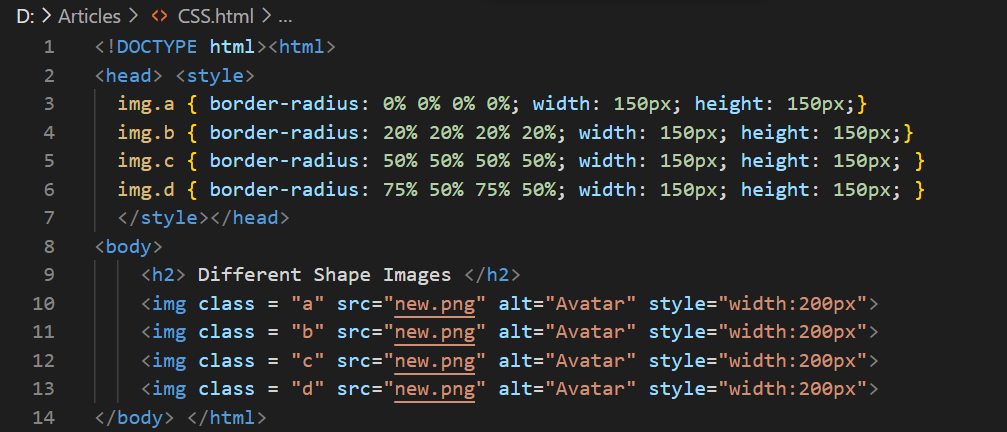
Using of simple format for the border-radius property, we have got the shown-below 4 shapes for a single “new.png” image.
Conclusion:
The use and importance of the “img” tag have been discussed along with the use of the border-radius property. We have discussed how a border-radius property can alter the edges of any image or heading to different shapes with the simple top, bottom, left, and right values. For this, we have discussed very simple and basic examples of HTML script by using a single image within the “img” tag and styling it. We have achieved our goal by converting an image to a square, round, oval, and rounded-square shape by using this border-radius property.
Source: linuxhint.com