Creating a Bootable Ubuntu USB Easily
Prerequisite:
Make sure that you have a USB with a size of approximately 8 GB and must be empty; no important files and folders should be saved into it as it should be formatted before creating a bootable Ubuntu system. This USB should not be corrupted as it may cause damage to your system during installation.
Download the Ubuntu ISO Image File
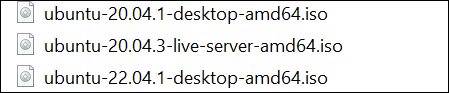
Let’s move towards the basic method of creating a bootable Ubuntu in a USB. Before that, you need to download the latest version of the Ubuntu ISO image that is needed to create a bootable. Therefore, go to the official website of Ubuntu and move to its “Downloads” page. You will see the latest versions of the available Ubuntu system according to every operating system. Look for the Ubuntu version ISO image according to the type of your operating system. In our case, we already downloaded two desktops and one live server of Ubuntu but we will utilize Ubuntu 20.04.1 to create a bootable.
Download the Bootable Installation Media
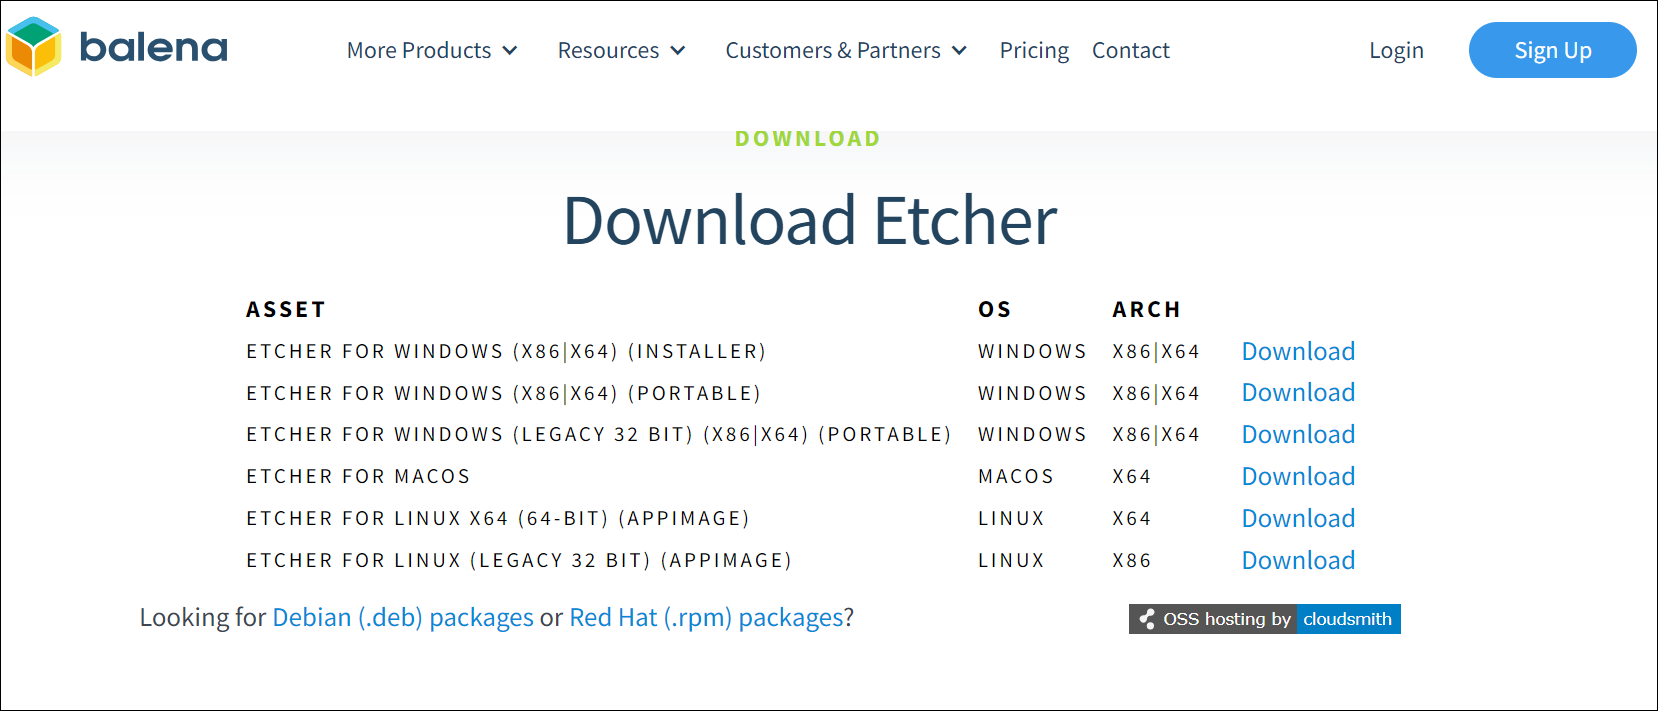
The bootable installation media can be any “exe” file of the software that is required to create a bootable USB using the USB drive and Ubuntu ISO image file. To create a bootable Ubuntu system on a USB drive, we need to ensure that the system has Bootable installation media in it. Therefore, we recommend you to install the “Etcher” bootable installation media from its official website according to your operating system. The download page displays many types of Etcher files available for different operating systems. You can download Etcher from this download page according to your operating system, i.e. Windows, MacOS, Linux, etc.
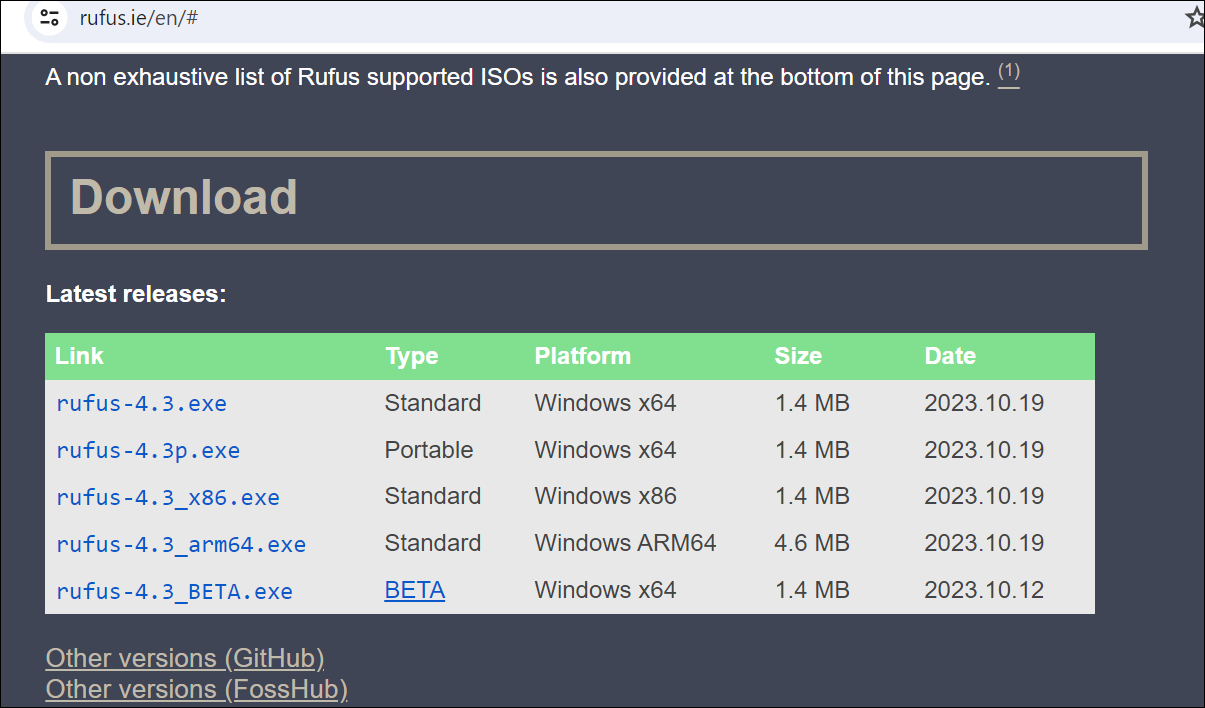
Suppose you find installing or downloading the Etcher installation media on your system difficult. In that case, it is recommended to download the “Rufus” exe file on your Windows system to create an Ubuntu bootable. To download the “exe” file of the “Rufus” installation media, open its official website and move to the “Download” page. You will get a list of different types of “Rufus” files for different Windows systems, i.e. x64, x86, etc. We download the Portable Rufus “exe” file for our Windows operating system. Tap on the file name that is highlighted in blue within the “Link” column to download it.
The “exe” file of the Rufus will be downloaded in 2-3 minutes. You don’t need to install it because it is an installation media and it doesn’t require an installation. You can simply double-click on it to run it as “Administrator” and allow it to create a bootable USB.
![]()
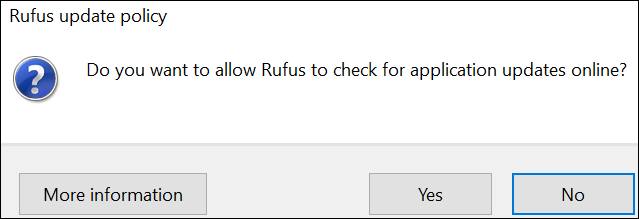
After running the “exe” file of Rufus, you will get the following prompt on your screen that asks you to allow Rufus for online updates. You can simply tap on “Yes” if you want to allow Rufus to check the online updates or tap on the “No” button to disable checking the online updates. For the time being, we utilized the “Yes” button to continue to the next step.
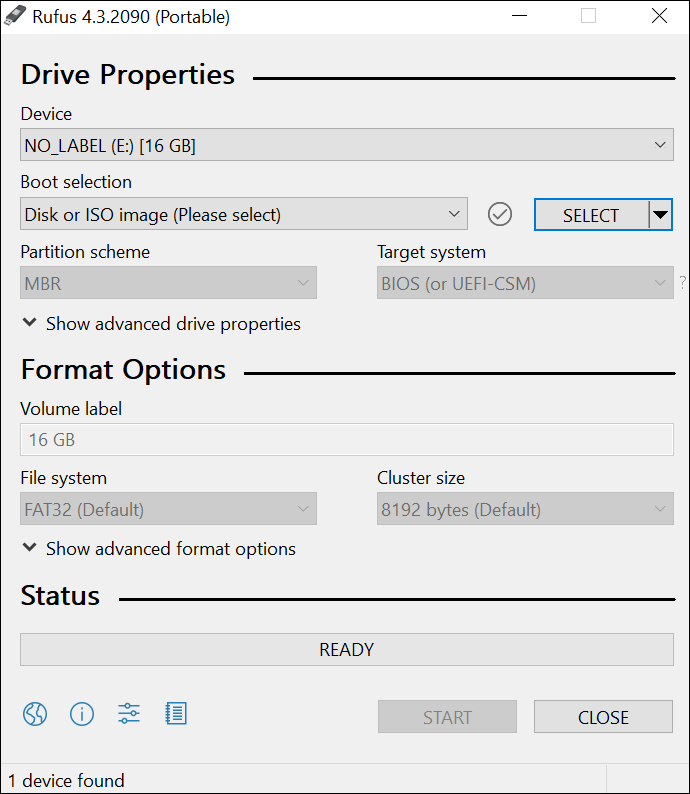
The Rufus bootable window will be opened on your screen after launching Rufus, as depicted in the following attached image. This window contains some options to be filled properly to create a usable USB bootable for the Ubuntu system. Within the “Drive Properties” section, you can see the “Device” option that automatically selects the USB drive E. You can select any other USB device that you want to create a bootable. The “Boot Selection” option allows you to select the file that needs to be utilized to create a bootable, i.e. Ubuntu ISO Image. Choose the boot type accordingly.
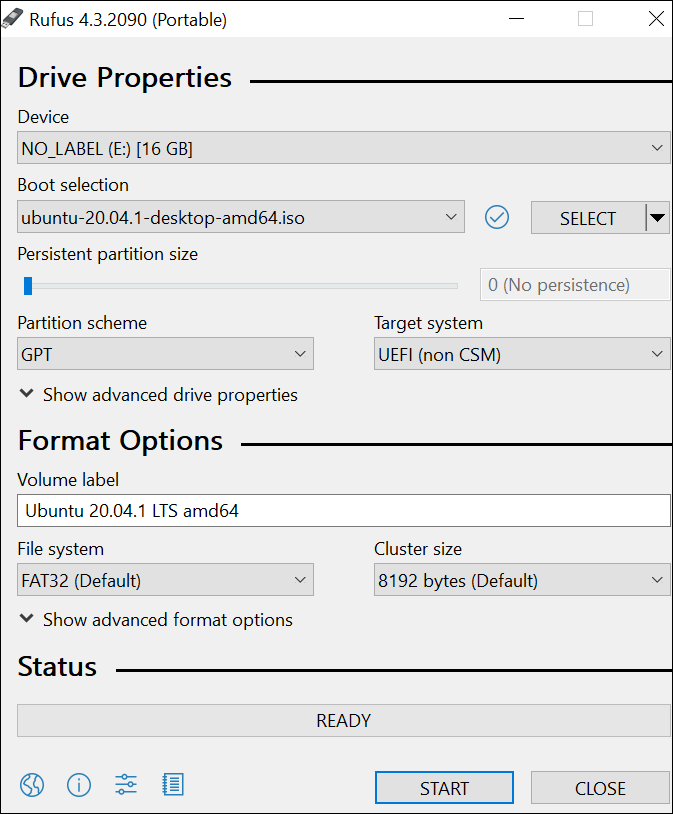
Within the “Boot Selection” option, we select the Ubuntu ISO image that we already downloaded, and the GPT partition scheme is chosen for this. The UEFI target system is auto-selected. The “Format Options” section may automatically update according to the Ubuntu ISO Image as displayed. The “Status” section of Rufus displays that its status is set to “Ready” in which you can start creating a bootable. Now, you can tap on the “START” button from the bottom of this window to create a bootable USB using the Ubuntu ISO image that is selected in the “Boot Selection” option.
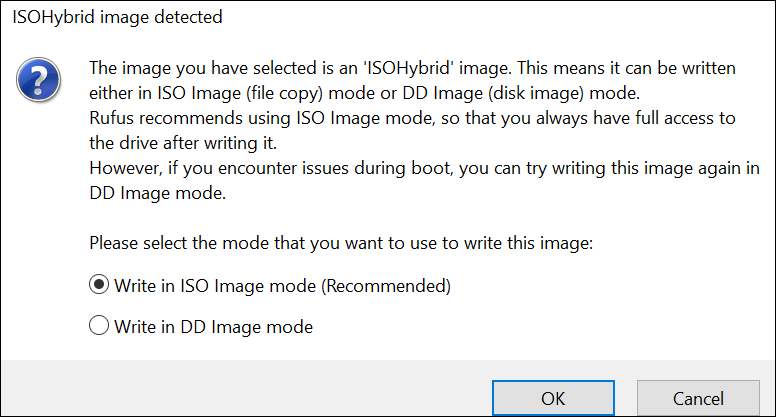
Right after tapping on the “START” button, the information pop-up window will appear on your screen which elaborates that you are using the ISO Hybrid image. It recommends you to select the mode to the write Image of Ubuntu, i.e. ISO (file copy) or DD (Disk image) mode. Since we are using the Ubuntu ISO, we select the “Write in ISO Image mode” option which is also recommended. Tap on the “OK” button to proceed.
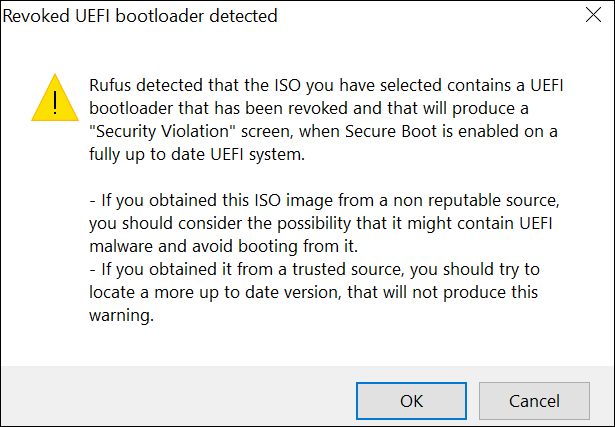
On the next window, we get a warning from the Rufus installer during the creation of the bootable. This warning illustrates that the UEFI bootloader may cause a “Security Violation” warning. This may be because the ISO Image has not been downloaded from the standard web source which can cause malware attacks. Tap on “OK” to proceed.
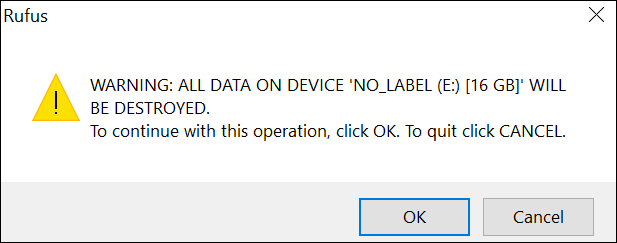
The last warning displays that the data from the USB device will be removed permanently. If you agree, tap on “OK” to proceed with the next step.
Rufus will start creating an Ubuntu bootable using an ISO image on USB.

When the “Status” bar of Rufus installation media becomes “Ready”, this means that the Ubuntu bootable is successfully created.

The USB E drive is now successfully converted to a USB bootable for Ubuntu.

Conclusion
After successfully creating a USB bootable for the Ubuntu system, you can use the USB bootable drive to install the Ubuntu system on any machine. Make sure not to miss any step from this guide to successfully create a new bootable.
Source: linuxhint.com