Create a GitHub Personal Access Token Example
This article will illustrate the procedure of creating a GitHub personal access token.
Example: Create a GitHub Personal Access Token
To generate a personal access token, first, open up the GitHub account and go to “Settings”. Then, we will click on the “Developer Settings” option from the opened tab and select the “Personal Token Access” option. After that, hit the “Generate a token” button, and specify the descriptive name of the token and the expiry date. Lastly, hit the “Generate a token” button.
Here is the practical implementation of the given procedure!
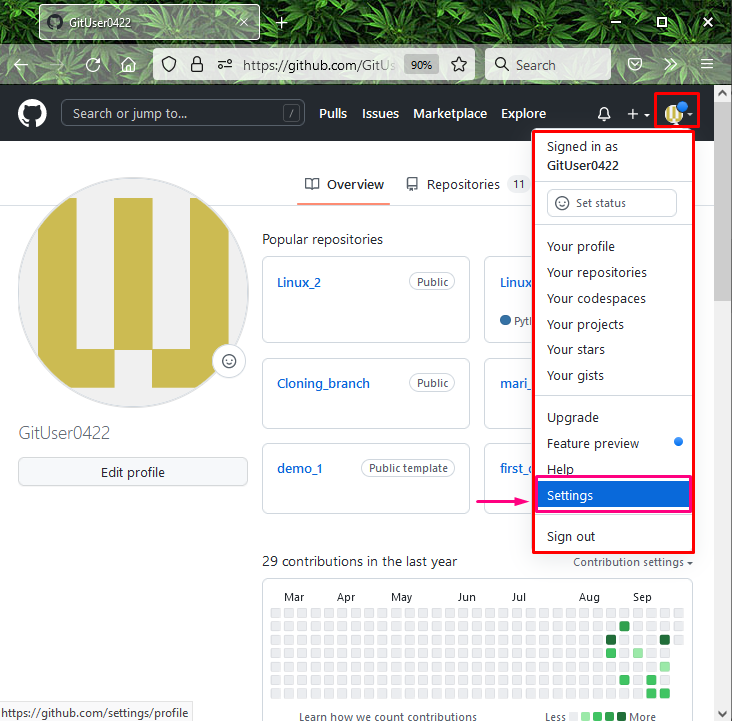
Step 1: Open GitHub Settings
Open up your GitHub, hit the accounts’ profile icon, and press the “Settings” option from the appeared menu:
Step 2: Open Developer Settings
Next, click on the “Developer Settings” from the left side menu:

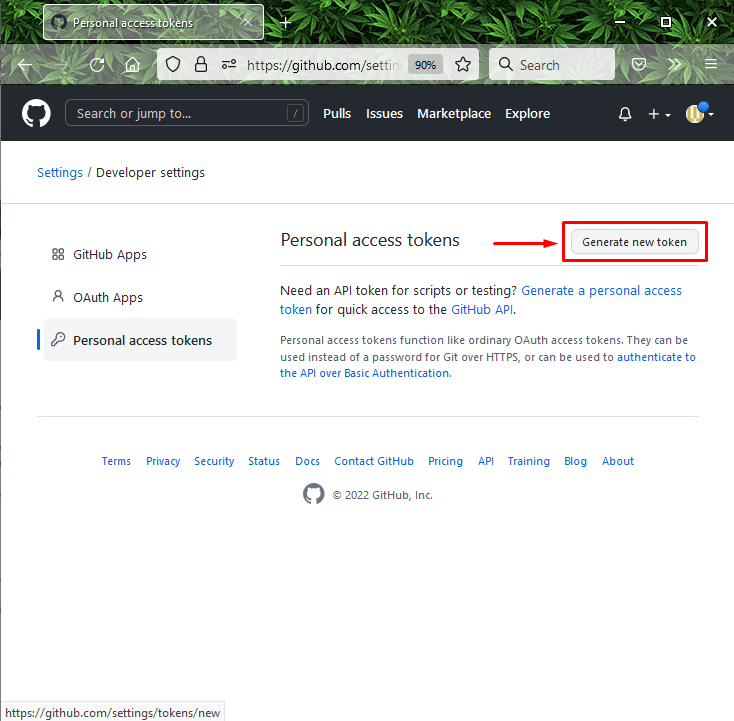
Step 3: Open Personal Token Access
Underneath the “Developer Settings” tab, click on the “Personal Token Access” option:

Step 4: Generate Token
Next, to generate a new token, click on the “Generate new token” button:
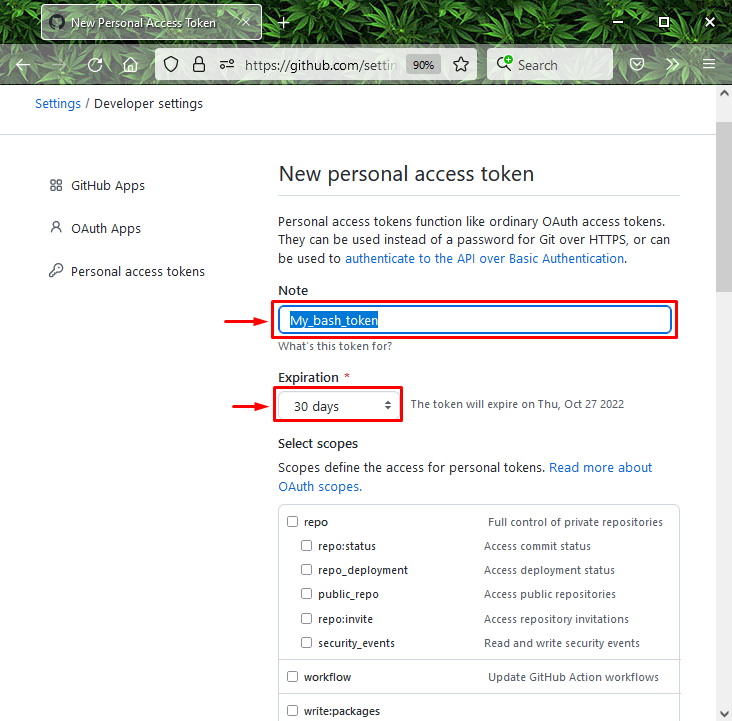
Step 5: Token Name
Now, add a descriptive name for the token in the “Note” field and specify the expiry date from the “Expiration” menu. For instance, we have selected duration of “30” days:
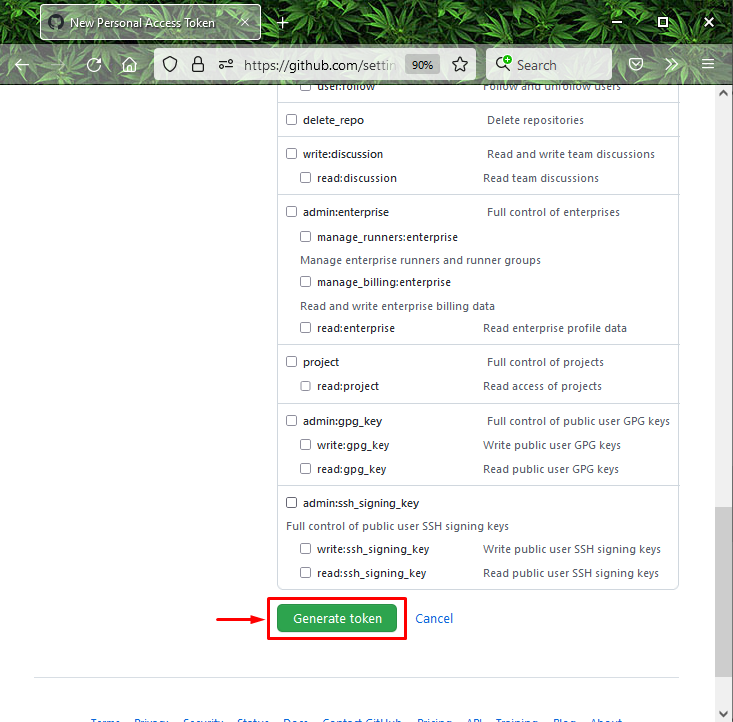
Step 6: Grant Permissions
Next, select the permissions or scope you want to grant this token to utilize it to access repositories from the command line:

Step 7: Generate Personal Access Token
Lastly, click on the “Generate token” button to generate your GitHub personal access token:
The below image indicates that our token has been created successfully and is ready to use. If you want to remove the token, click the “Delete” button. Moreover, users can “Revoke all” generated tokens simultaneously anytime:

That’s all! We have provided various methods to generate personal access tokens.
Conclusion
To generate a personal access token, first, open up the GitHub account and go to “Settings”. Then, select the “Personal Token Access” option. After that, click on the “Generate a token” button, and give the descriptive name of the token and the expiry date. Lastly, click on the “Generate token” button. This article demonstrated the procedure of creating a GitHub personal access token.
Source: linuxhint.com