Control Screen Brightness for External Monitor in Ubuntu (GUI & CLI)
![]()
Want to control screen brightness, color preset, contrast etc for your external monitor connected in Desktop PC or laptop? Here’s how to do the trick in both graphical and command line ways in Ubuntu & other Linux!
I know there are physical buttons to do the job. But for lazy men and/or software developers, few mouse clicks and/or a single command can be more effective. And ddcutil is the tool for Linux users.
ddcutil is a free and open-source tool that uses DDC/CI protocol to control settings for most external monitors. It also support some monitors (e.g. Eizo ColorEdge, Apple Cinema) through USB.
Step 1: Install ddcutil & ddcui
The ddcutil package is available in most Linux’s system repositories, including Ubuntu, Arch Linux, Fedora, Debian. User can directly search for and install it from system App Store (Software App, Package Manager)
The package in Ubuntu repository is however always old. For the most recent version, there’s an official PPA maintained by the software developer, so far with support for Ubuntu 20.04, Ubuntu 22.04, and Ubuntu 22.10.
-
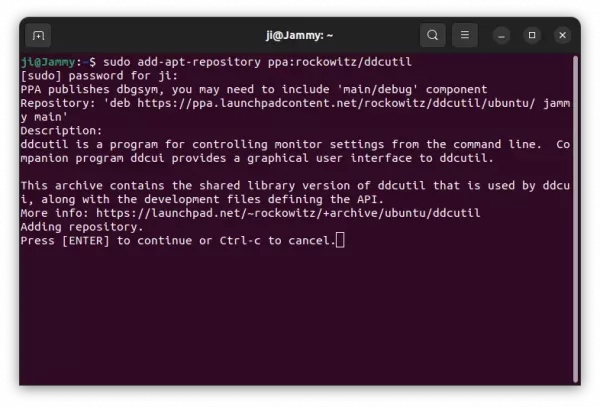
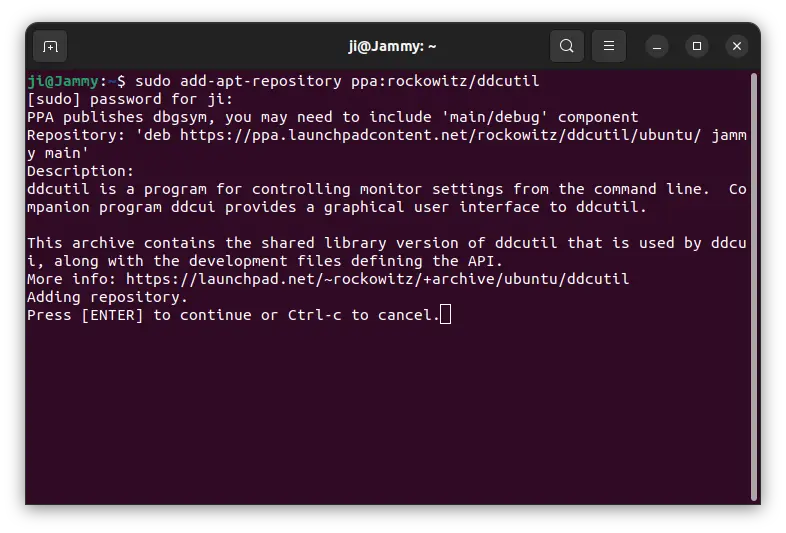
- First, press Ctrl+Alt+T on keyboard to open a terminal window. When it opens, run command to add the PPA:
sudo add-apt-repository ppa:rockowitz/ddcutil
Type user password (no asterisk feedback) when it asks and hit Enter to continue.
- After adding PPA, update system package index via command:
sudo apt update
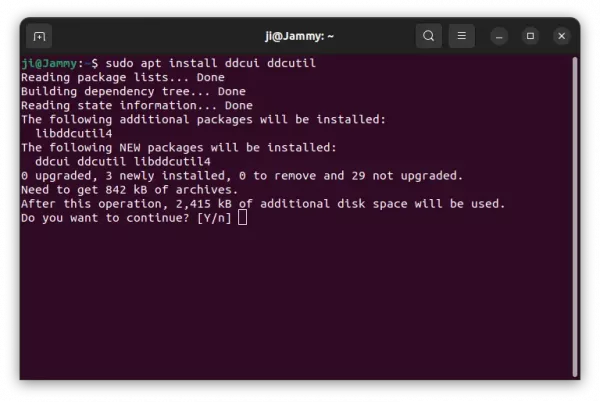
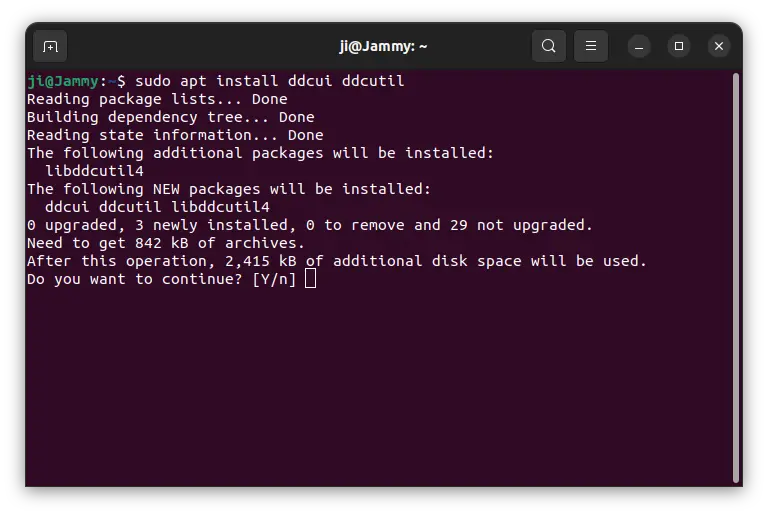
- Finally, install the command line utility and graphical interface by running command:
sudo apt install ddcui ddcutil
- First, press Ctrl+Alt+T on keyboard to open a terminal window. When it opens, run command to add the PPA:
Step 2: Control brightness & other monitor settings via Graphical tool
After installation, search for and open “ddcui” from Activities overview or start menu depends on your desktop environment.
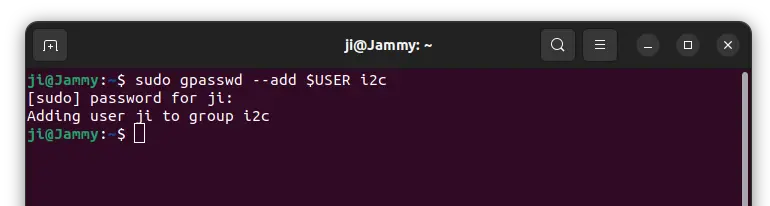
NOTE: for “error access: permission denied” issue, either start the app via sudo ddcui command, or run command to add current user to i2c group (need system restart):
sudo gpasswd --add $USER i2c
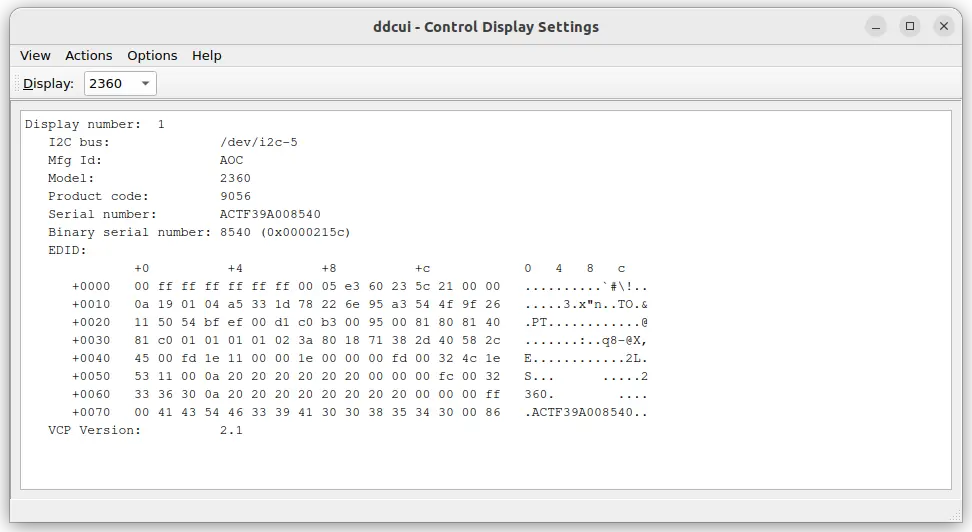
When the app starts, choose your monitor (if more than one available) from the drop-down box.
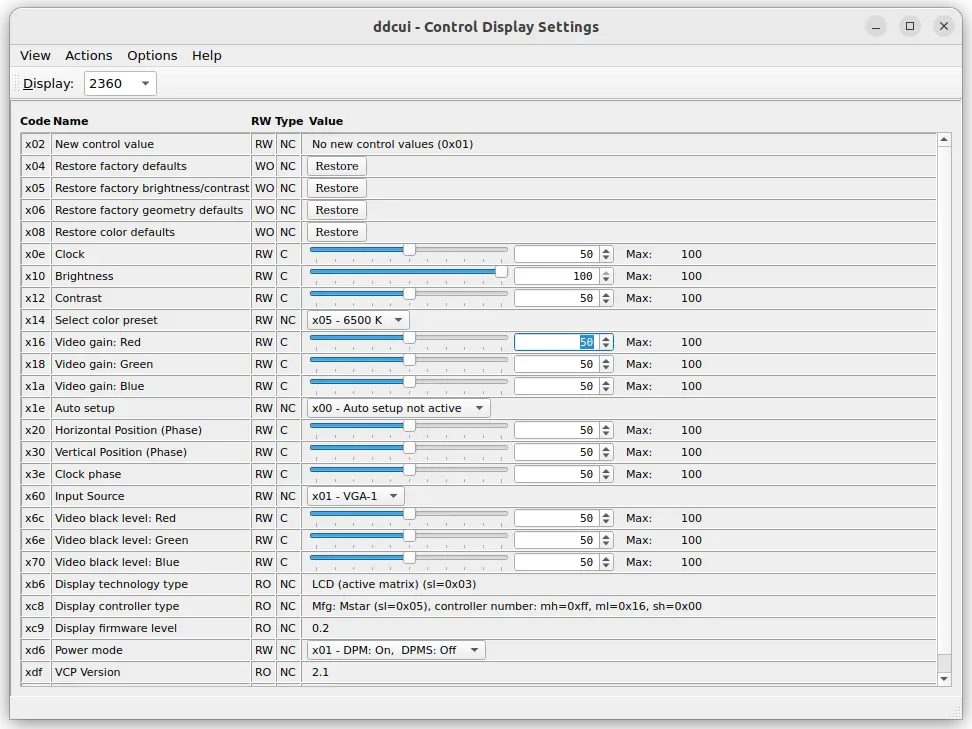
Then go to menu View -> Features. There you’ll see the options to control screen brightness, color preset, contrast, RGB colors, clock, restore factory, etc settings!
Step 3: Control Monitor Settings from Command line
For those who are familiar with Linux commands, things can be done via following steps. NOTE: sudo is NOT required after adding user into i2c group and reboot.
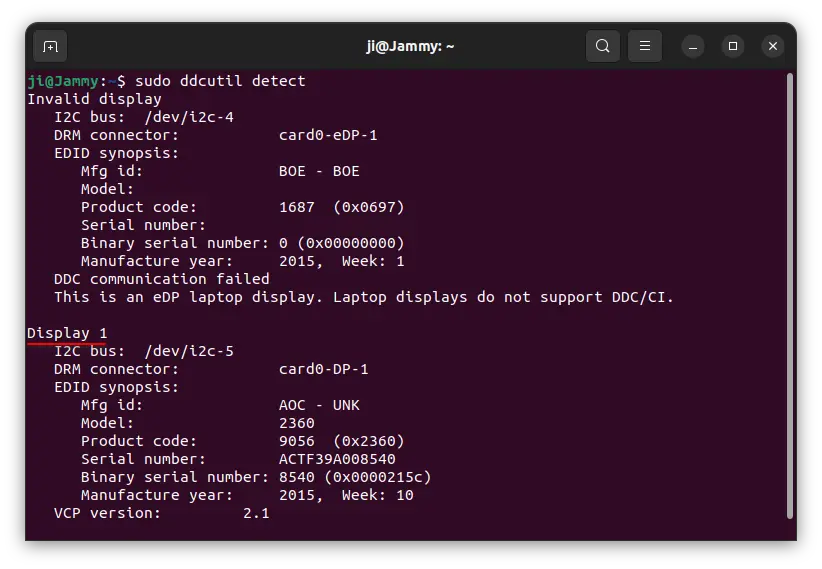
1. First, open a terminal window and run command to report all connected monitors:
sudo ddcutil detect
In my case, I have built-in laptop display and external “Display 1”.
2. Then query the monitor’s capabilities string, for display 1 (-d 1) in my case:
sudo ddcutil -d 1 capabilities
In the screenshot, I added grep option to filter the ‘Brightness’ and the output code 10 is what I need.
3. Get the current value of feature code 10 (“brightness” in the case) for display 1:
sudo ddcutil -d 1 getvcp 10
3. Set the brightness level (code 10) to 60 for example:
sudo ddcutil -d 1 setvcp 10 60
For more options, read the man page by running man ddcutil command in terminal.

Source: UbuntuHandbook