Configure Pod Security Admission in Kubernetes
What is Pod Security Admission in Kubernetes?
To enforce pod security standards on pods running in a namespace, Kubernetes v1.22 has a built-in admission controller called pod security admission. These standards are used to set cluster-wide exemptions and defaults. To configure the pod security admission, you must have a minimum of v1.22 Kubernetes and PodSecurity feature gate enabled. Alpha release of Kubernetes v1.22 has Pod Security Policy (PSP) which has been deprecated in Kubernetes v1.25. Now, the enhancement of the Pod Security Policy (PSP) is known as Pod Security Admission (PSA). Unlike Pod Security Policy, Pod Security Admission does not support mutation resources, however, it validates the admission controller.
Furthermore, pod security standards have defined three levels for pod security admission: baseline, restricted, and privileged. These levels are placed in a security context of a pod and various other fields by the pod security admission. After configuring the admission control mode for pod security for each namespace, you may set the namespace to specify that mode. The set of labels provided by Kubernetes allows you to choose any pod security standard level for a namespace. Now, let us learn how to configure pod security admission with the help of a simple example.
Prerequisites
Before you move further, make sure you have these basic tools installed and the required features enabled:
- Ubuntu 22.04 or any other latest version
- Kubernetes cluster v1.22 with –feature-gates=“….,PodSecurity=true” flag enabled
- Minikube cluster
- Kubectl command line tool
Once you have configured these tools in your system, you are ready to configure the pod security admission in Kubernetes. Moving on to the implementation section assuming that you have already installed all these prerequisites.
How to Configure Pod Security Admission?
Follow the steps given below and easily configure the pod security admission in Kubernetes for your system.
Step # 1: Start Kubernetes
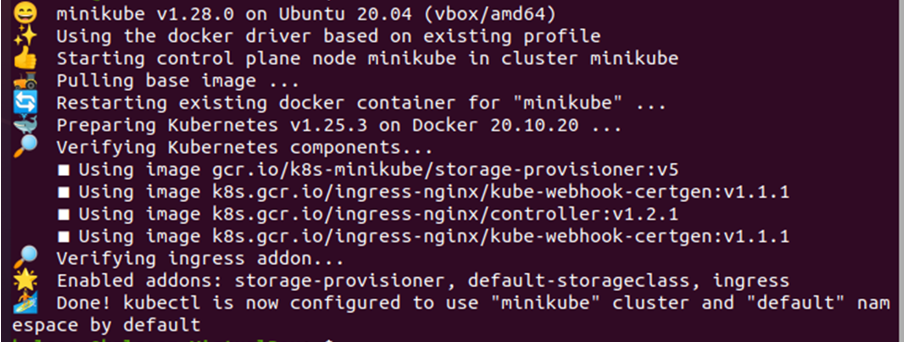
First, we need the minikube cluster up and running. So, for that we will be using the command given below to properly start it:
This command ensures that the minikube cluster is working so you can implement your command and run applications in the cluster.
Step # 2: Enforce Pod Security Admission with Deployment
There are three levels defined by pod security standards: baseline, privilege, and restricted. Here, we will be enforcing a pod security admission on two levels of pod security standards, privileged and restricted.
Step # 2(a): Create Namespaces for Pods
First, we will create two namespaces. First namespace will be created with the privileged policy using the command given below:
![]()
The second namespace will be created with the restricted policy, using the command given below:
![]()
Step # 2(b): Set Security Standards on the Namespaces
Now, we need to set security standards for the namespaces that we have created in the previous step. To set the security standard for the privileged policy, we are using the command given below:
![]()
We are using the below command to set the security standard for the limited policy:
![]()
These standards will allow the namespaces to block any running pod and will send a warning to the user if any pod tries to run in case of not meeting the configured policy. Now, let us try to deploy pods on the namespace to check what result we get.
Step # 3: Deploy Pods on Namespaces
The namespaces have been created and security standards are set on them. So, let us deploy pods on those pod security-administered namespaces.
Step # 3(a): Attempt to Deploy Pods
First, we are deploying pods on the privileged policy by using the command given below:

Second, using the command provided below, we are deploying pods on the privileged policy:
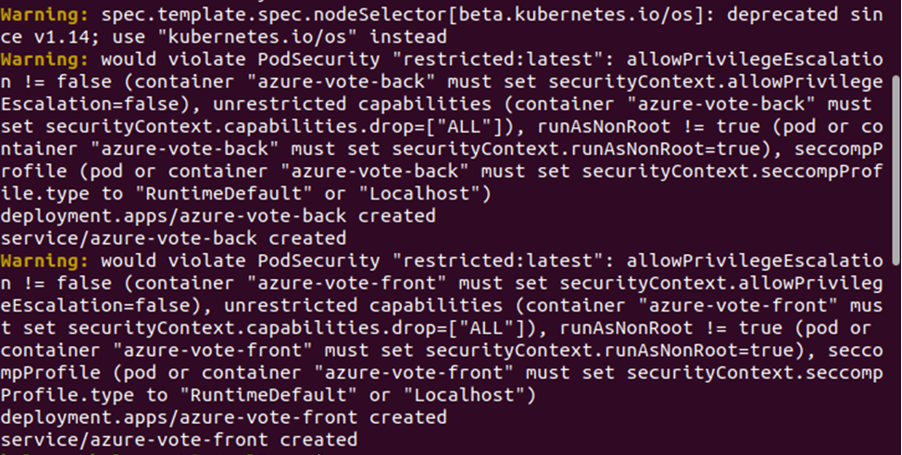
When we attempted to deploy pods on the limited policy, a warning was generated, as can be seen. As pods are violating the configured policy, this warning has been generated. There is no warning generated for the privileged policy because no pod has been violating the configured policy.
Step # 3(b): Verify Running Pods in Namespaces
Now, let us check if there is any pod running in the namespaces or not. First, we will check the privileged policy with the following command:

Note that some pods are running in the namespace. There were no warnings generated for the privileged policy which means that some pods are running in the namespace which do not violate the configured policy. Now, let us check if there is any pod running in the restricted namespace with the following command:
![]()
There is no pod running in the restricted namespace. Remember that we got the warning that some pods have violated the configured policy in the previous step.
Step # 4: Delete the Namespace
The last step is to delete the namespaces which we have created. Use the command given below to delete the namespaces:
This command will delete both namespaces from the cluster.

Conclusion
In this article, we provided guidelines on Pod Security Admission (PSA) in Kubernetes. We explored what a pod security admission in Kubernetes is. We also learned how to configure the pod security admission in Kubernetes for the pods running in a namespace. By demonstrating a simple scenario, we demonstrated how to easily configure the pod security admission for the pods running in different namespaces.

Source: linuxhint.com