Compare git stash pop and git stash apply for File Restore
In this blog, we will do a comparison between git stash apply and git stash pop for restoring the file.
Comparison Between “git stash apply” and “git stash pop” for File Restore
To perform a reverting files operation using the git stash apply and git stash pop command, we will create and add a new file to the repository. Next, commit changes to update the Git directory. Then, remove the file from the Git repository and run the “git stats” command to save the working directory and index state. Lastly, we will restore the file, remove the changes from the stash, and reapply by utilizing the “git stash pop” command.
Let’s implement the discussed scenario to understand the difference between the above-stated commands!
Step 1: Open Git Bash
Search for the Git terminal using the “Startup” menu and launch it:
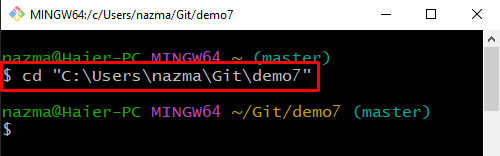
Step 2: Move to Git Repository
Run the “cd” command to navigate to the local Git repository:
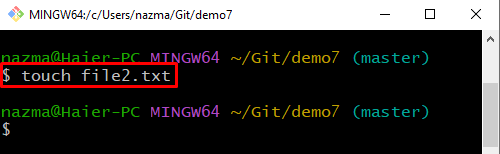
Step 3: Create File
Now, create a new file by writing out the following “touch” command with the file name:
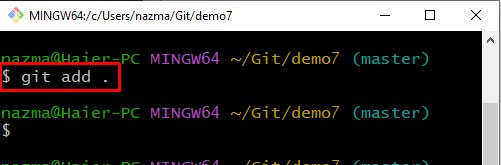
Step 4: Track Newly Created File
Next, track the file using the below provided command:
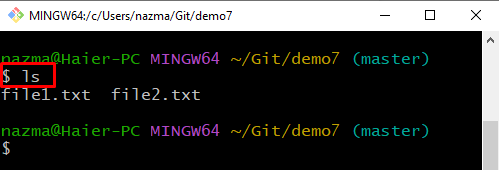
Step 5: List Directory Content
Display the list of the content with the help of the “ls” command:
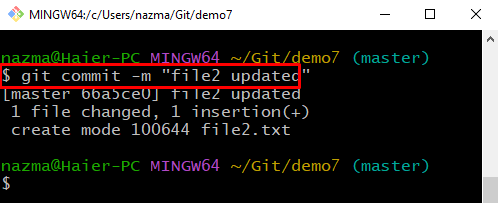
Step 6: Commit Change
Next, commit changes to update the Git repository using the “git commit” command with the commit message:
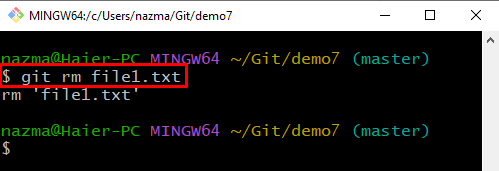
Step 7: Remove File
To remove the file from the staging area, run the “git rm” command:
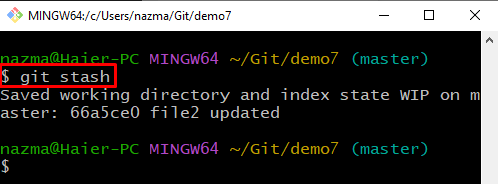
Step 8: git stash
Now, execute the “git stash” command to save the working directory and index state:
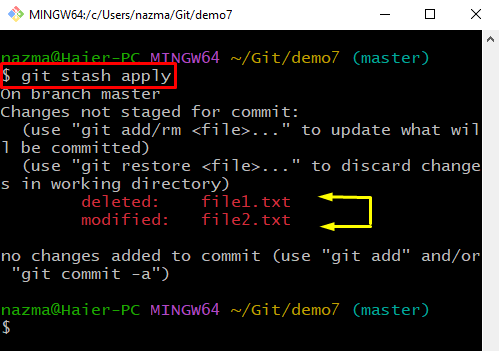
Step 9: git stash apply
To apply the git stash for file restore, execute the “git stash apply” command:
According to the below output, the modified and deleted files are restored successfully:
Step 10: git stash pop
Now, run the following command to discard the applied modifications from the stash and reapply them to the working copy:

That’s it! We have elaborated on the procedure of reverting the file using git stash apply and git stash pop commands.
Conclusion
To compare git stash pop and git stash apply for file restore, move to the Git directory, and create and add a new file to the repository. Then, commit changes to update the Git directory. Then, remove the file from the Git repository and save the working directory and index state. Next, for file restore, utilize the “git stash apply” command and remove the changes from the stash and reapply by executing the “git stash pop” command. This blog illustrated the method of reverting the files using git stash pop and git stash apply commands.
Source: linuxhint.com