Can You Program Arduino Online
Normally Arduino boards are programmed using Arduino IDE which is an offline tool but with changing time cloud IDEs are gaining momentum. Arduino Web Editor is one of the best examples as it allows users to write and save their sketch in Arduino Cloud. It helps Arduino users to access and share Arduino sketches from anywhere regardless of place and system. We just need a browser and an internet connection.
Can You Program Arduino Online
Yes, Arduino can be programmed online using Arduino Cloud base web editor. Arduino Web Editor can upload code to any Arduino board using a web browser. One of the main highlights of Arduino Web Editor is that it doesn’t need any updates like in Arduino IDE because the cloud base Arduino editor will always run the updated version of the editor. Sharing of Arduino sketches is a lot easier as anyone can create a link of his code or embed them on any webpage.
Let’s see how we can set up the Arduino Web Editor in the browser and upload the first Arduino sketch.
Follow below mentioned steps to setup Arduino board with Arduino Web Editor:
Sign In to Arduino Web Editor
To start with the editor, we need to set up our Arduino account first.
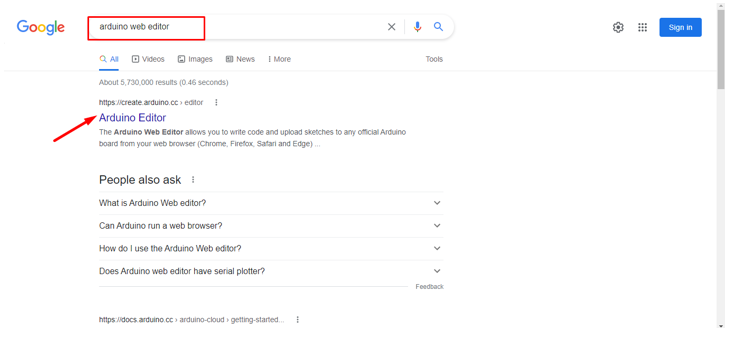
Step 1: First step is search Arduino Web Editor in any browser, recommended browser is Chrome or click here to open Arduino Web Editor.
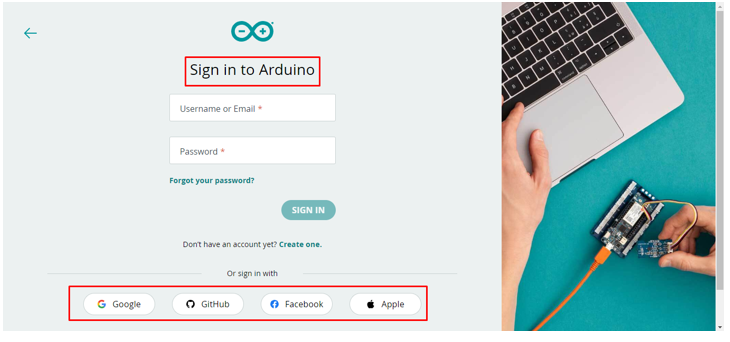
Step 2: After opening the web editor a login page will open here one can create his account using Google, Facebook, or other options. If already registered click the Sign in option.
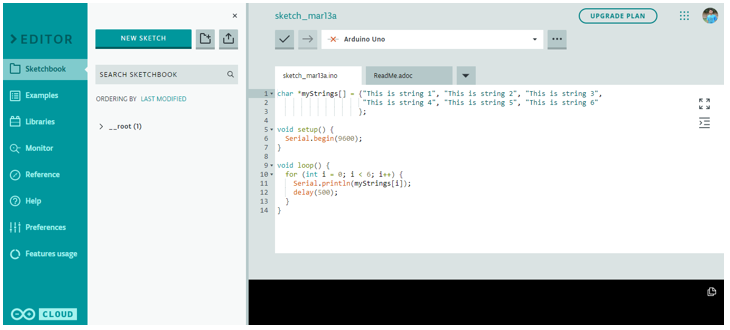
Step 3: Once the Arduino account is created, the Arduino Web Editor interface will open. This interface is much similar to the Arduino IDE. We can program Arduino boards, manage libraries and preferences, with all other features an IDE has. Only difference is that a web editor is an online cloud editor which can store our sketches easily.
Downloading Arduino Create Agent
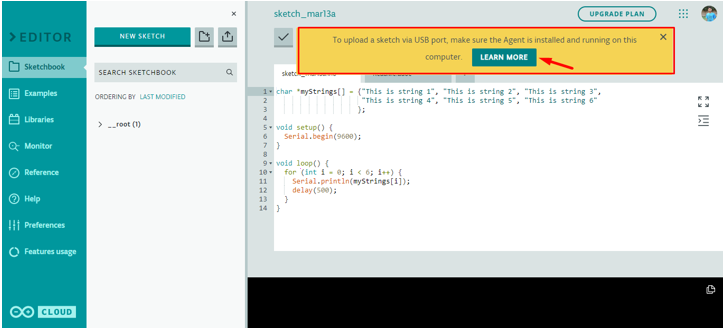
Step 1: When the Arduino Web Editor is opened for the first time a message highlighted in the image below will appear. Arduino Web Editor needs to download some files commonly referred to as Agent in PC to establish communication with COM ports so it can recognize Arduino boards easily. Click learn more to proceed further.
Step 2: In this new page Arduino Web Editor will ask for Agent icon color if Agent was previously installed then we have to resume Arduino Agent to start uploading code in Arduino board. It’s better to install the Agent again as it will replace the old Agent files. Click on INSTALL THE AGENT.
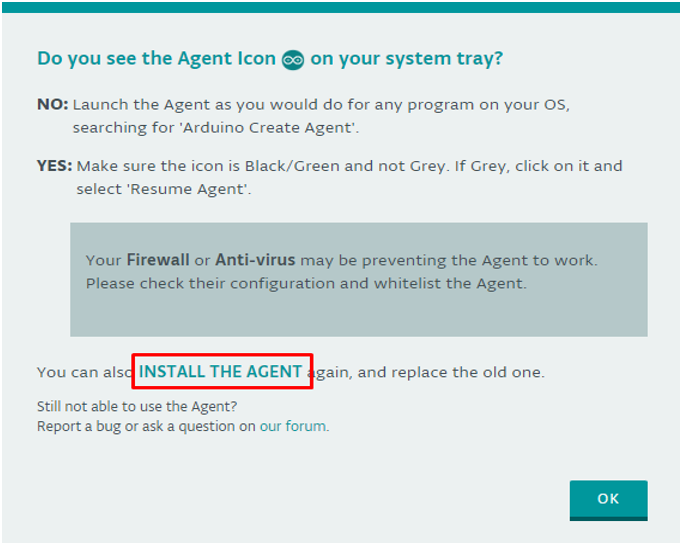
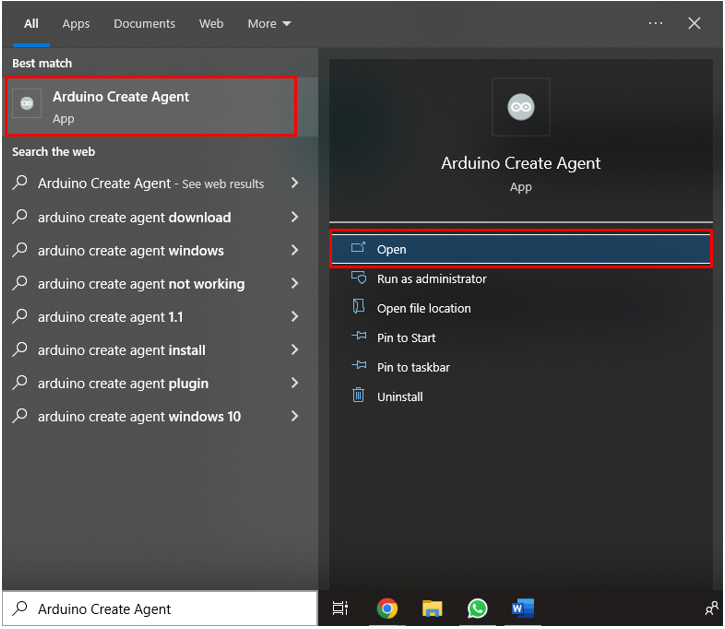
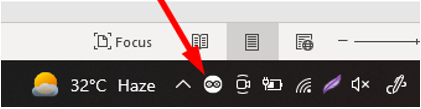
If Agent was previously installed and you do not want to reinstall it, then search for Arduino Create Agent in the window search bar or look it in the system tray.
If somehow due to any reason Agent was not working properly select and click Resume Agent to begin its process.

Make sure the color of Arduino Create Agent is Black or Green. In the case of Grey color repeat the step above.
Note: If Agent is not working properly try disabling Antivirus for Agent files.
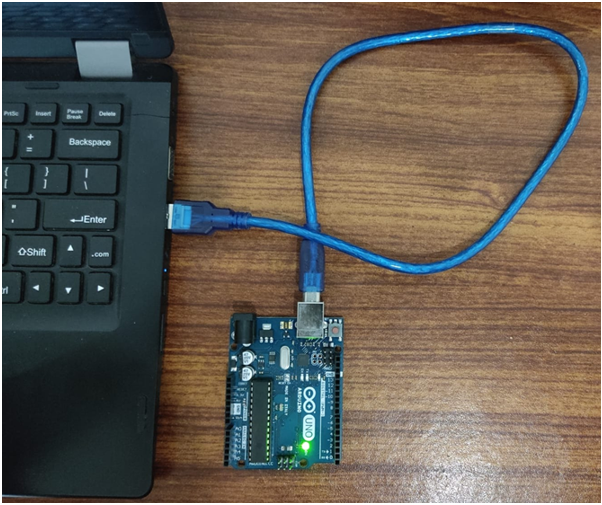
Step 3: Before installing Arduino Agent connect Arduino board with PC using USB B cable.
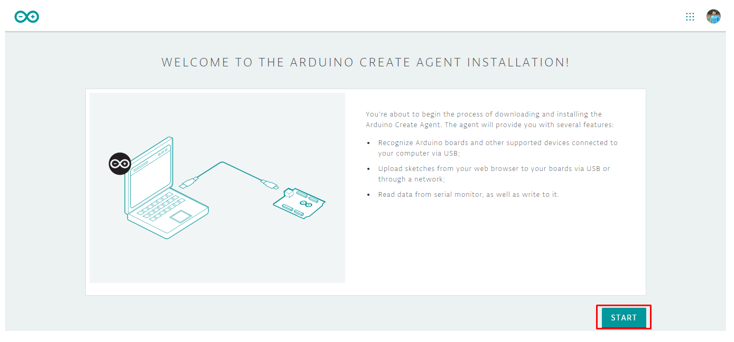
Step 4: Arduino Agent installation page will open click Start to continue with installation.
Step 5: Download page will appear here we can select windows operating system bit or Arduino will automatically recommend you according to PC. Click download to begin Arduino Create Agent downloading.

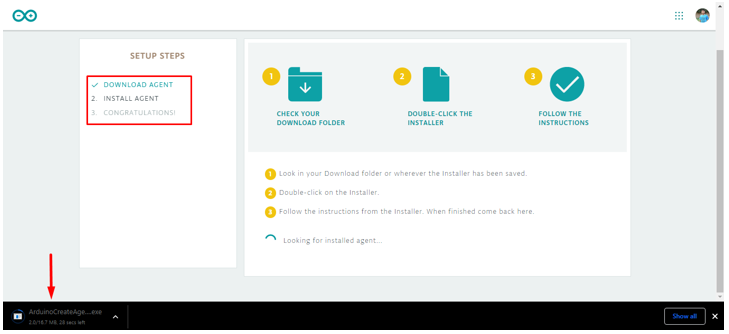
Step 6: Web browser will start downloading Arduino Create Agent files. Wait for the files to be completely downloaded.
Installing Arduino Create Agent
Arduino Create Agent is downloaded now we have to install it in our system.
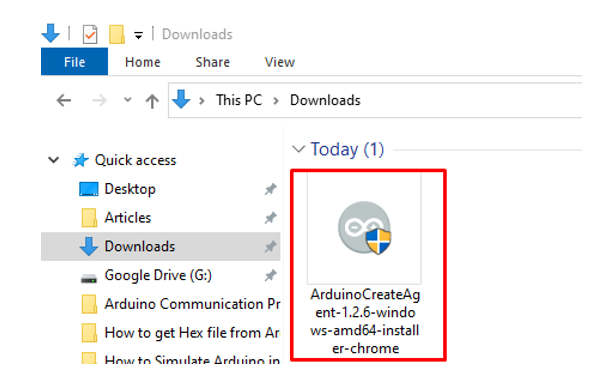
Step 1: Once the files are downloaded, open the download folder. Double click Agent installation file or right click and select run as administrator.
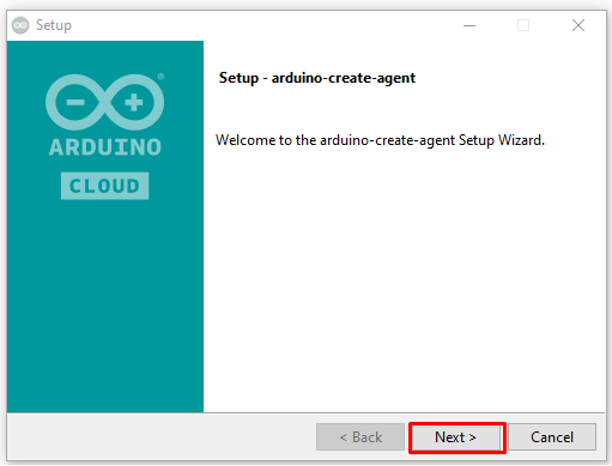
Step 2: Arduino Create Agent setup will open click next to continue.
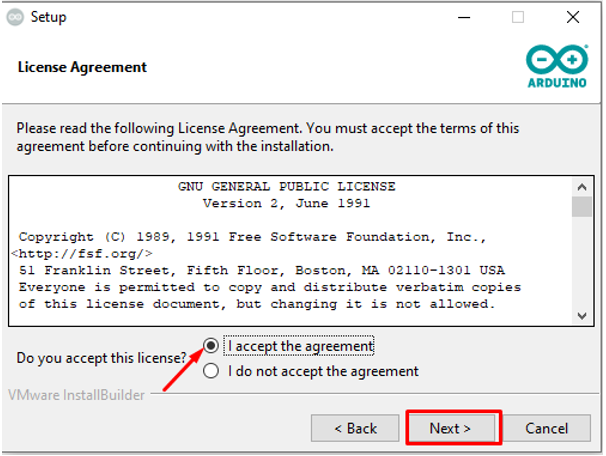
Step 3: Accept the license permission and click Next.
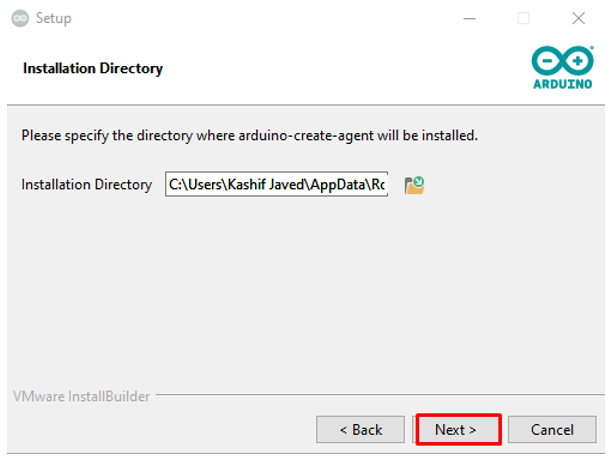
Step 4: Select the directory where you want to install and click Next. It’s recommended to go with the default selected address.
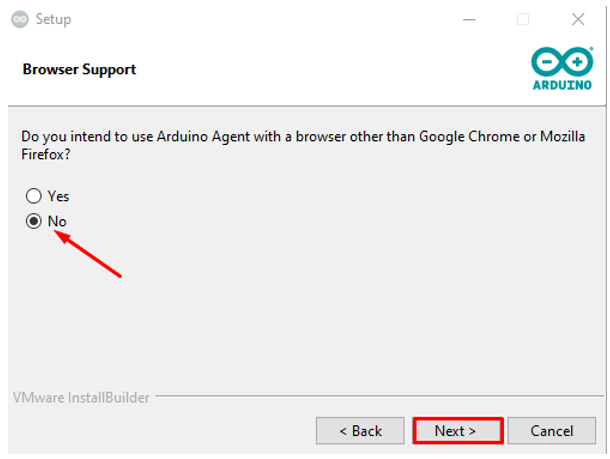
Step 5: Here Agent will ask for a web browser you are going to use for Arduino Web Editor. Select no if you are using mentioned browsers only.
Step 6: Setup is ready for installation click Next to continue.

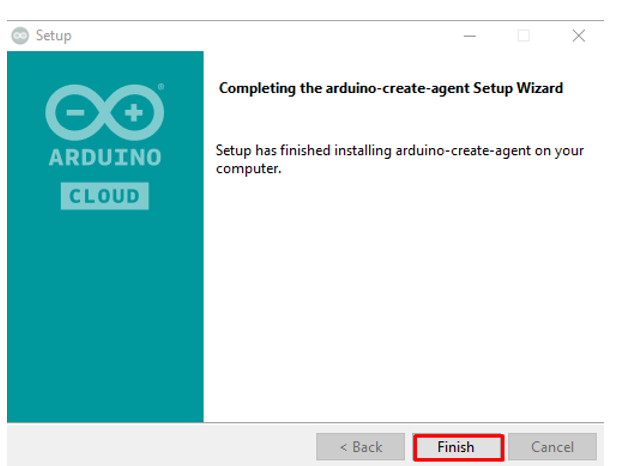
Step 7: Once the setup installation is done, click Finish.
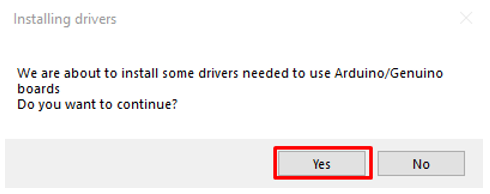
Step 8: After installing Arduino Create Agent Window will ask for permission to install necessary drivers needed for Arduino Web Editor click Yes to complete installation.
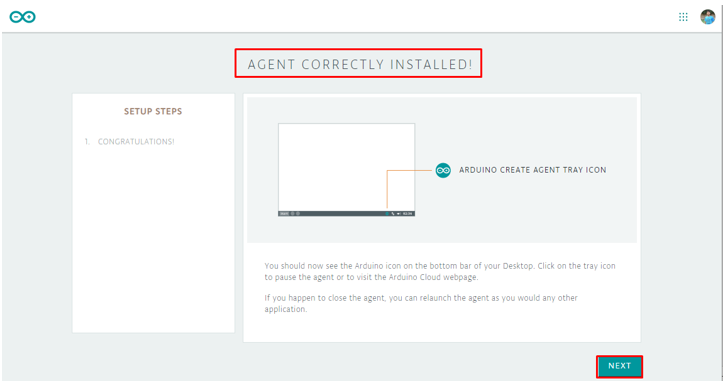
Step 9: Open Arduino Web Editor page message will appear at top that Agent is installed click Next to continue.
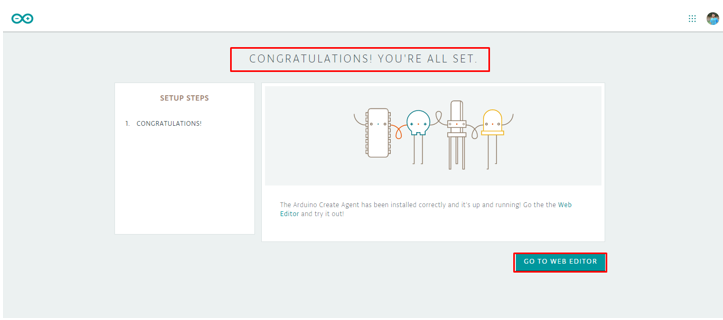
Step 10: Once the whole installation is completed select Go to web editor.
Uploading LED Blink Program
We have installed Arduino Create Agent on our PC. Now we will upload the first Arduino program using a web editor.
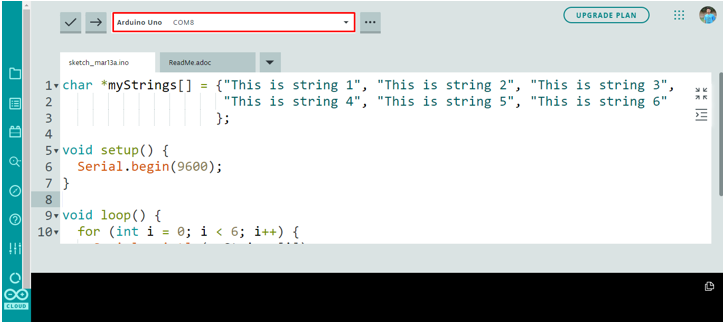
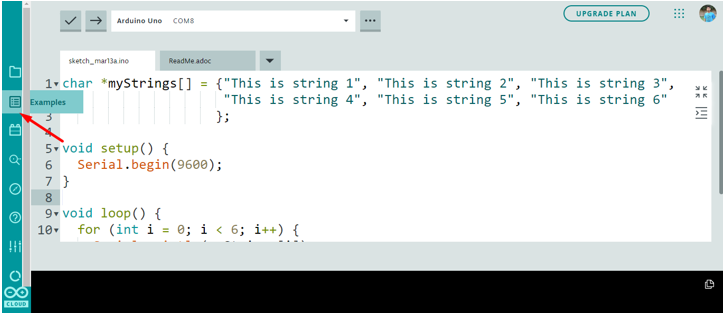
Step 1: If all the installation process goes smooth Arduino Web Editor will recognize the Arduino board and the COM port at which it is connected, else you can also select the Arduino board just like we did in IDE.
Step 2: Now to verify our installation we will take an Arduino LED Blink example and upload it to the Arduino board using Arduino Web Editor.
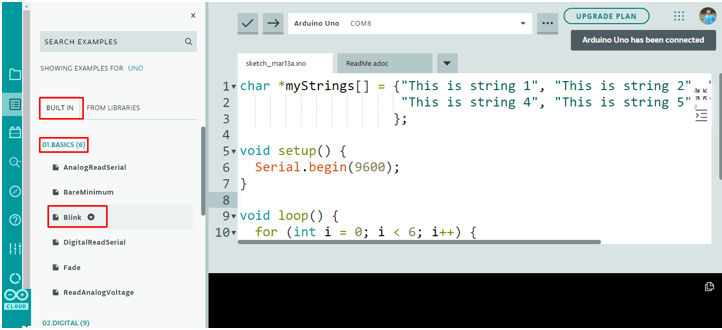
Step 3: To open LED blink example Go to: Examples>Built In>Basics>Blink
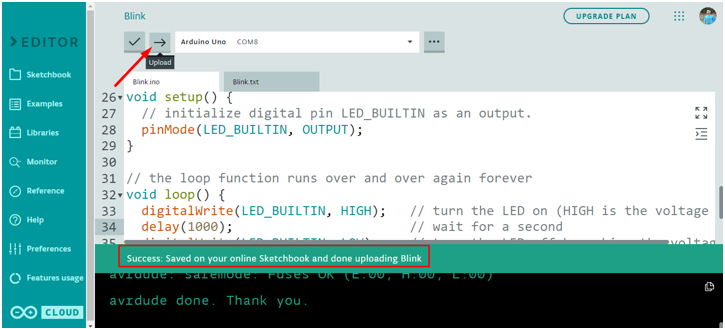
Step 4: LED blink example will open in a new window inside editor, click Upload button a message will appear in bottom of editor that says done uploading blink.
LED Blinking Output
Built in LEDs will start blinking in a pattern of 1 sec on and 1 sec off.
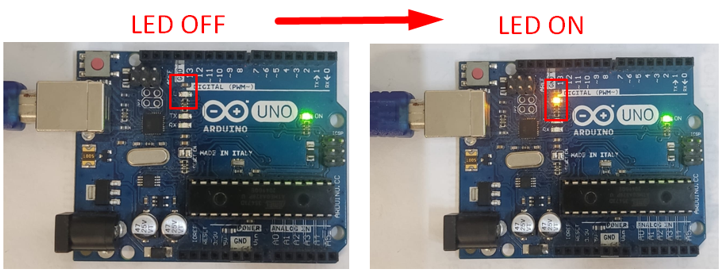
We have successfully uploaded our first program using Arduino Web Editor.
Conclusion
Arduino Web Editor is the best alternative to Arduino IDE as it has all the features required to program Arduino boards. Main highlight of a web editor is that it is always up to date with the latest libraries and functions. Here we have covered all the steps needed to begin Arduino Web Editor for the first time. To start with Arduino Web Editor this article will cover all queries related to it.
Source: linuxhint.com