Calendar Template in Google Docs
Example 1:
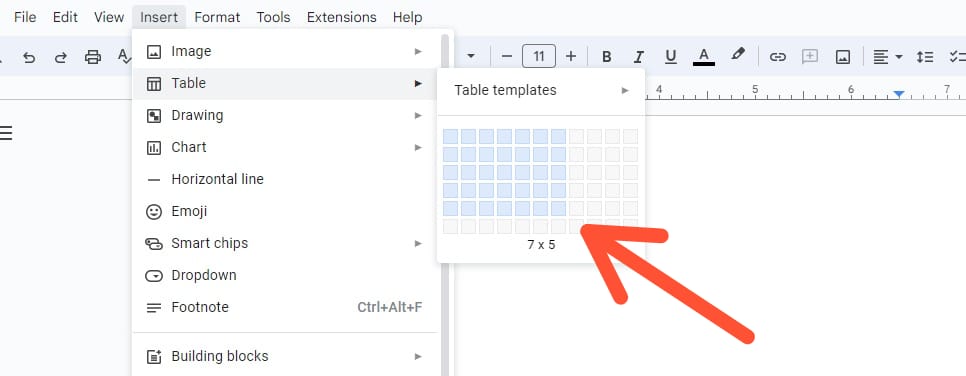
We now create our calendar by utilizing the “Table” option. We select the “Insert” menu, and a “Table” option will appear. We can see an arrow across this “Table” option. We have to click on this arrow.

After selecting the table, the table templates are now opened from where we select the table’s number of rows and columns. For this demonstration, we select “7” columns and “5” rows to create the table.
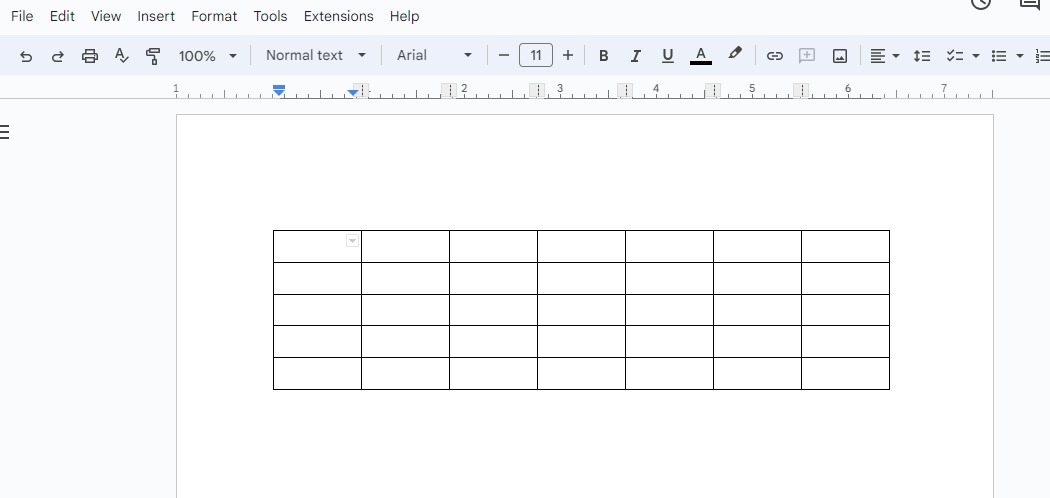
After selecting the number of rows and columns from the table templates, the table is now rendered here on the screen which contains “7” columns and “5” rows.
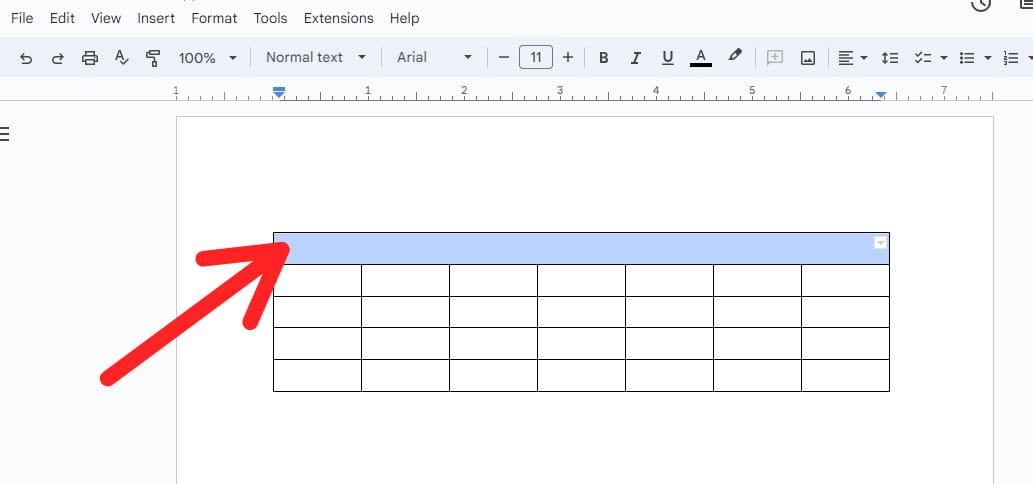
Now, we have to merge the first row as one cell. So, we select the first row and then right-click on that row after selecting it. Many options will appear in which we select the “Merge cells” option. This merges all the cells of the row into one cell.

Now, the cells of the first row are merged and it is displayed as one cell. After this, we add the dates, day, month, and year in this calendar template.
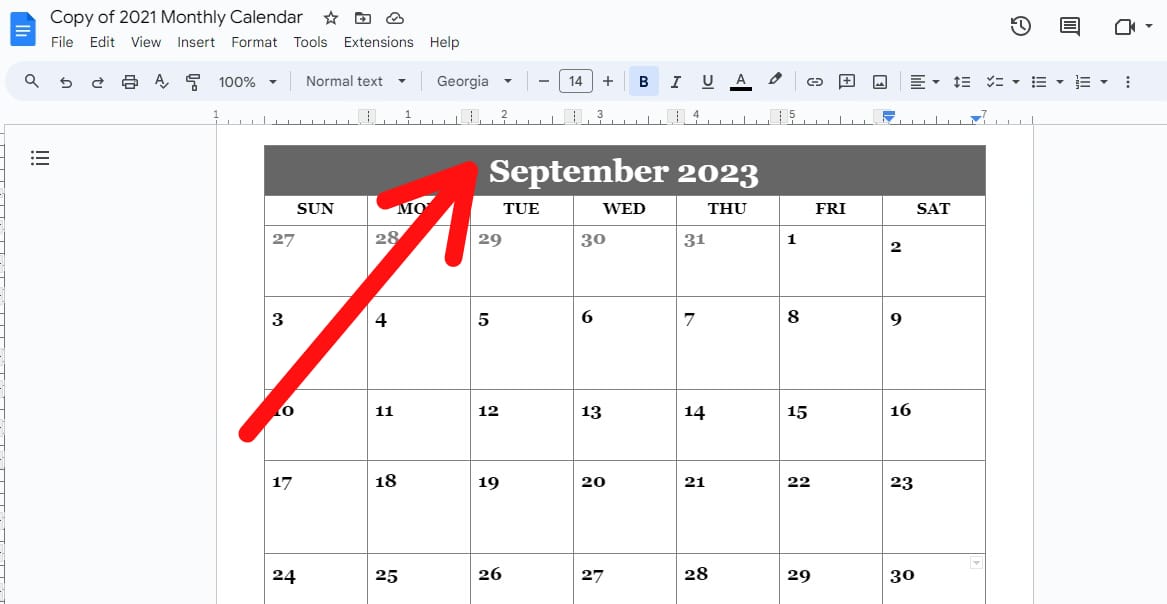
Here, we type the month along with the header in the first row where we merge all the cells. We type “September 2023” here.
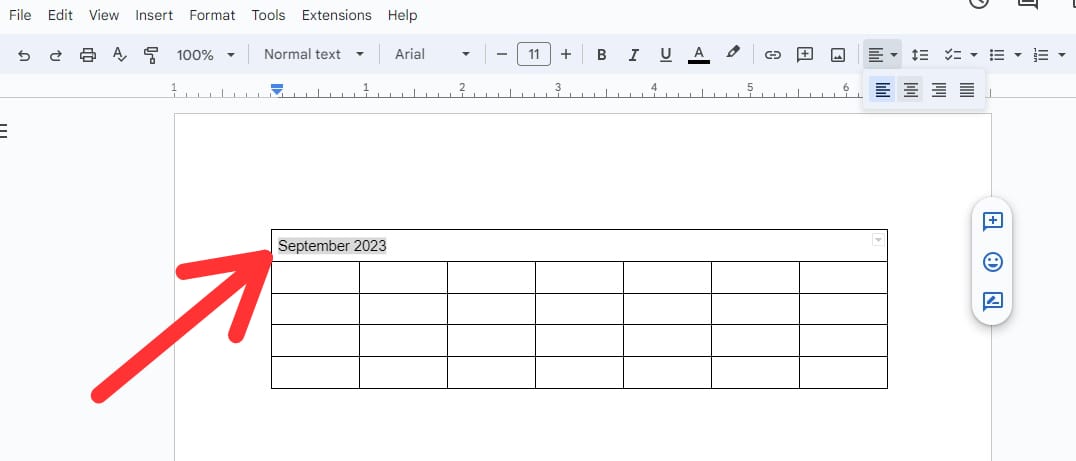
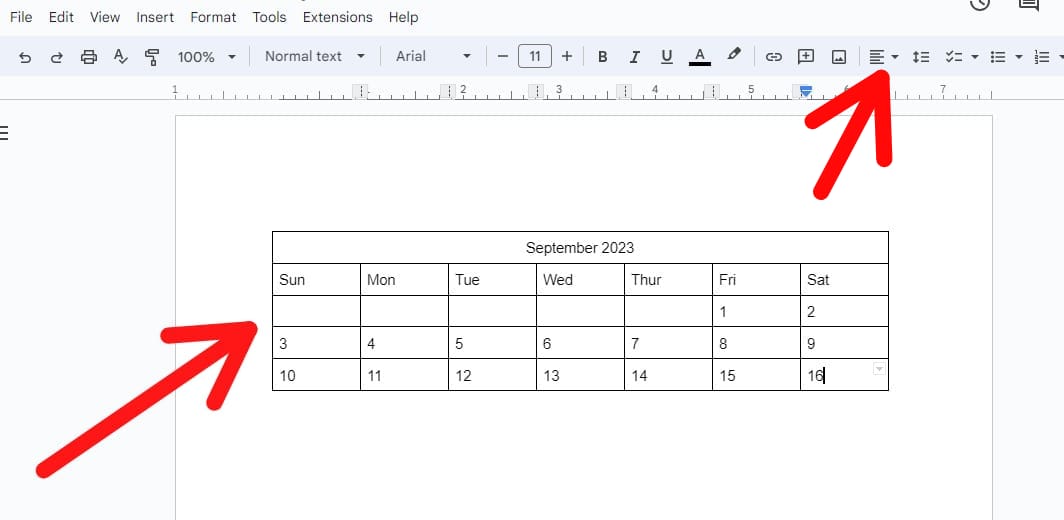
After typing this, we want to adjust that month and year at the center of the cell. We select the text and then press on the align option and align it to the center. After this, we type the days and dates in this table. As shown in the following illustration, we need two more rows here. So, we insert the rows in this table.
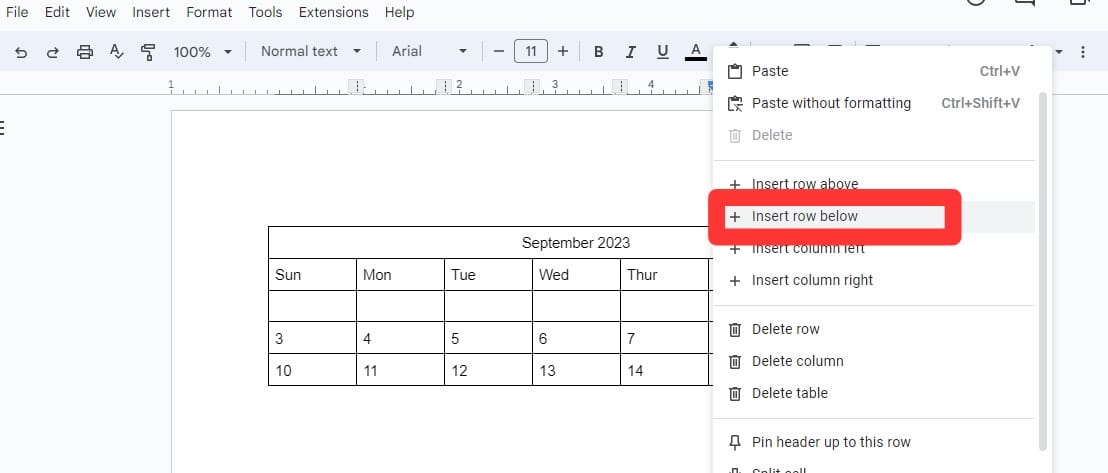
We place the pointer on the last cell to add two new rows at the end of this table and right-click on it. Then, we select “Insert row below” from the given options. New rows are now inserted on the table.
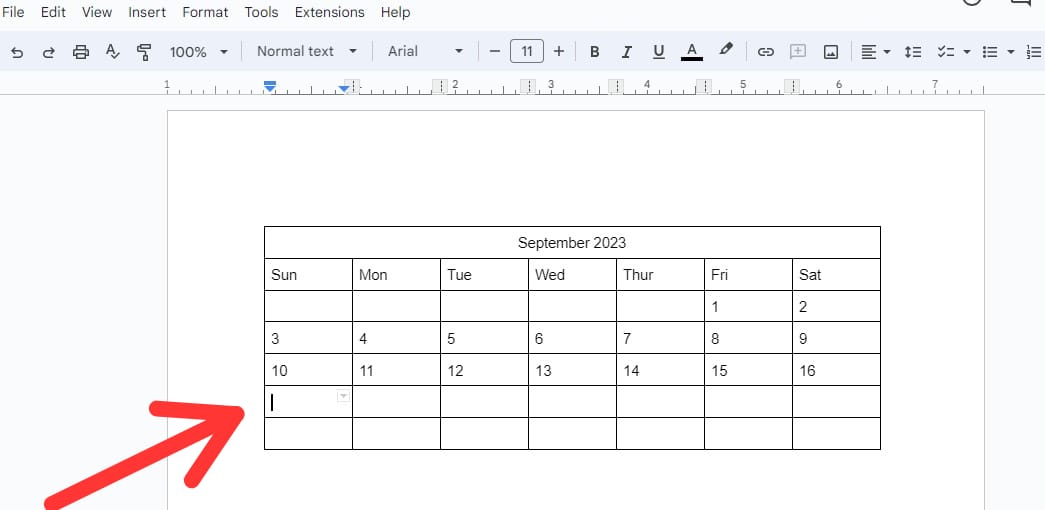
Here, we can see two more rows at the end. Now, we have to complete the dates of the month. To do this, we simply insert the remaining dates in the last two rows.
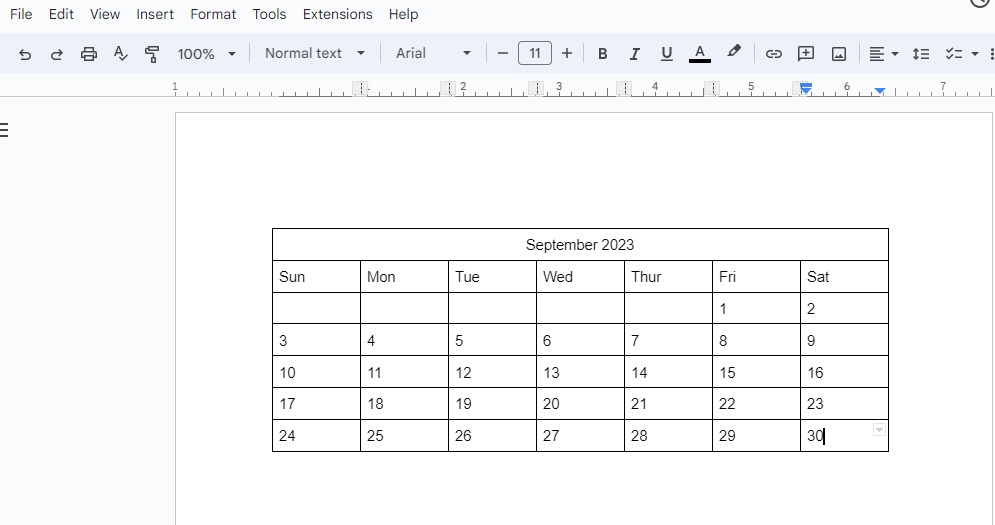
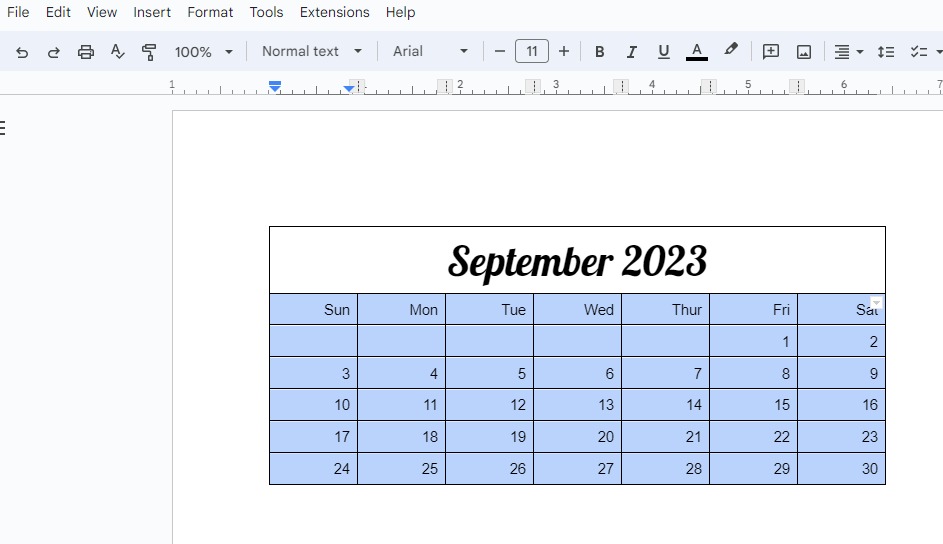
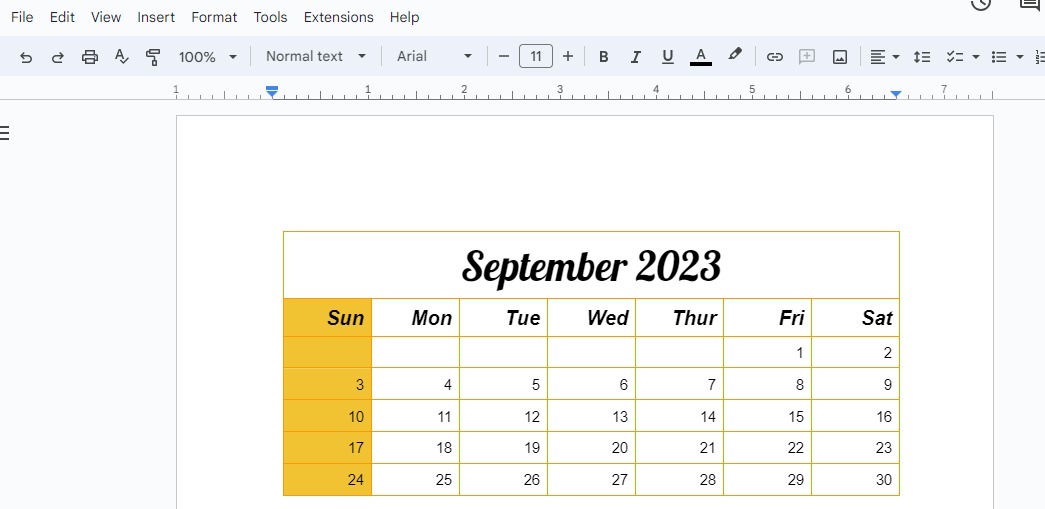
Now, the calendar is completed which is the “September 2023” calendar. We can apply formatting to this calendar to make it more attractive.
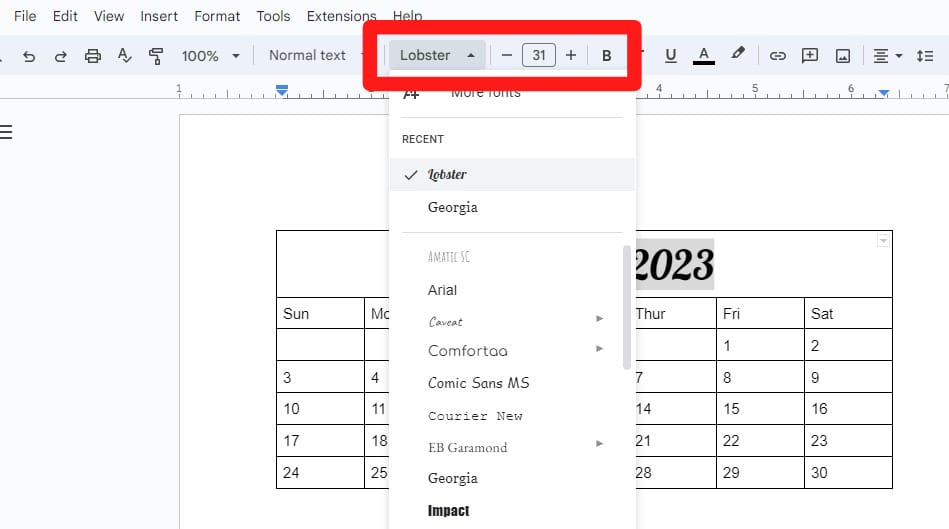
We select “September 2023” and then change its font to the “Lobster” font. We also change its font size to “31”.
Now, we wish to align the day’s names and dates in this calendar to the right side. So, we select all those rows and columns where the dates and days are written except the first row. After this, we click on the align option and select the “right align”. Now, all these selected texts are aligned right.

Here, we might notice that the day’s name and dates are aligned on the right side. Now, we apply more formatting to this calendar.
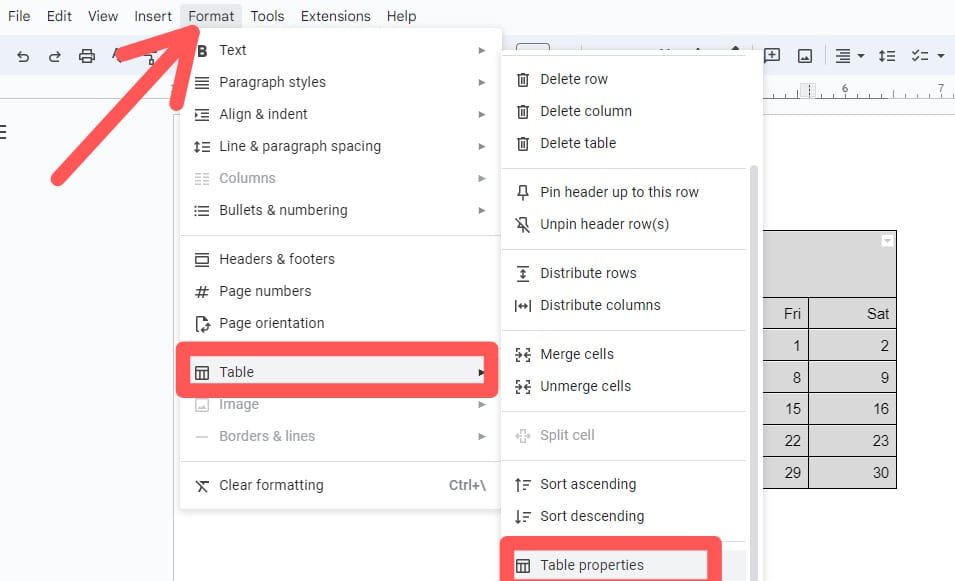
We select the whole table here and click on the “Format” menu. Then, from the “Table” option, we have to choose the “Table properties” option. We click on “Table properties” after selecting “Table” from the “Format” menu.
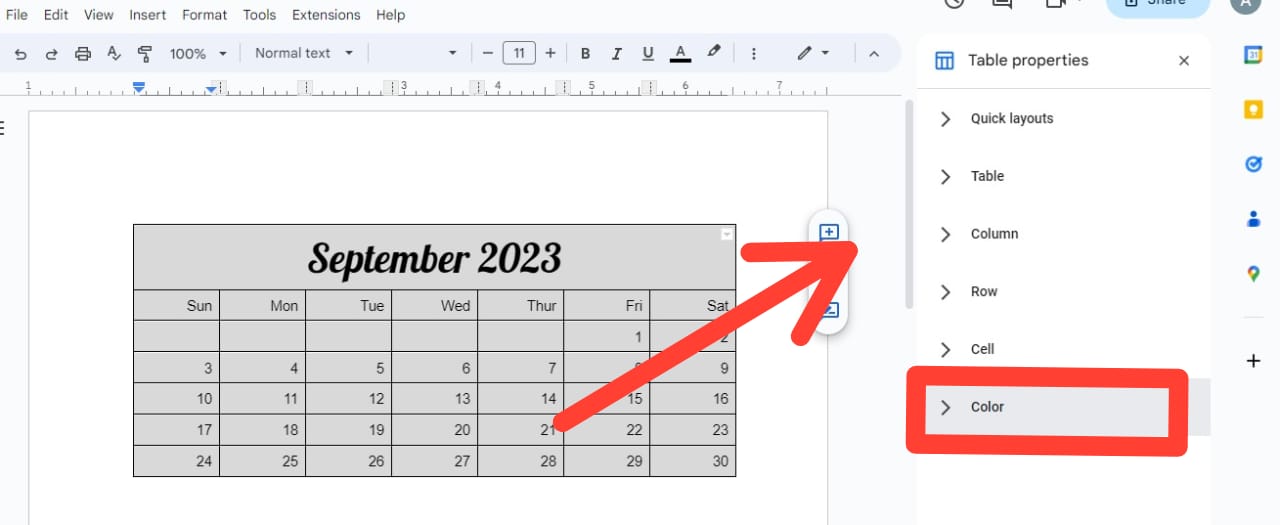
Now, a new dashboard appears. Here, we have multiple formatting options. We click on the color option here since we want to change the color of the table.
After this, we click on the “Cell border-color” and select the color of our choice. The selected color is now added to the borders of the cells.
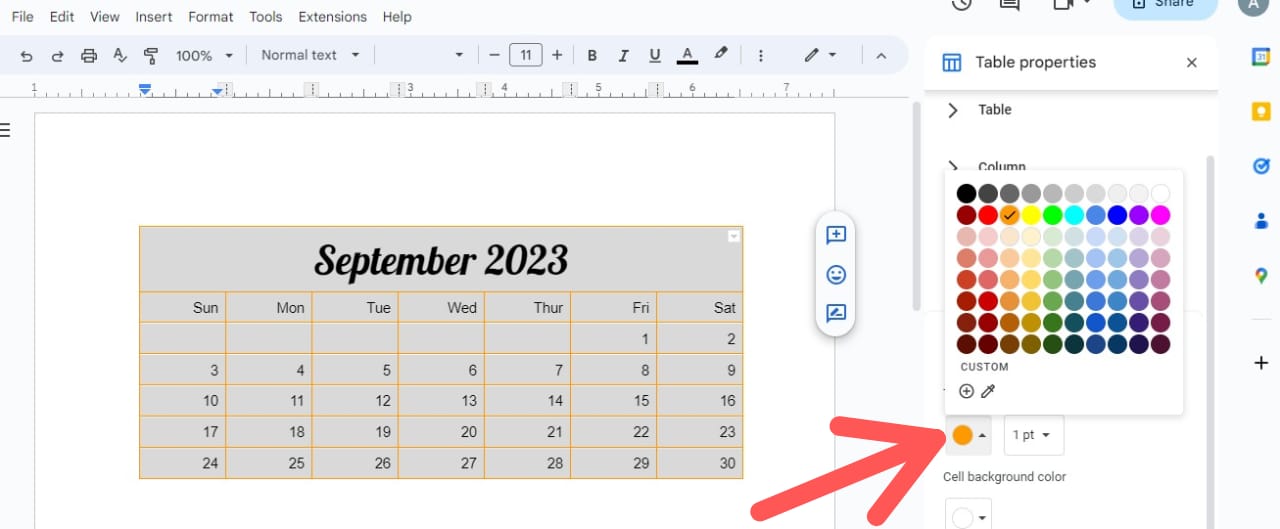
Now, we want to change the first column’s background color. We click on the “Cell Background color” and then select the color. The color of the first column’s background is now changed.
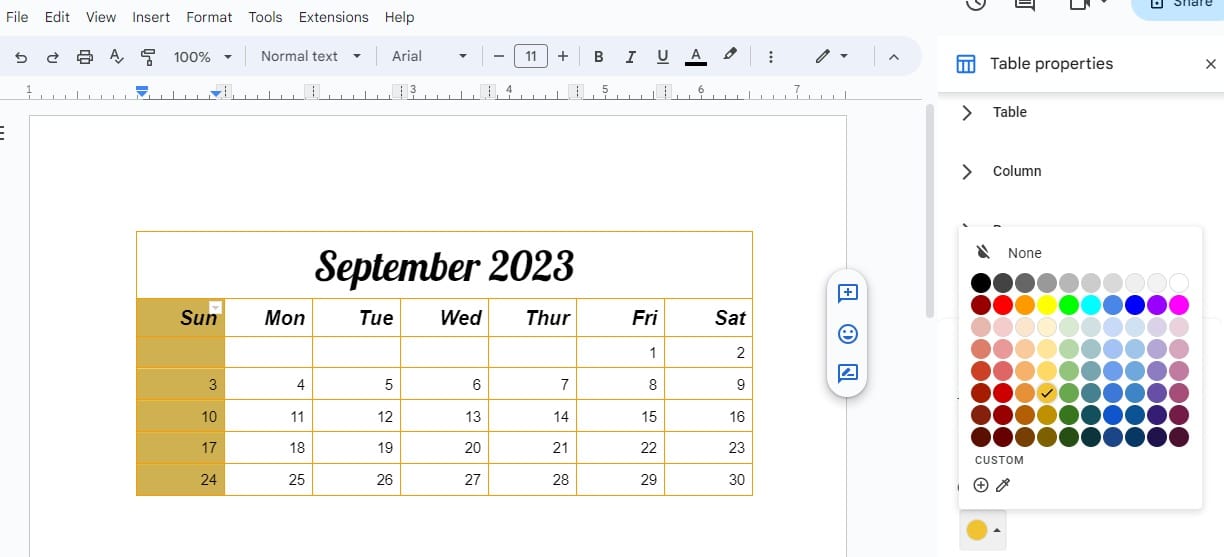
After this, the calendar template is now completed. We may add more formats and colors to this table according to the requirements.
Example 2:
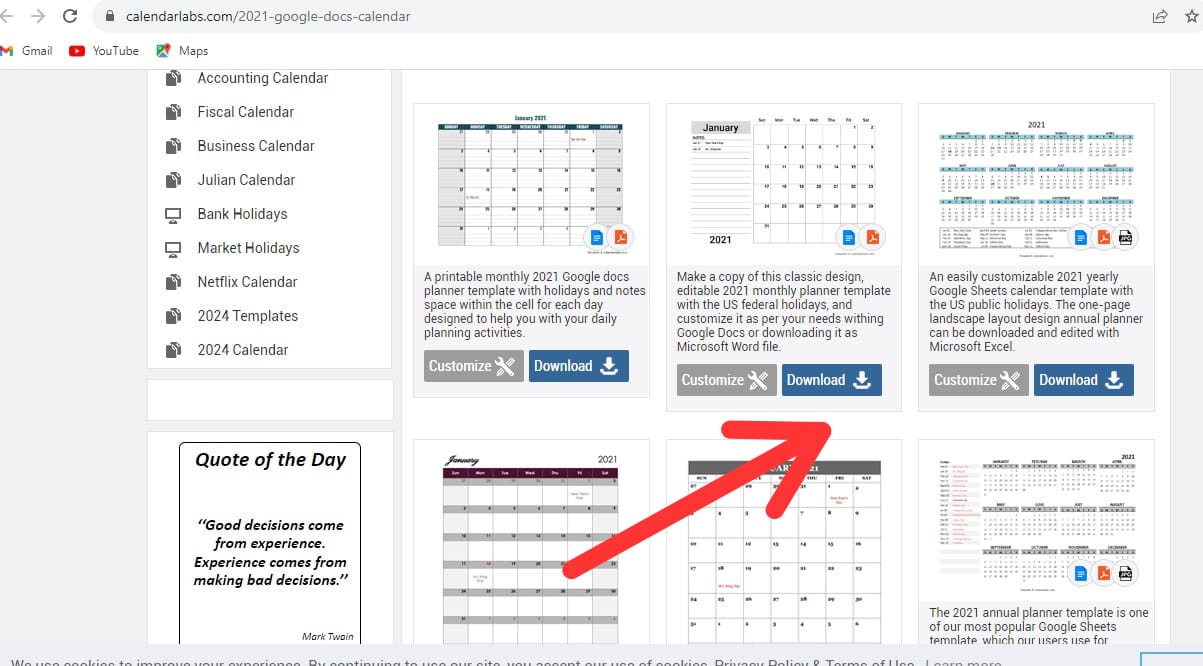
We can also download the calendar templates online for editing in Google Docs. Here, we open a website named “calenderlabs.com” to download the free calendar templates.
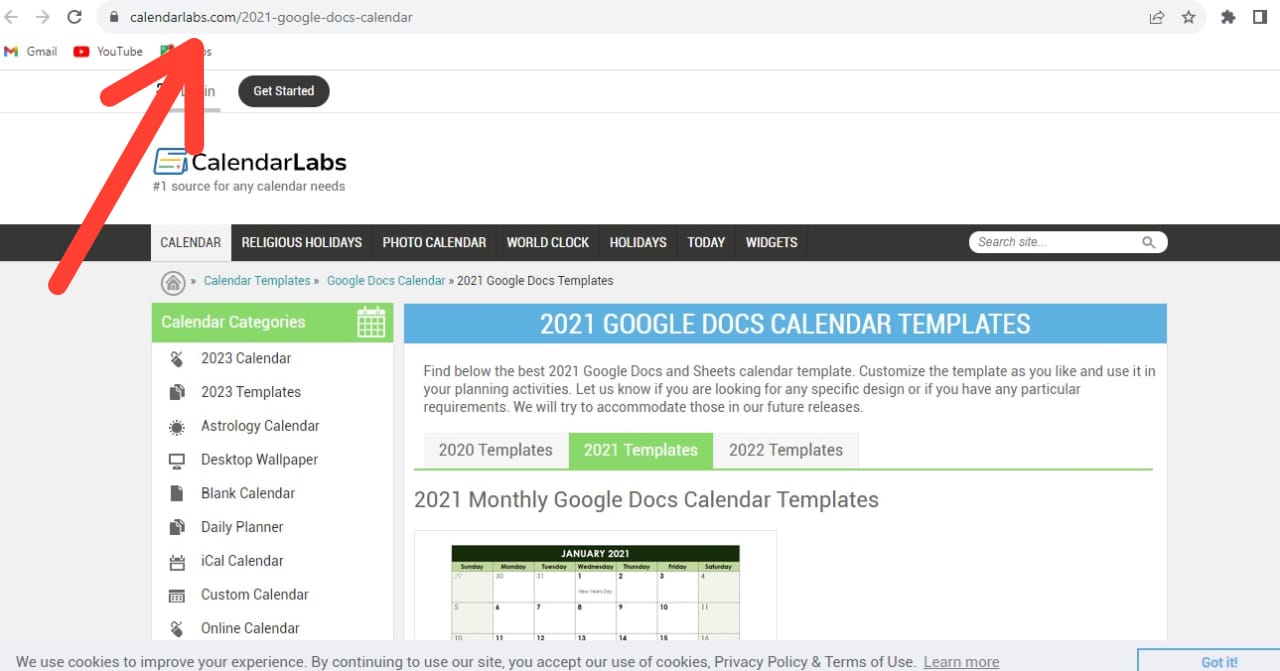
After opening this website, we can see that there are a lot of calendar templates available. We can download any template by pressing the download button. Now, we click on “Download” so the selected template will be downloaded.
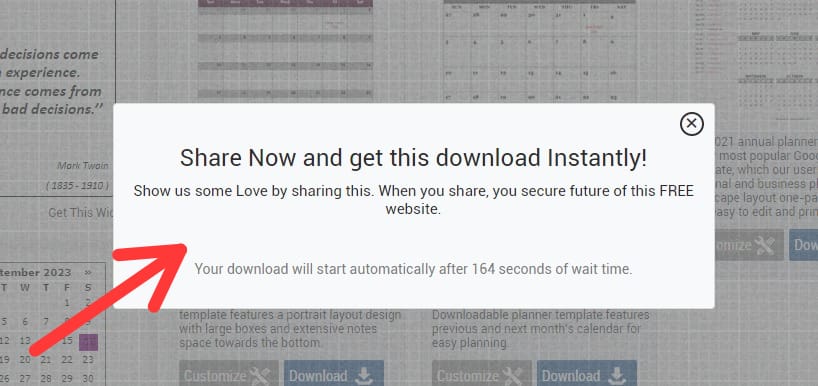
As we click on “Download”, the following window appears. We have to wait for a few seconds and the download will start automatically:
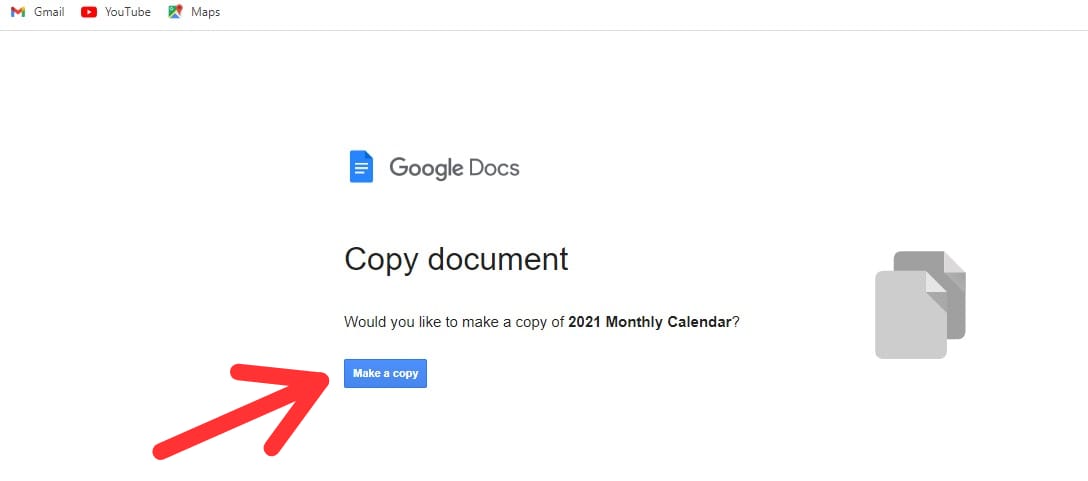
After some time, the calendar template is downloaded. We have to click on the “Make a copy” option. This creates a copy of this template and opens it in Google Docs.
Here, we might notice that the copy of the previously downloaded calendar template is now opened in Google Docs. We can now edit this calendar according to the specifications.
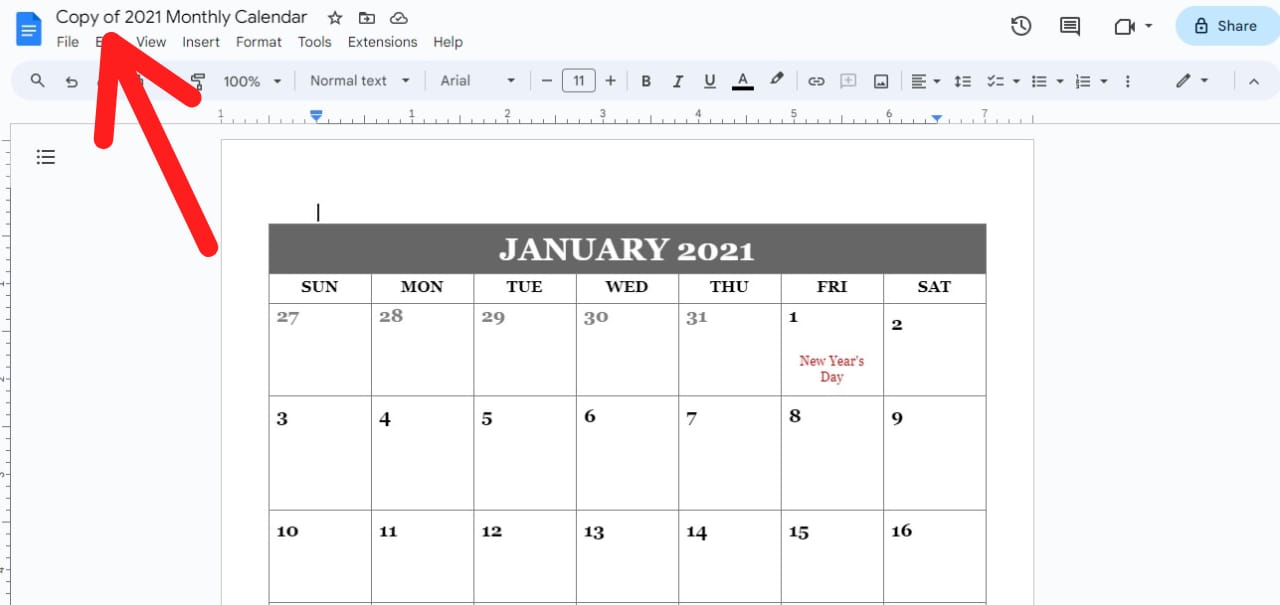
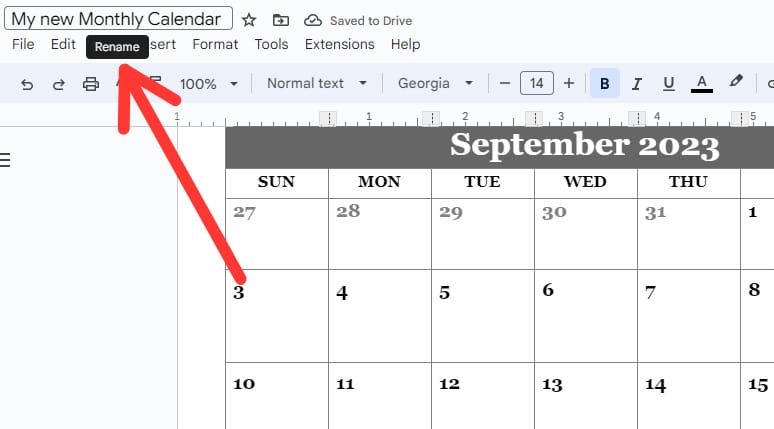
We can easily edit this template now. Now, we change “January 2021” to “September 2023” and remove the “New Year’s Day” here.
We can change the name here by clicking on the name and then renaming it. We changed its name to “My New Monthly Calendar”.
Conclusion
We discussed that Google Docs didn’t have an option or library that provides the Calendar template. Using the given examples, we learned how to create a calendar in Google Docs and how to download the calendar template for Google Docs from online websites. We also created the calendar manually, downloaded the calendar template, and edited that template here in this article.
Source: linuxhint.com