C++ Read File Data Line by Line
In all types of programming languages, file handling is a fundamental concept. This file-handling concept is also a core point in C++. In the digital era, we only deal with data that is stored in files on a storage disk. This language gives various tools to handle the file operations efficiently like creating, writing, reading, opening, and appending the data in the files in the system. In this article, our main focus is to learn about reading the file line by line easily in C++ language and providing some valid examples and output proofs for more enhancement.
File Input in C++
Understanding the file input in C++ is fundamental before reading the files. In C++, we input the files in the system using the library named “<ifstream>” that embeds the functionality of reading and writing the data to the files. To read the file, we use the “ifstream” class. First, you need to open any C++ editor in Windows and then open the text file that needs to be read. The “ifstream” class makes the process easier by enabling the pairing of a file with the stream object.
Different Ways to Read the Files Line by Line in C++
In this section, we will see the methods that are used to read the data in files in C++:
These are two methods through which the files are easily read line by line in C++. Let’s explain each method individually for better understanding. We will discuss about the getline() function followed by the get() function. The complete code of both of these functions is also attached. It is recommended that you execute this code on the system, see the output, and understand how each line of the code works.
Method 1: Read the File Using Getline() in C++
The getline() method is used to output the data from the file line by line in C++. This is a predefined method which means that it is already defined in the “<string.h>” library. The getline() function converts the user input into a character delimiter string and stores it into a variable.
Syntax of Getline():
Once the getline() function arrives at the char delimiter, it reads the character from the file stream and then stores them in the variable string.
The getline() method syntax is given as follows:
Here, the getline() function has three parameters: “istream& is”, “string&”, “str”.
istream& is: This is the input stream, such as ‘Cin”, for standard input to read the line.
string& str: The string in which the input streamline is read will be stored. The text that is inputted is stored in this variable string.
Let’s take an example to understand the concept of this function better. First, declare the libraries in the file. After that, take the variable whose type is “string” and the whole program in the main function. Pass the streamline type like “cin” and the variable in the getline() function. The “cin” is the input stream object that takes an input from the user on the runtime. We display the result on the output screen using the “cout stream” object. Remember that all the code that is written inside the main function, which is int main(), is executed and give us our required output.
Code:
#include <string>
using namespace std;
int main() {
string read_data;
getline (cin,read_data);
cout<<read_data;
return 0;
}
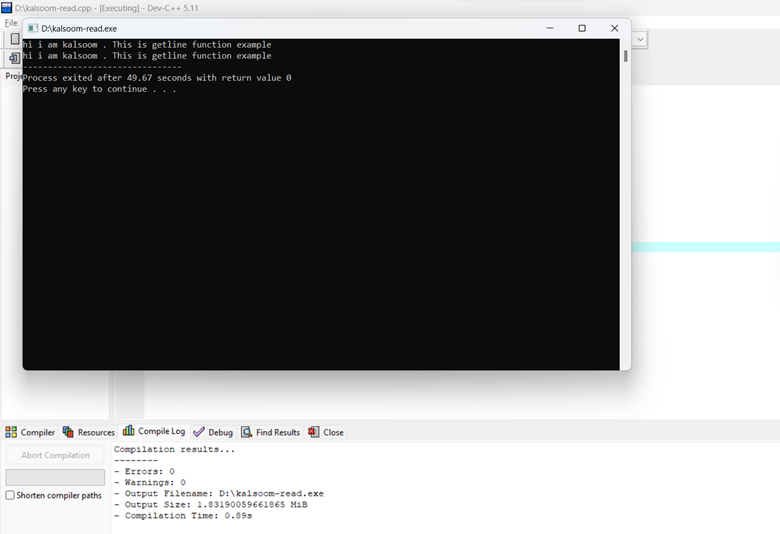
After that, click on the “Execute” option from the menu ribbon. Select the “Compile and Run” option to execute the program quickly. The output screen will appear. Then, type the text that you want to read. Press the “Enter” button that reads the whole text line by line easily. The output of this example is given as follows:
Method 2: Read the File Using the Get() Function in C++
Using this get() function, we read one character at a time. It does not ignore the whitespace and considers it as a collection of characters. First, add a few data to the text file.
Syntax of the Get() Function:
The get() method syntax is given as follows:
Here, the file is the “&istream” that takes the file from the desired location, and the file name is the name of the text file whose data needs to be read.
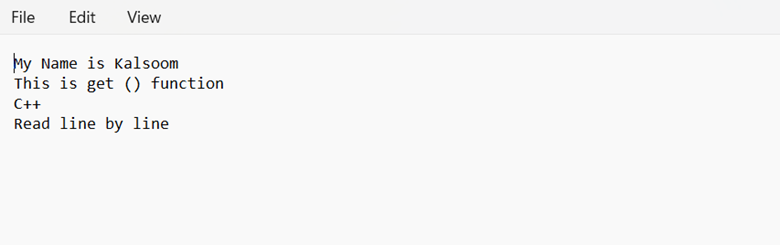
Let’s take the example in which we discuss the get() function. First, we form a text file that occupies the data that has to be read. Here, we take a text file (named “xyz.txt”) that is mentioned in the following:
After that, open the C++ code editor. Type the code that is shown in the attached screenshot.
#include <fstream>
int main() {
std::ifstream file("xyz.txt");
if (!file.is_open()) {
std::cout << "File is not open\n";
return 1;
}
char read_file;
while (file.get(read_file)) {
std::cout << read_file; // print the character to the console
}
file.close(); // close the file
return 0;
}
First, add the relevant libraries at the start of the program. In the main function, place the file’s location using the “ifstream” function using the “file” variable. After that, if the file is not open or has no accurate issue, an error displays “File is not open” on the console window.
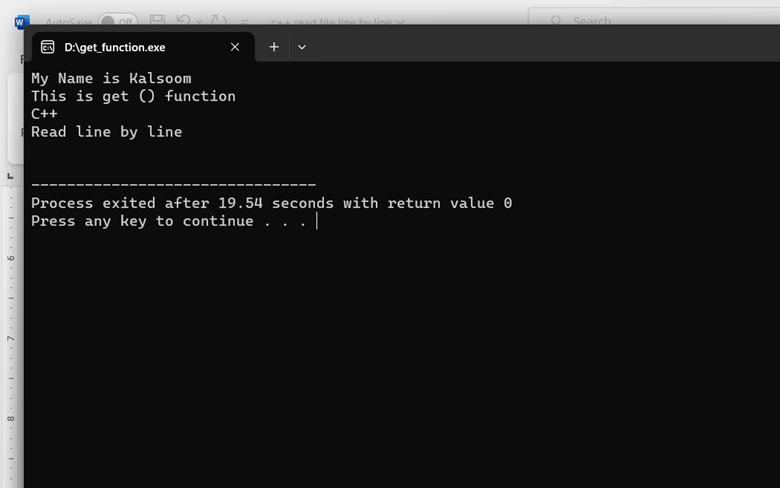
Take another variable named “read_file” having the “character” data type. Pass this character variable in the get() function. This function reads the characters one by one and line by line until this file data is ended. Display these data on the console window using “cout”, the object of the output stream that is used to display the output. In the end, close the file that we opened for reading using the close() function. The output of this program is attached in the following screenshot:
Conclusion
To wrap up, it is said that we read the file data line by line easily in the C++ programming language by just following their syntax and structure. Always include the necessary libraries or header files <iostream> to implement the desired output; <fstream> is used for file handling. We choose the appropriate method to handle the files to read the data line by line perfectly. Always use the correct function name to open and close the text file for reading purposes. We discussed everything with proper examples and screenshots for your help.
Source: linuxhint.com