C# Progress Bar
A progress bar is a tool that allows an application to show the status of a long process (such as computing a complex result or downloading a huge file from the Internet.) When we download or copy a file to another location, we normally display the state of the operation in the form of a progress bar, and the application interface seems cleaner.
Features of the progress bar in C#:
- Enabled: This property determines whether the Progress Bar entity is active or inactive. True if you’re doing something, False if you’re doing nothing. These options can be altered via the Settings section or by coding. When a button is pressed, for instance, the Progress Bar entity can be enabled by typing “progressBar1.Enabled = true.”
- Maximum: The number of times when the Progress Bar entity will be divided is specified by this attribute. It is the highest limit of the progress bar’s range. The value is fixed to 100 by default. For example, 1/10 of the advancement of each button can be given to every Progress Bar entity whose Maximum attribute is set to 10.
- Minimum: This is the progress bar’s smallest working value. The progress bar underneath this value can’t have a value assigned to it. The program will not work otherwise. When the code “ProgressBar1.Value = 9;” is applied to a Progress Bar entity with a lower limit (of 10, for example) an error occurs.
- Value: The progress bar’s current value is inside the range and is defined by the min and max requirements. Or to simplify, the Progress Bar object defines how much it should fill graphically. The maximum value given by the progress bar’s Maximum attribute cannot be exceeded by the Value.
How to make the progress bar in the C# using the window form applications?
The lowest and maximum intervals for the Progressbar are 0 and 100, respectively. No other value can be entered. The ProgressBar can be found all over the place. For example, we can observe ProgressBars that indicate when a program should be loaded. It is marked as 80 percent complete, and this proportion is visible on the progress bar. We frequently utilize the ProgressBar for tasks that take too long. The Progressbar is easy to use. There are several different sorts of utilization. Let’s look at a few examples:
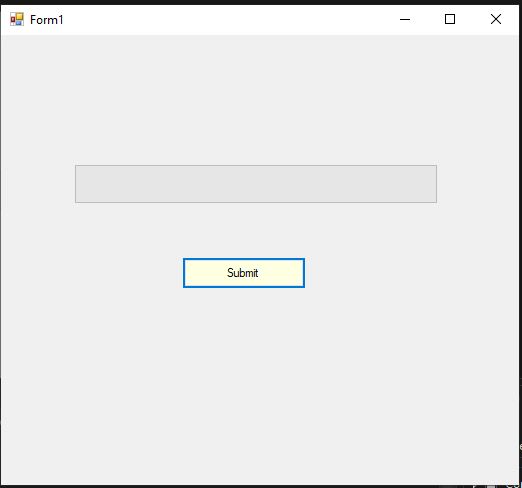
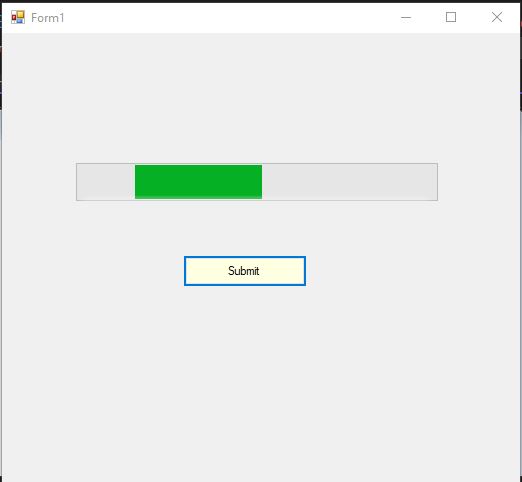
To begin, we tried to drag a ProgressBar control from the Toolbox and decided to drop it in a WinForms in Visual Studio 2022 to design a ProgressBar control. A ProgressBar is formed on the WinForms after being dragged and dropped; for example, the ProgressBar1 is placed in the form and appears like the following Figure. Then, we dragged a button and named it “submit”.
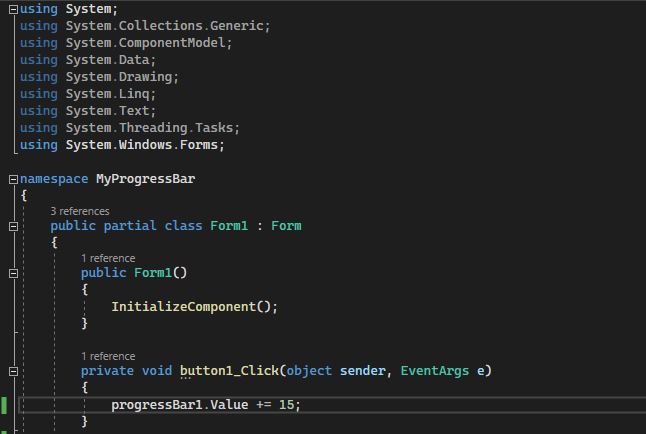
When you double-clicked the “submit” button then the program.cs file will be opened. After that, we implemented the code in the program.cs file in the “button1_click” function. Within the function, we have set the progressbar1.value to “15” which means it increases the ProgressBar’s value by “15” every time we hit the button.
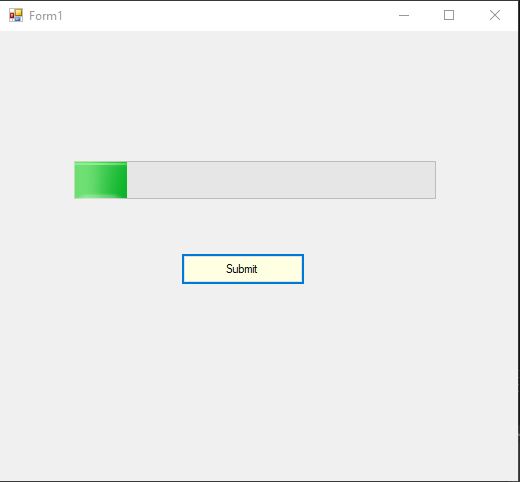
On clicking the “submit” button three times, the progress bar value increments as shown in the following figure.
Now, we have a progress bar style feature. The object’s working style is defined by the Progress Bar property. You should choose between Blocks, Continuous, and Marquee. The Marquee function is very noteworthy. You can also utilize this feature to create a progress bar that displays the animation aspect at the specified time using the Timer object. When the Progress Bar is chosen, you may change the animation speed by selecting the MarqueeAnimationSpeed property on the Preferences Window tab.
Styling with Progress bar in C#:
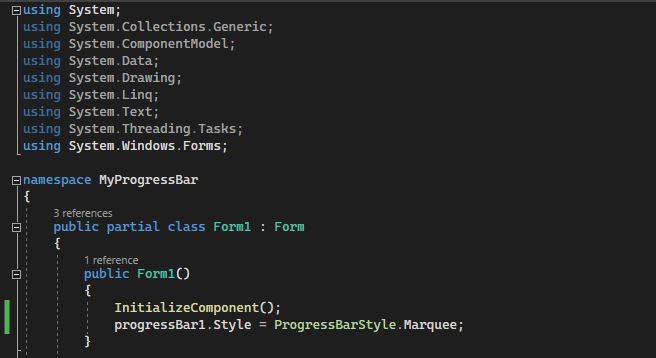
Here, we have added the marquee style in the “Form1” function as “progressBar1.style=PeogressBarStyle.Marquee” just after the InitializeComponent() method call.This marquee style will lead the progress bar scrolling continuously from left to right. As ProgressBar’s default progress is from left to right. By changing RightToLeftLayout to true, the ProgressBar control can however display progress from right to left. The MarqueeAnimationSpeed attribute indicates the amount of time required for the progress bar to scroll over the progress bar in milliseconds.
When we run the application after adding the marquee style in the code, we will see a floating ProgressBar as in the following figure of the progress bar.
Changing the color of the loading Progress bar in C#:
The progress bar’s foreground color is the color of the occupied area of the progress bar. On the other hand, the progress bar’s background color is Back Color. In the code, we have set the progress bar forecolor to “Red” like this “ProgressBar1.forecolor=Color.Red” within the Form1 function. You have the choice of choosing your color.

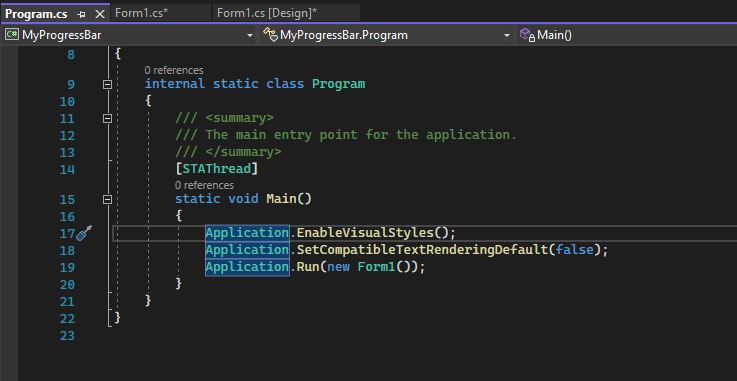
When we have finished writing our codes, there’s one more task we need to do: Double-click the “Program.cs” file from the Solution Explorer window. Here, we have “Application.EnableVisualStyles()” in the main function of this file. You can either remove the line or turn it into a description line, as the particular line of code is shown in the script figure.
The loading red color blocks of the progress bar are displayed in the following c# WinForms figure.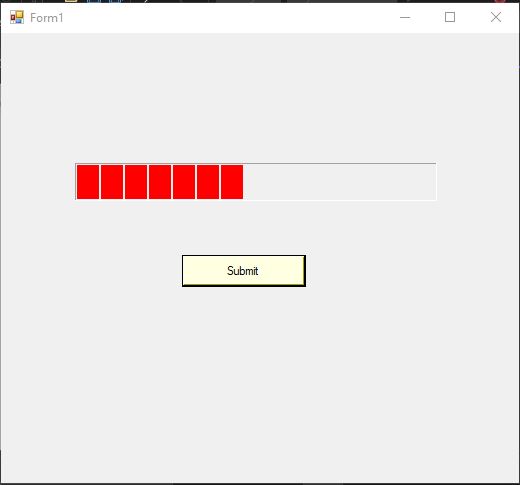
Set Timer of the Progress bar:
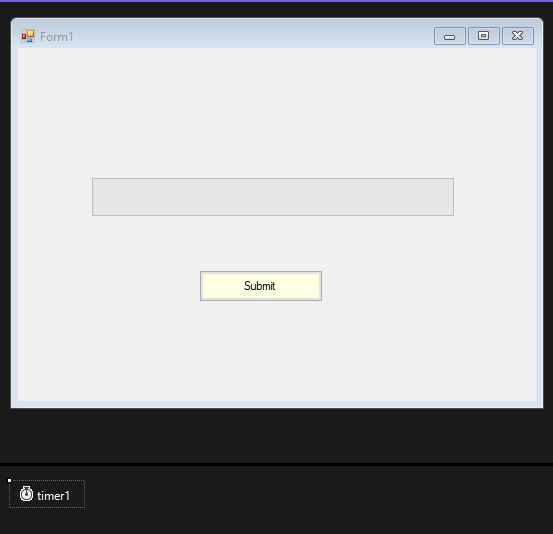
In C # programs, timer control is used to determine whether the required commands are repeated at predetermined intervals. To use the timer in the progress bar, we have to drag it from the toolbox and drop it down to the progress bar. The timer’s appearance is visualized in the figure below.
Once, the timer is shown within the progress bar double click on it and this will take you to the timer1_Tick_1 function. There, we have set the timer for the progress bar as shown in the given code. if the progressbar1.value reached the time second to “99” then it will set the progressbar1.value to zero. Although when the timer runs out, we can reset its value.
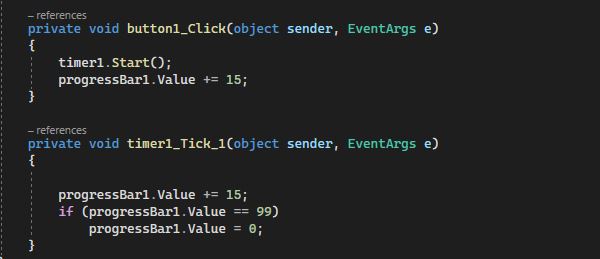
Upon clicking the “Submit” button the timer loads the progress bar up to the time which we have set. After clicking again, it will give you an error but you can reset the timer. The figure of the above code implementation is as follows.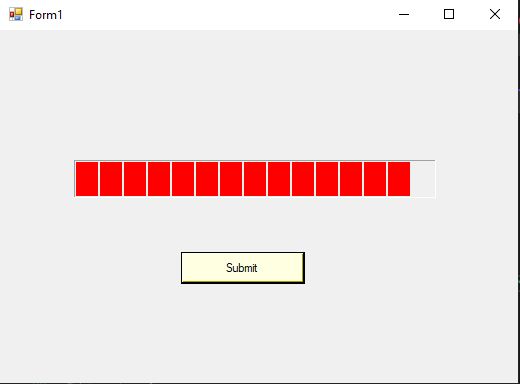
Conclusion:
In many more scenarios, the progress control can be utilized for the “Loading” procedure. WinForms makes the benefit of it. When a process takes longer than a brief length of time, ProgressBar controls are employed. We looked at how to create the ProgressBar control in this article by using C# WinForms in visual studio 2022. We started by talking about how to design a progress bar at both design and runtime. Following that, we learned the marquee styling in a progress bar and how to change the color of the loading progress bar. In the end, we have a timer feature which we have discussed by utilizing in the progress bar.

Source: linuxhint.com