C# Message Box
Example 01
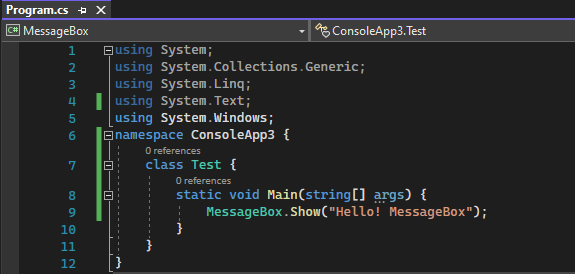
Let’s get started with the most basic example of generating a message box at our Visual Studio Console output screen. We have to start this example with the use of some most used and necessary libraries of C# to make our code work properly. So, we have been using the “System” library of C# at the first line of code with the “using” keyword. After that, we imported all the necessary classes required for making a message box in Visual Studio. We have been using a random name for the namespace, i.e., “ConsoleApp3” and created a class “Test” with a single Main() execution function in it. We are using the “MessageBox” class of the “System.Windows” package to call the “Show” function and generate a message box at our console screen on execution. This message box will only contain a single message, “Hello! MessageBox” on our console screen. This code is ready to build. Tap the Start button of Visual Studio to execute it.
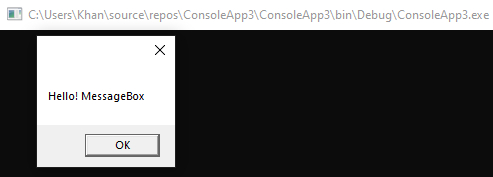
After debugging and running our simple C# code, we got a black console screen first. After a while, a message box appeared on this black console screen displaying the message “Hello! MessageBox” and an “OK” button. You can tap on the “OK” button to make it disappear from your Visual Studio screen.
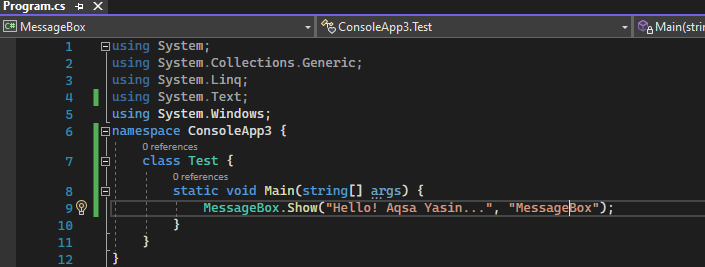
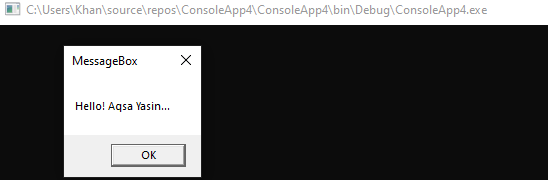
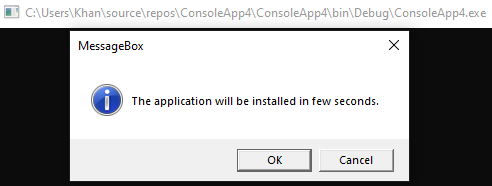
Within the above output, you have seen that the message box only contains a single message and an “ok” button on its dialog screen. This message box doesn’t have any title that specifies it as a Message box. We need to use the second parameter within the “Show” function after the message to create its title. This parameter will be used as a title of a message box, and the value of the second parameter must not contain any space, i.e., “MessageBox”. Now, this code is ready for debugging and execution using the Start button of Visual Studio.
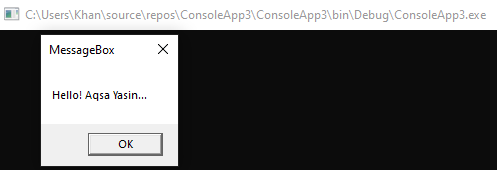
When we have executed this updated C# message box code, we have got the shown-below message box at our console output screen of Visual Studio. This message box contains the title “MessageBox” at the top of its window before the “cross” sign.
Example 02
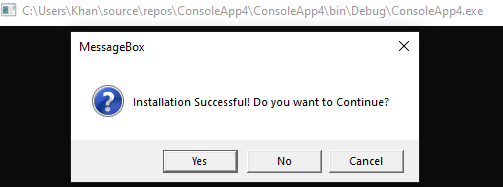
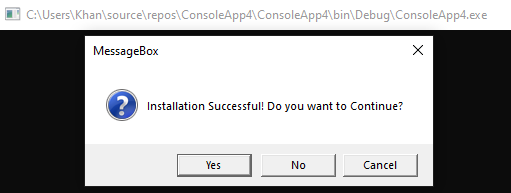
The “Show” function of the MessageBox class to create a message dialog box contains a third parameter, i.e., MessageBoxButtons, that can be used to create different types of buttons at the message dialog box window. So, we will be using this option to create a different button in our message box window. Before that, we need to use the “Forms” class from the “Windows” library package. Within the Main() function, we have used six “Show” method statements of the MessageBox class to generate 6 message boxes.
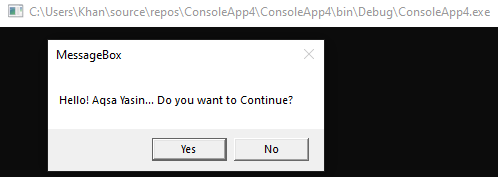
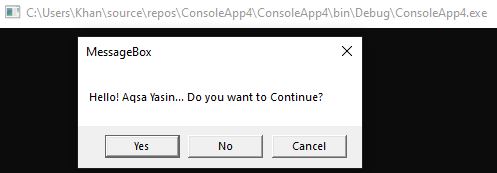
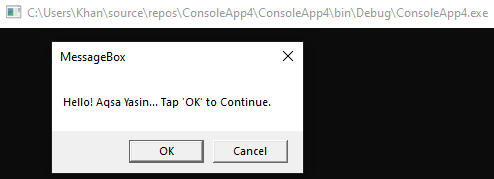
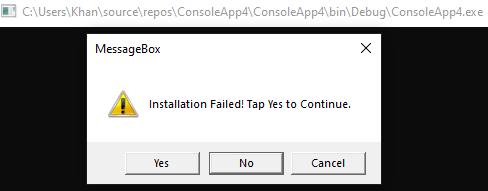
The first message box will contain a simple message and the title “MessageBox” while its third parameter, “MessageBoxButtons” will generate an “OK” button. The second “Show” function statement will generate a message box with the same title and create 2 buttons for this message box, i.e., “Yes” and “No”. The third message box will be similar to the second message box with the creation of 1 extra button, i.e., “Cancel”. The 4th message box is a little different as it contains a continuation message while containing the “OK” and “Cancel” buttons using the “MessageBoxButtons” parameter. The 5th message box will contain the “retry” and “cancel” buttons with a little different message. The last message boxes will contain three buttons, “Abort”, “Retry” and “Ignore” with the related message at its dialog window upon execution. Let’s run this code to get each message box.

After debugging, we got the first message box displayed. It contains a single “OK” Button. When we tapped the “OK” button, this message box disappeared.
A new message box with two buttons, “Yes” and “No” appeared. Tap any button to continue.
This time, we have got a “Cancel” button as well.
On execution of the 4th statement, we have got the “OK” and “Cancel” buttons.
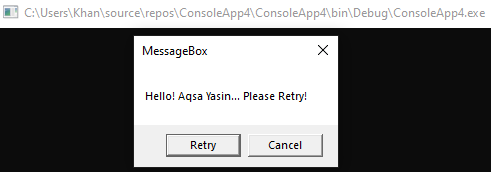
The 5th statement is utilized to create the “Retry” and “Cancel” buttons.
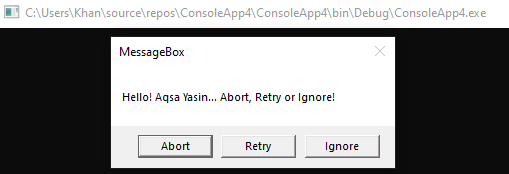
The last statement has generated three buttons, i.e., “Abort”, “Retry” and “Ignore”.
Example 03
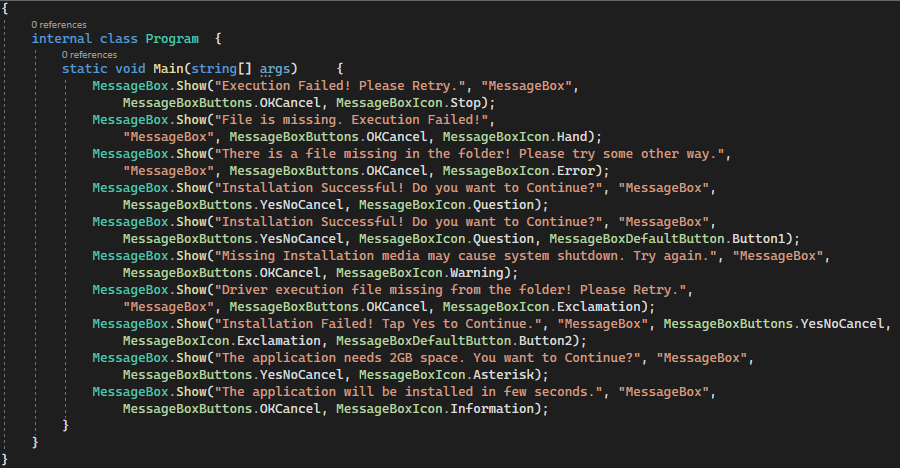
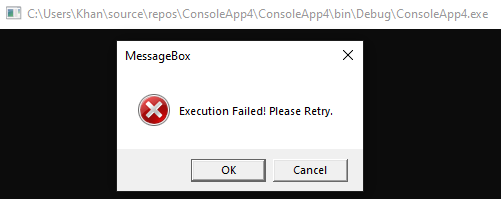
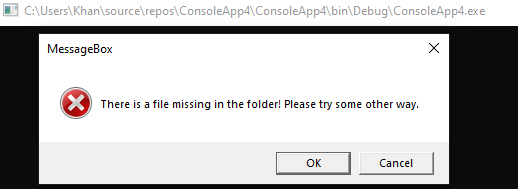
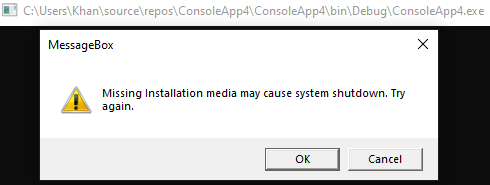
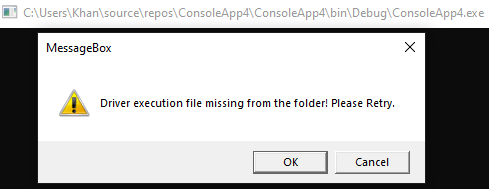
The above examples were about modifying messages and titles and creating different buttons within the message box. We will be using C# code to create different icons for the message box using the 4th parameter of the “Show” function, i.e., the “MessageBoxIcon” parameter. The messages will be updated according to the icon used for the particular message box. So, we have been using a total of 10 Show functions to create 10 different icons for message boxes. The first Show statement uses the “Stop” option in the “MessageBoxIcon” parameter to generate the Stop icon at the message box.
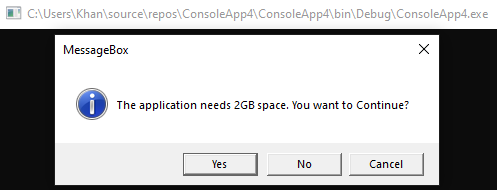
The second statement uses the same “MessageBoxIcon” parameter to generate the “Hand” icon. The 3rd statement generates an error icon in the message box using the “Error” option. The first three icons will be the same, i.e., the “cross” sign with red background. The 4th and 5th “Show” function statements are used to generate a question “icon” i.e., a question mark with the respective message and three buttons accordingly, i.e., “Yes”, “No”, and “Cancel”. The 6th, 7th, and 8th statements are used to generate warning and exclamation icons along with the respective “OK”, “Cancel”, “Yes” and “No” buttons. The 9th Show statement generates the Asterisk icon, while the 10th statement is used to generate the “information” icon for particular message boxes. These icons are the same, i.e., “I” character with a blue background.
After code build and execution, we got the first message box with the “stop” icon.
After tapping on the “OK” button, we have got another message box with the “Hand” icon.
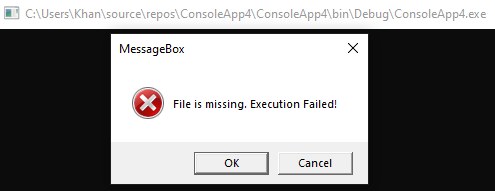
The error “icon” for the message box is the same as the above two icons, i.e., hand and stop.
The 4th message box contains the question mark blue icon with three buttons.
The use of the “MessageBoxDefaultButton” parameter doesn’t affect the message box as below.
The 6th statement has generated the warning icon with 2 buttons.
The exclamation icon appeared the same as the warning icon using the MessageBoxIcon parameter.
The use of MessageBoxDefaultButton doesn’t make changes to the message box.
The asterisk icon is similar to the information icon.
Here is the information icon, i.e., the same as an asterisk.
Conclusion
This article contains the complete demonstration of generating simple message boxes within C# using Visual Studio 2022 in Windows 10. We have discussed different examples of creating message boxes along with their titles and different messages and creating different buttons at the same place using the “MessageBoxButtons” option. In the last examples, we have discussed using the “MessageBoxIcon” parameter and “MessageBoxDefaultButton” usage to generate different icons at the message box on execution.
Source: linuxhint.com