Best Open Source Web Servers Linux
Apache HTTP Server
Since its initial launch in 1995, Apache has developed quickly to rank as the most extensively used and prominent web server, supporting more than 37% of all internet sites.
Because it has so many add-ons that increase the capabilities of the web server, Apache, a web server created in the C programming language, is extremely adaptable. In addition, they contain mod file cache for caching, mod FTP to offer FTP for files both uploads and downloads, and mod_SSL for handling SSL/TLS data encryption.
Furthermore, thanks to its extensive library of add-ons, Apache adds different compatibility including IPv4 and IPv6 compatibility as well as the widely used HTTP, HTTP/2, and HTTPS protocols.
Installation of Apache HTTP Server in Ubuntu
Step 01: To download its most recent edition of Apache2, we should first upgrade the server source index. Enter the run command after opening the Console by pressing Ctrl+Alt+T.
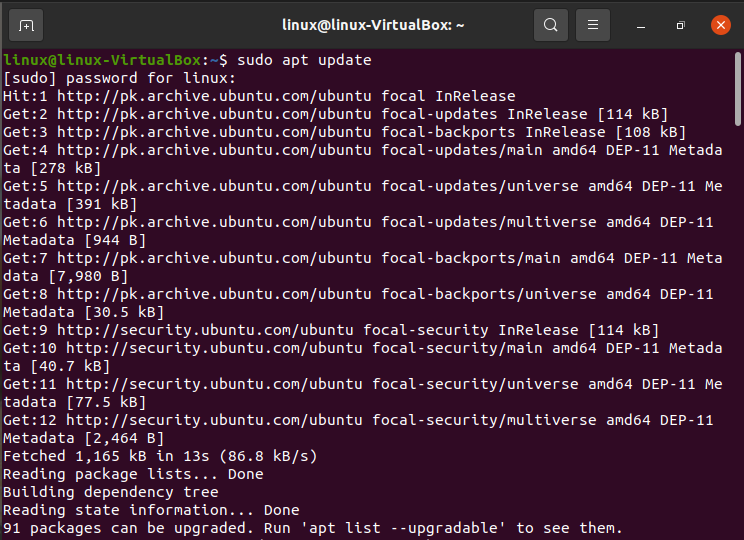
It should be noted that just a client with permissions can download, modify, or uninstall programs from a Linux machine.
Step 02: We will download the Apache2 proxy server next in this stage. Enter the following command in the terminal to do this:

The system may request your permission by giving you a Y/n choice. To go further, press y. Then, press Enter. Following that, your machine will be configured to download the Apache2 web server and all of its prerequisites.
Step 03: After installation, do the following to check the Apache server version.

NGINX Server
Nginx, which would be called “Engine-X,” is an elevated, reliable open-source web server that also functions as a middleware, inverse proxy, IMAP/POP3 proxy server, and API connector. Nginx, which was created by Igor Sysoev in 2004 and has since gained notoriety to outpace competitors, has emerged to be one of the most dependable and secure web servers.
Nginx is well-known because of its ability and readiness, flexibility, and limited resource use. In contrast, Nginx can process up to 500,000 requests each second with minimal CPU usage when correctly tuned. Because of this, it outperforms Apache and is the best web server for serving busy websites.
Nginx relies heavily on settings, implementing adjustments simply. It shares many similarities with Apache, including the capability to support multiple protocols, SSL/TLS, basic HTTP identification, hosting services, bandwidth allocation, and URL modification, to name a few. Nginx currently controls 31% of the hosting industry for domains.
Installation of NGINX Server in Ubuntu
The guidance necessarily implies that the user has a valid SSH client installed on their computer. The following are the commands for the default software NGINX installation from a Linux Repository:
Step 01: The apt distribution system can be used to download Nginx from Ubuntu’s standard libraries because it is present there.
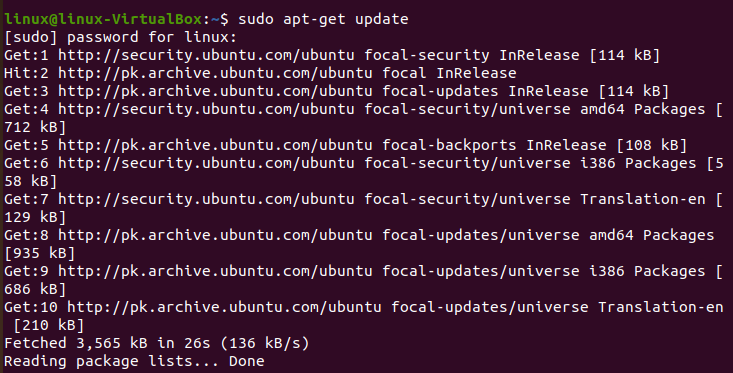
Step 02: To get access to the most up-to-date version descriptions since this is our first encounter with the apt encapsulation in this discussion, we will upgrade our local version index. Following that, we can install NGINX:

Apt will install Nginx and any other plugins to your server when you approve the operation.
Step 03: Check the edition of NGINX after installation.
![]()
Apache Tomcat Server
The Pure java processor, Java Expression Language, and Java Server web pages are all implemented using Apache Tomcat, which is free software. It appears to be the best choice for professionals who are creating and delivering Java-based apps.
Technically speaking, Tomcat differs from common web servers. It is a Java servlet that implements technical requirements like Java Server Pages (JSP) and Java Expression Language while also providing extra capabilities for communicating with Java servlets (Java EL).
The fact that Tomcat is designed particularly to serve Java-based content sets it distinct from other web servers. It was initially created to offer JSP features that the Apache HTTP server needs.
When developing plans that contain both PHP and Java content, Apache Tomcat can be launched in addition to the Apache HTTP server. As Tomcat manages the JSP capabilities, the Apache HTTP server can handle both static and dynamic content. However, Apache Tomcat is not a full-featured web server and is not as effective as more established web servers like Nginx and Apache when used alone.
Deployment of the Apache Tomcat Server in Ubuntu
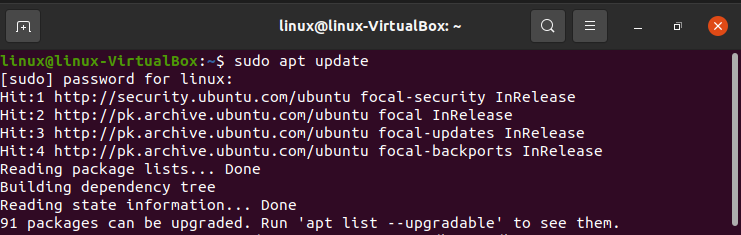
Step 01: Launch the prompt on your Ubuntu computer by pressing “CTRL+ALT+T,” then enter the command listed underneath to upgrade the system directories.
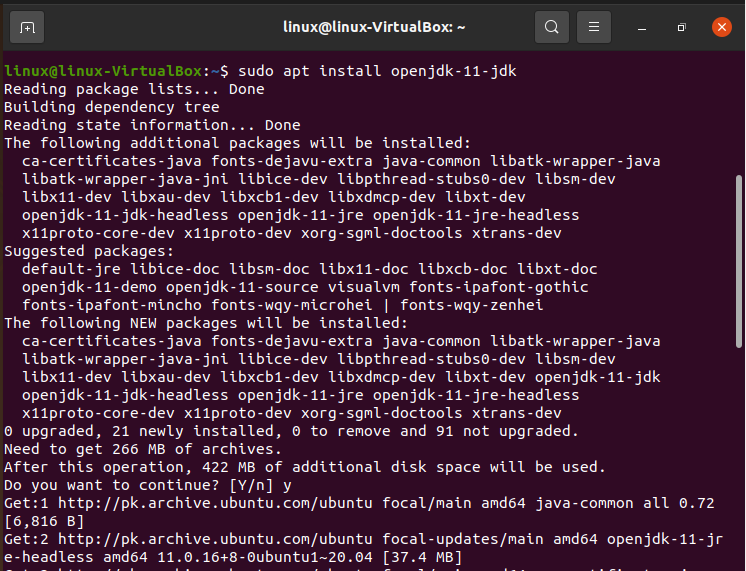
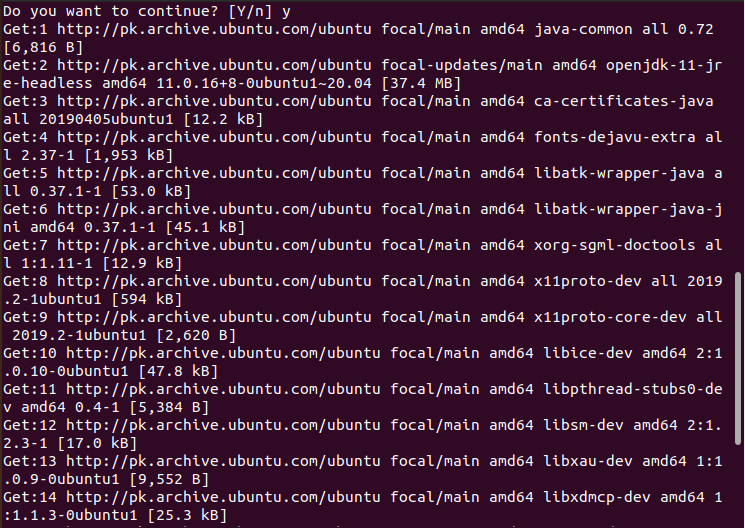
Step 02: Java must be installed on your machine before you can begin installing Apache Tomcat Server. For this, use the command prompt to get “OpenJDK 11”.
Step 03: Then, check the Java version that is currently installed.

Step 04: Ensure whether the Apache Tomcat package is present in the library after completing the steps. The major outcome is that the “tomcat9” module is available for downloading and says:

Step 05: Next, we will use the script provided below to build Apache Tomcat in Linux after locating the necessary package:

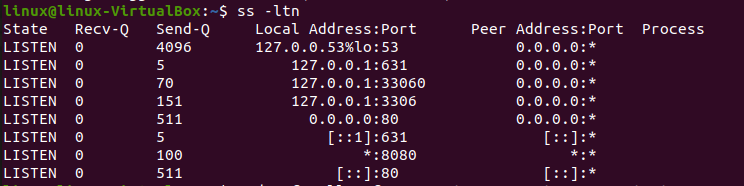
Step 06: System that would enable on Ubuntu, the Apache Tomcat Server launches immediately. You can employ the “ss” command to view the network power supply data to verify this activity:
Step 07: If your machine has the UFW barrier turned on, integrating peripherals could be problematic. So, enter the following “ufw” script to allow incoming traffic from any sort of source to port “8080”.

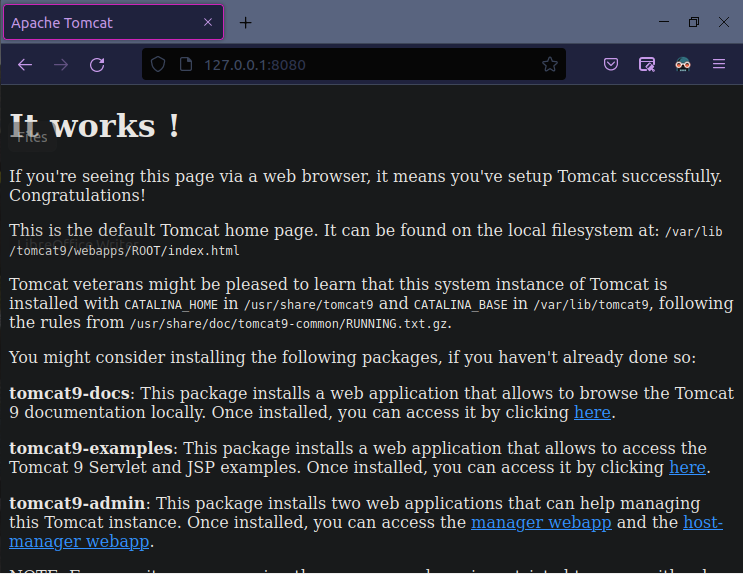
Step 08: Ubuntu’s Apache Tomcat Server is ought to be working. However at this stage, if you have strictly done all of the preceding instructions. Provide your platform’s loopback path and the Apache Tomcat Server port number to verify its operation:
Conclusion
The organization itself regularly releases upgrades and vulnerability solutions to keep the platform current. Recently, Apache, NGINX, and Apache Tomcat have grown in popularity and usage significantly. Over the past five years, Internet usage has undergone a significant transition. The number of individual internet users has been rising significantly every day. This article has all the details of the top 3 best Linux servers.
You must determine which web server to employ based on your needs, technological setup, and technical expertise. There isn’t a single web server that offers all the benefits and can be used in every circumstance.
Source: linuxhint.com