Atom Text Editor Tutorial
Atom is a text editor and source code editor which is developed by GitHub for macOS, Linux, and Microsoft Windows. It was termed “a hackable text and source code editor for the 21st century” by its developers. They named it the “Hackable” tool because it is customizable and it supports plug-ins that are written in JavaScript and embedded GitControl. It is a desktop program that was created using web technology. It has many uses, we can use it for coding in Python or one can also use it to write a book or an article. You can also use it to write any sort of technical documentation. It is written in Coffeescript, JavaScript, Less, and HTML. This tool supports programming languages like Java, C, Python, etc. It also supports front-end languages such as HTML, CSS, and JavaScript. Initially, the Atom was introduced by Github but later on, it was extended by Facebook as it was an open-source tool and they developed ATOM Integrated Development Environment (ATOM IDE).
A Text editor is a simple tool but this editor allows users to choose according to their priorities. It can either to change the interface aesthetically or they want functionalities provided by the code editor. This code editor allows them to do whatever they want. Another plus point of this editor is that it allows the user to install third-party themes to make its interface more attractive. Now, after all the discussion of this editor, why does someone need a code editor when we can write the commands in a terminal or a command line interface? Doing this for large projects becomes very difficult and frustrating. Using an editor for that purpose is fun and much easy.
Installing Atom Text Editor
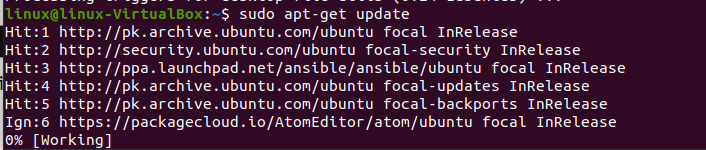
Before getting to our main objective let us first install the atom editor in our system. For that we will first update our system by running the below-mentioned command:
When the above command is executed, it will start updating the system as:
We will use the curl command to install the package from the link mentioned below.
This command includes the link of the Atom setup along with the sudo bash command which allows it to run as a superuser. Superuser is the one who has access to the whole system and he is not restricted to anything in the system, which prevents us from facing any issue while executing the command. When we run the command above, our installation process will be started as shown below in the snippet. After this process, it will display the message allowing us to install packages.
Output:
Checking for curl...
Detected curl...
Checking for gpg...
Detected gpg...
Detected apt version as 2.0.9
Running apt-get update... done.
Now, it is time to install the atom text editor of version 1.60.0 in our system. To do so, we will run the following displayed command:
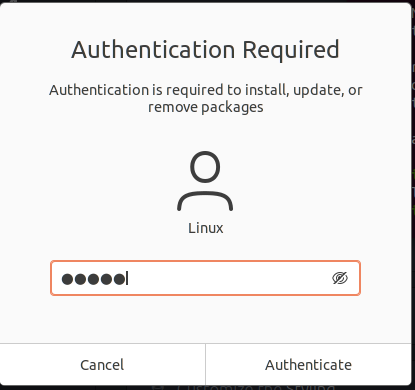
After the above command is executed, it will ask for your permission by entering the “y” value and we will allow it to start the installation. The output shows the sample in which it asks for the permission of the user. When the user allows the compiler to start the installation process, the packages of the atom will be started. It will take a few minutes to install them.
Output:
Building dependency tree
Reading state information... Done
The following additional packages will be installed:
git git-man liberror-perl
Suggested packages:
git-daemon-run | git-daemon-sysvinit git-doc git-el git-email git-gui gitk
gitweb git-cvs git-mediawiki git-svn
The following NEW packages will be installed:
atom git git-man liberror-perl
0 upgraded, 4 newly installed, 0 to remove, and 40 not upgraded.
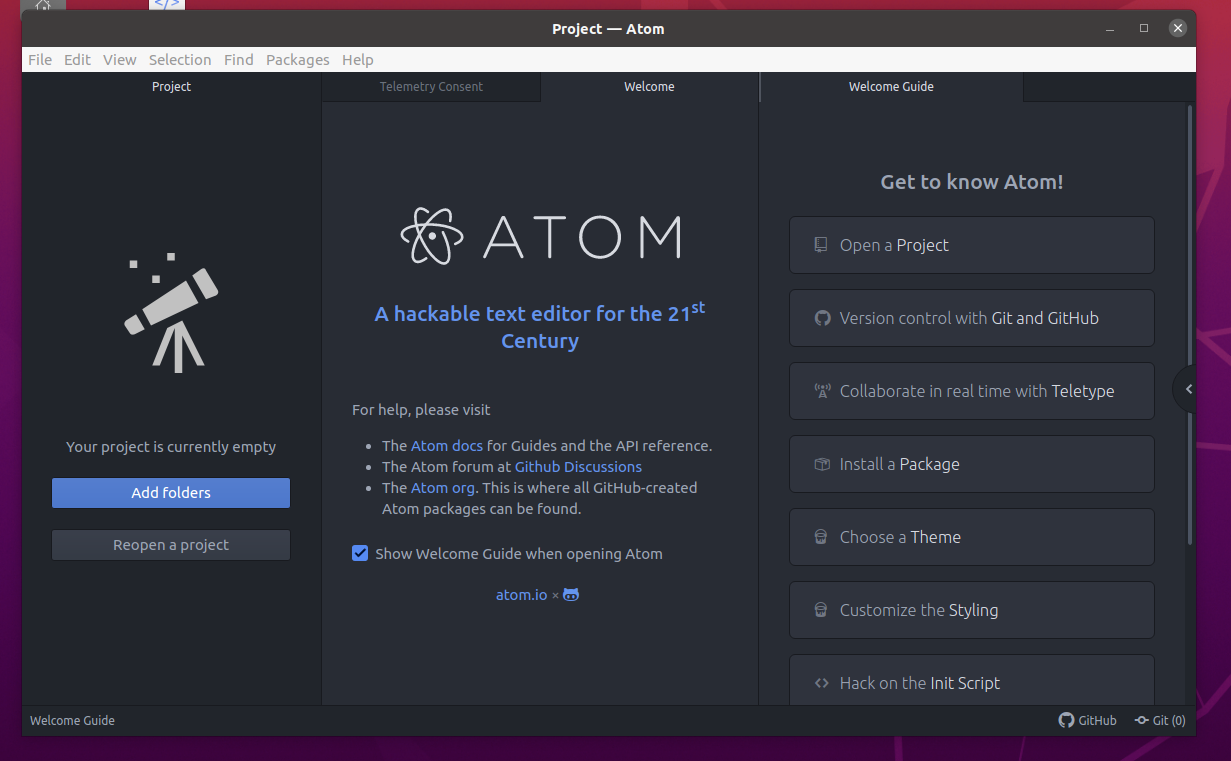
After the installation is done, you can check your system using the keyword atom in the search bar. Then, it will display the atom text editor installed as shown in the figure below.

Installing Atom Using the Snap Command
There is another command to install the Atom text editor which is the snap command. It is also used to execute the instruction as per the user’s requirement. Using snap, we can perform various tasks like installing packages and many more. Now, we will use the snap command to install the Atom. For this, we will command mentioned below in our terminal:
In the command above, we mentioned another keyword “–classic” along with the snap command which is used to ensure that you are not installing the packages in a restricted space.
When this command is executed, it will automatically start the installation process after getting the authentication from the user.

Installing Packages in Atom Text Editor
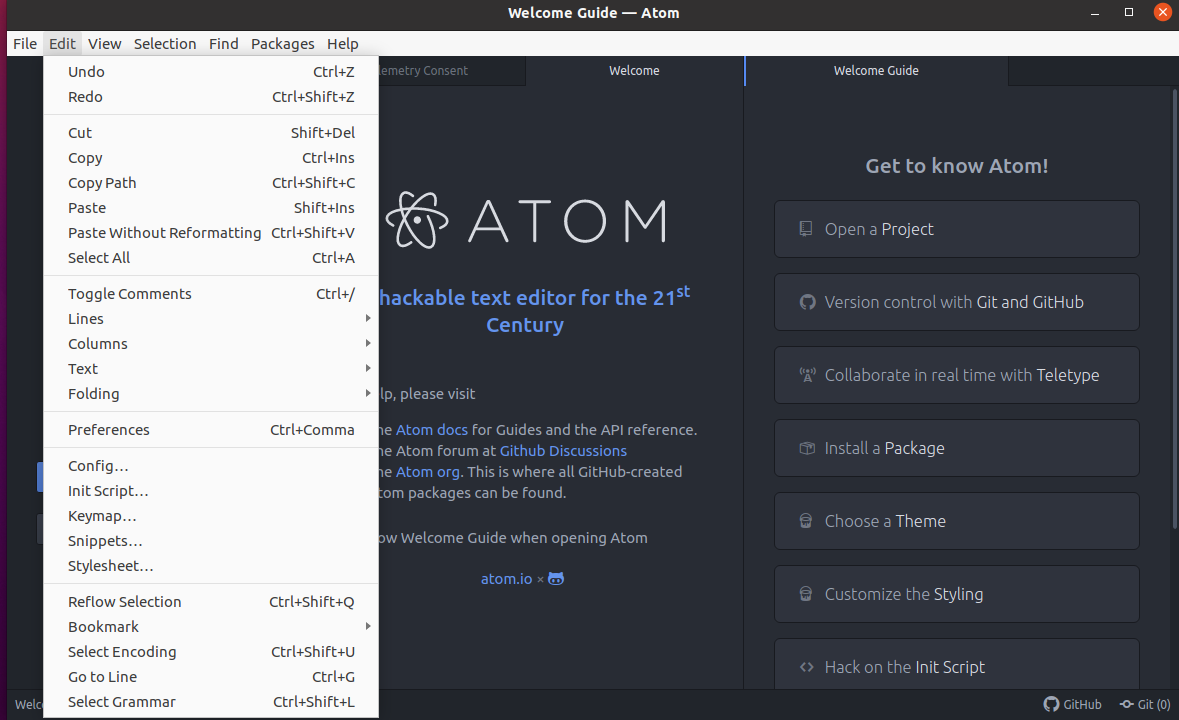
When the Atom text editor is successfully installed, it is time to install the necessary packages that will be needed at the time of implementation. For that, we will first open the text editor and then click the edit option.
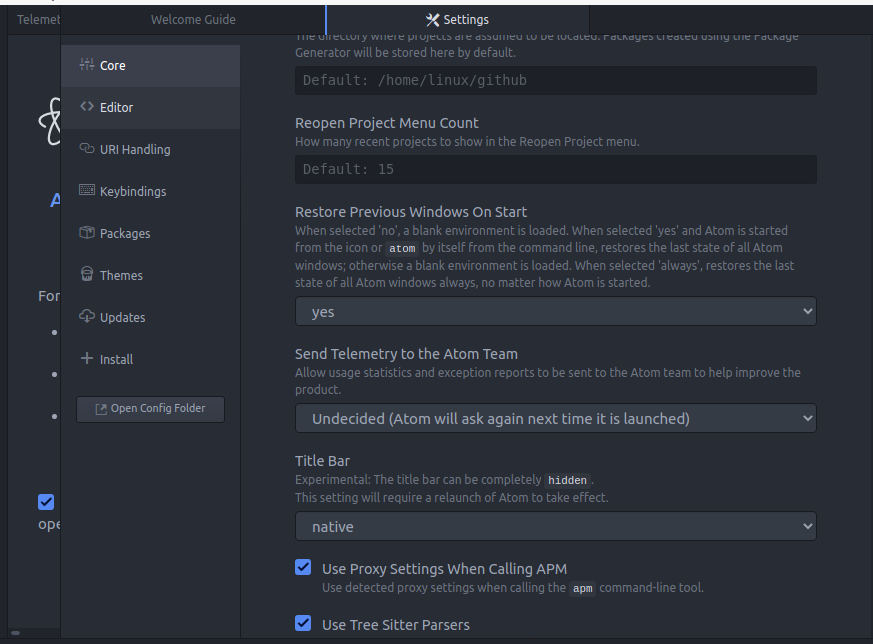
A dialogue box as shown in the figure below is displayed in which we have to select the preferences option. Or by pressing the ctrl+comma button, we can open the preferences option.
By opening the preferences, we will see the screen shown below.
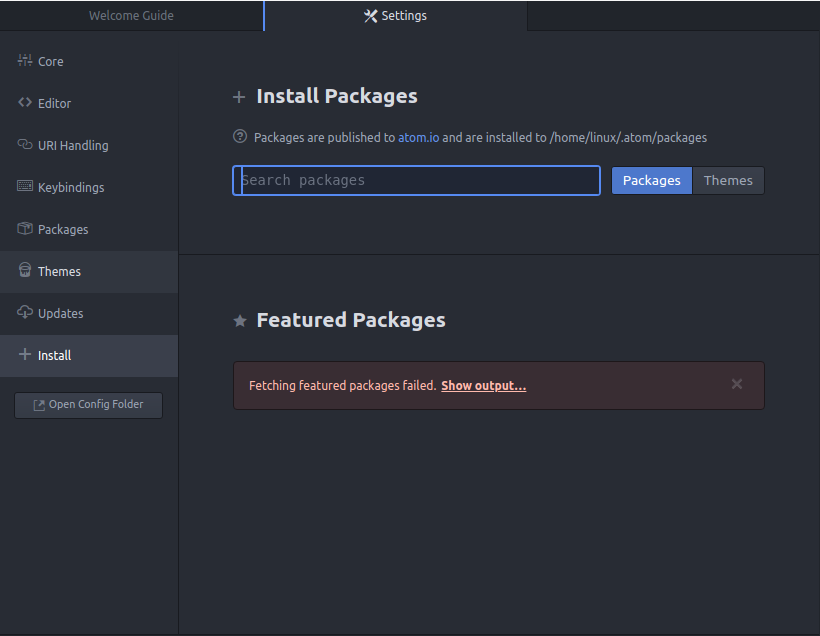
Now, by navigating to the install option, we will get the screen that is displayed in the snippet below. Using the search bar, we can search for desired packages. And by pressing the install button, that will be displayed while fetching the package, we allow this to install the package in our packages directory of the Atom folder.
Example no 1: How to Create a New Text File.
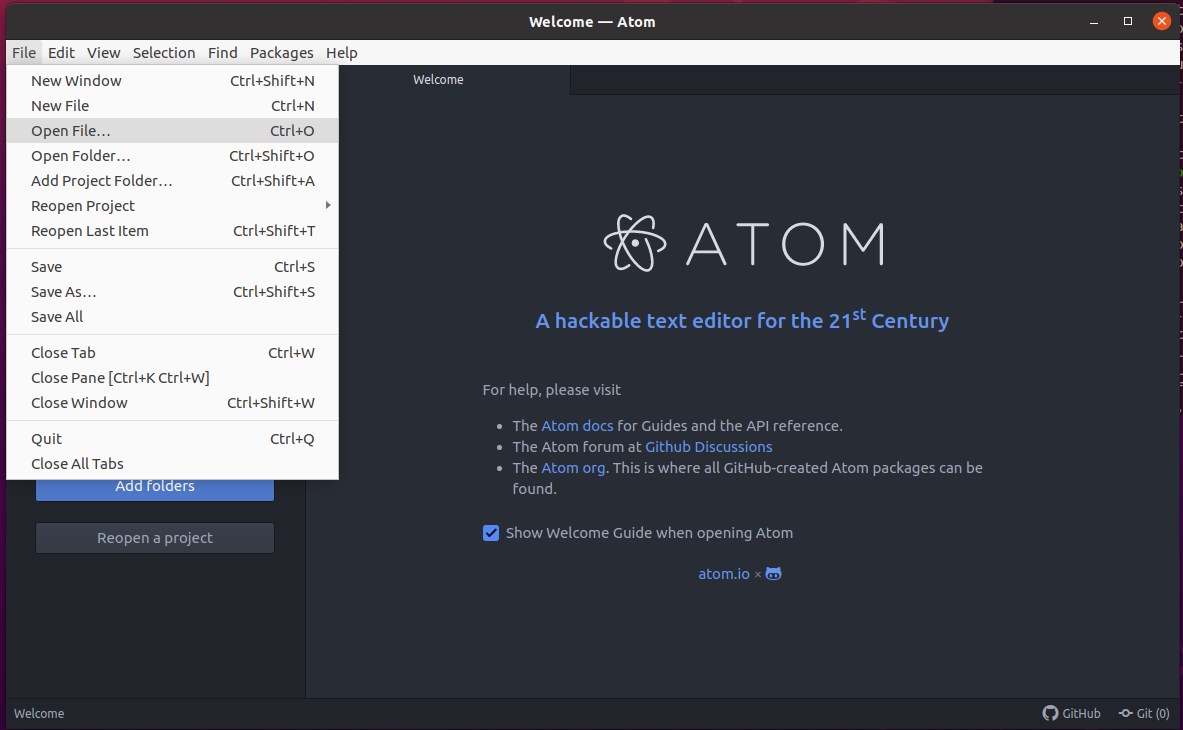
In this illustration, we will learn how to create a new text file and perform some minor operations on it using various commands. To first create a new file, we will simply select the new file option from the files option that is displayed on the top left of the text editor.
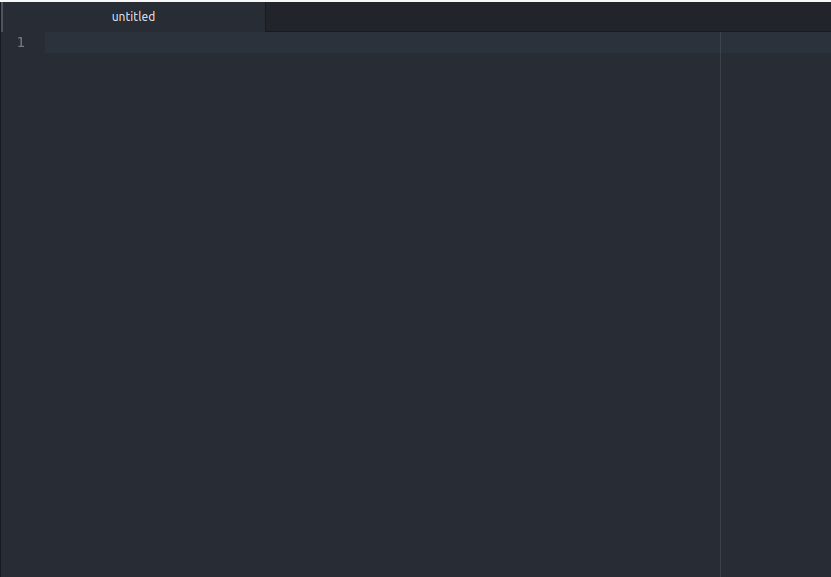
After selecting the new file, the option will open a new empty file as shown in the figure below.
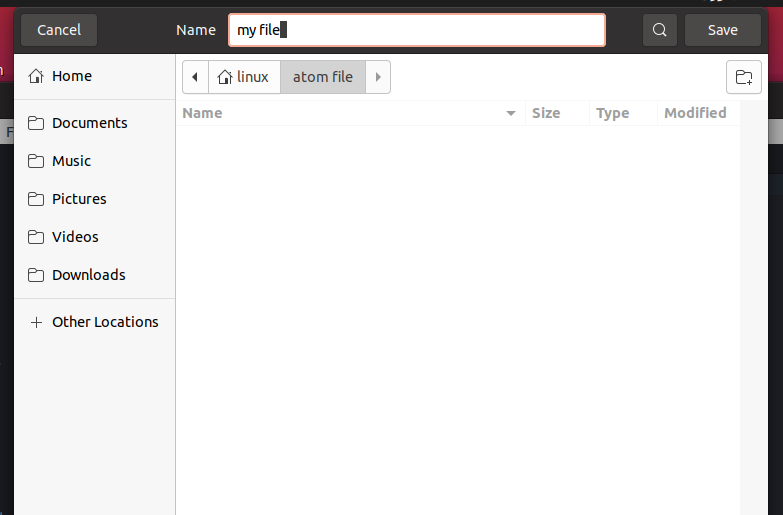
Now, we will add some text to the file and save it using the “ctrl+s” button. When we try to save the file, it will first ask us to write the name of the file. In our case, we named it “my file” which will be stored in the folder named “atom file”.
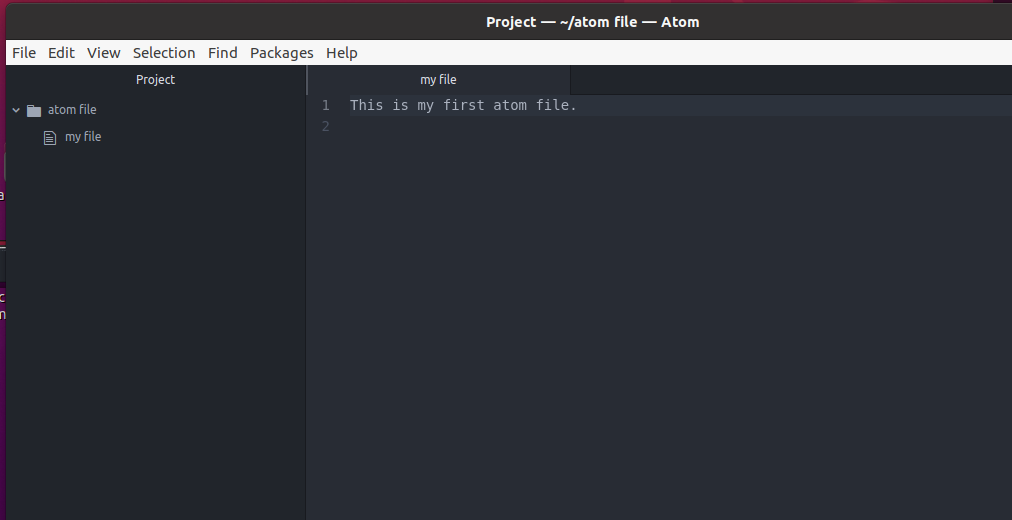
When we save the file, it will display the file along with the folder in which it is stored. As shown in the snippet below, the left side shows the folder in which the file is stored and the right side displays the opened file where we can write any code or text as per our desire.
Conclusion
We have studied briefly how to install the atom text editor and the purpose of the text editor along with the multiple methods. After that, we explained the procedure to install the packages by implementing a single example.
Source: linuxhint.com