Apache Kafka Consumer with Protobuf
Commonly known as Kafka, Apache Kafka is a free and open-source distributed event streaming platform which is developed to handle large-scale and real-time data streams. An example of such would be stock prices, exchange rates, etc. Such data requires a high level and near real-time update which allows the consumer applications to read the data and update as fast as possible. This is where the tools such as Apache Kafka comes to life.
Kakfa was initially developed by the LinkedIn team and later open-sourced in 2011. One of the major problems that is solved by Kafka is the ability to handle extensively large volumes of data in real time. It does this by leveraging a distributed architecture and a set of APIs that make it easy to scale out the platform horizontally.
For Kafka to transfer the data across the Kafka cluster, the data needs to be encoded and serialized into a specific structure. This allows the consumer and producer applications to agree on a particular format and structure.
Apache Kafka supports various serialization formats such as JSON, Avro, and Protobuf. JSON is the most popular and simplistic as it allows the data to be organized in a simple, human-readable format. This makes it an excellent tool for testing and development purposes.
In this tutorial, we will learn how to set up a simple Apache Kafka consumer using the protobuf serialization format. Before getting started, it is good to understand that this tutorial requires familiarity with Apache Kafka consumer/producer functionality, the basics of working with Protocol Buffers, and Java development knowledge.
What Is Data Serialization in Kafka?
Let us start at the very beginning.
Data serialization in Kafka refers to converting structured data into a format that can transmit as a single unit, also known as a Kafka message, across a Kafka cluster.
Apache Kafka uses a binary protocol to facilitate the consumer and producer applications communication. Hence, the messages between the applications must be serialized into a format that can be sent over the network and understood by all endpoints in the cluster.
Since the data in a Kafka cluster is in a uniform format, the consumers and producers can easily communicate and pass the data without the limitations of the programming language or the technology stack behind it.
This enables the heterogeneous systems to communicate seamlessly without complex integration work.
What Is Protocol Buffers?
Protocol Buffers, commonly known as protobufs, is a language-neutral, platform-independent, extensible format to serialize the structured data. Again, you can think of XML but built to be more extensible, smaller, faster, and simpler.
Protocol Buffers allow us how to define the way our data is structured. It then provide a specially generated source code which allows us to read and write the structured data from various data streams and programming languages.
Installing the Protocol Buffer Compiler
The first step is installing the Protocol Buffer compiler on your target machine. Next, you can check the official documentation to learn how to set up your machine’s Protocol Buffer compiler.
This tutorial demonstrates how to install the Protobuf compiler on Ubuntu.
Start by updating the system repositories:
Next, run the apt command to install the Protobuf compiler as shown in the following:
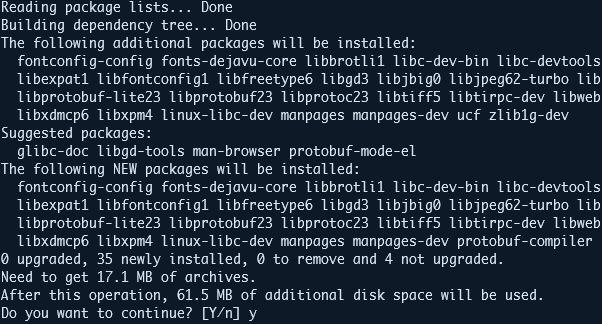
Next, check the installed Protocol Buffer compiler with the following command:
The command should print the installed Protocol Buffer compiler version as:
Once installed, we can proceed and develop our Kafka producer and consumer application.
Settting Up the Kafka Schema Registry
You must have the Kafka schema registry installed and configured on your Kafka cluster. For simplicity, we will not discuss how to accomplish that on this tutorial. Instead, you can check the following link to discover further:
https://docs.confluent.io/platform/current/installation/installing_cp/deb-ubuntu.html#c3-short
Defining the Protobuf Message
In this step, we need to define our Protocol Buffer message schema. We can do this by creating a file which ends in “.proto”.
Start by setting up the project directories:
Navigate into the target directory and create a new file.
Next, edit the “schema.proto” file and add the message definition as shown in the following:
package com.example.kafka;
message Product {
string name = 1;
string description = 2;
float price = 3;
repeated string categories = 4;
bool in_stock = 5;
string manufacturer = 6;
string sku = 7;
}
Let us break down each field and what each section entails. For example, in the previous schema, we have the following areas:
- Name – This field defines the name of the product of type string.
- Description – Similarly, the description field allows us to store the product’s description. This field holds the string data types.
- Price – The price field holds the product’s price as a floating point value.
- Categories – This defines the category under which the set product belongs. Since the product can belong to multiple categories, we describe the data type as an array of strings.
- In_stock – This field stores the availability state of the product as a Boolean data type.
- Manufacturer – The name of the manufacturer as a string value.
- Sku – Finally, the sku field stores the stock-keeping unit number of the product as a string.
Compiling the Protocol Buffer Schema
Once we define the previous schema, we must compile it into the Java classes using the Protocol Buffer compiler. We can do this using the proc command syntax as shown in the following:
The command is as follows:
Note: Ensure to create the Java directory before running the previous command.
Once the command is executed, you should see a “Schema.java” file which contains the definition of your Protocol Buffer schema.
An example output is as shown in the following:
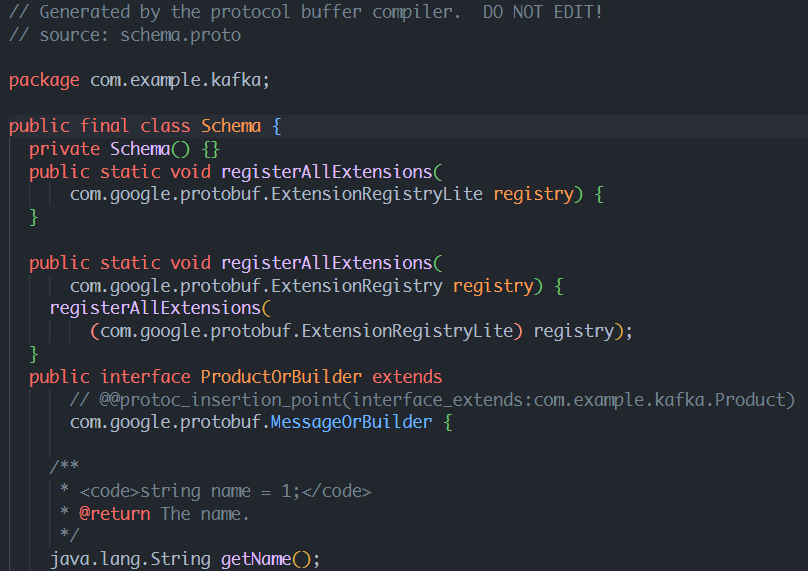
NOTE: You should not edit the generated file. Instead, if you wish to make changes, edit the “.proto” file and recompile it.
Creating a Kafka Producer
In the next step, we must create a Kafka producer using Java. This post uses the confluent Java client as it supports the Protocol Buffer serialization and deserialization.
In this case, we must create a Java project with the required dependencies. Then, you can use Maven to add the dependencies.
Next, initialize the file that stores the source code for the Kafka producer. Finally, edit the Kafka producer source file and add the source code as shown:
import org.apache.kafka.clients.producer.*;
import org.apache.kafka.common.serialization.StringSerializer;
import com.example.kafka.Product;
import java.util.Properties;
public class ProductProducer {
public static void main(String[] args) {
// producer properties
Properties props = new Properties();
props.put(ProducerConfig.BOOTSTRAP_SERVERS_CONFIG, "localhost:9092");
props.put(ProducerConfig.KEY_SERIALIZER_CLASS_CONFIG, StringSerializer.class);
props.put(ProducerConfig.VALUE_SERIALIZER_CLASS_CONFIG, KafkaProtobufSerializer.class);
props.put("schema.registry.url", "http://localhost:8081");
// Create a Kafka producer
Producer<String, Product> producer = new KafkaProducer<>(props);
// Create a new Product object
Product product = Product.newBuilder()
.setName("Apple MacBook Air")
.setDescription("M1 Version of the apple macbook air in gold color...")
.setPrice(999.99f)
.addCategories("laptops")
.addCategories("apple")
.setInStock(true)
.setManufacturer("Apple Inc")
.setSku("M12021")
.build();
// Send the object to the "products" topic in Kafka
ProducerRecord<String, Product> record = new ProducerRecord<>("products", product.getSku(), product);
producer.send(record, new Callback() {
@Override
public void onCompletion(RecordMetadata metadata, Exception exception) {
if (exception == null) {
System.out.println("Message sent successfully to topic " + metadata.topic() +
" partition " + metadata.partition() + " at offset " + metadata.offset());
} else {
System.err.println("Failed to send message to topic " + metadata.topic() + ": " + exception.getMessage());
}
}
});
// Flush and close the producer
producer.flush();
producer.close();
}
}
In the previous example, we use the KafkaProtobufSerializer from the confluent schema registry to serialize the products’ object.
NOTE: You should have the “products” topic already created in your cluster.
Once completed, we can compile and run the producer application to write the message to the Kafka topic.
Consuming the Protobuf Messages
We need to set up the consumer application capable of deserializing the data to read the messages that are written to the producer topic.
Start by creating the file to store the source code for your Kafka consumer app. Then, edit the file and the source code as shown in the following:
import io.confluent.kafka.serializers.protobuf.KafkaProtobufDeserializerConfig;
import org.apache.kafka.clients.consumer.*;
import org.apache.kafka.common.serialization.StringDeserializer;
import com.example.kafka.Product;
import java.time.Duration;
import java.util.Collections;
import java.util.Properties;
public class ProductConsumer {
public static void main(String[] args) {
// Set up consumer properties
Properties props = new Properties();
props.put(ConsumerConfig.BOOTSTRAP_SERVERS_CONFIG, "localhost:9092");
props.put(ConsumerConfig.KEY_DESERIALIZER_CLASS_CONFIG, StringDeserializer.class);
props.put(ConsumerConfig.VALUE_DESERIALIZER_CLASS_CONFIG, KafkaProtobufDeserializer.class);
props.put(KafkaProtobufDeserializerConfig.SCHEMA_REGISTRY_URL_CONFIG, "http://localhost:8081");
props.put(KafkaProtobufDeserializerConfig.SPECIFIC_PROTOBUF_VALUE_TYPE, Product.class.getName());
props.put(ConsumerConfig.GROUP_ID_CONFIG, "product-consumer");
// Create a Kafka consumer
KafkaConsumer<String, Product> consumer = new KafkaConsumer<>(props);
// Subscribe to the "products" topic
consumer.subscribe(Collections.singletonList("products"));
// Continuously poll for new messages
while (true) {
ConsumerRecords<String, Product> records = consumer.poll(Duration.ofSeconds(1));
for (ConsumerRecord<String, Product> record : records) {
Product product = record.value();
System.out.printf("Received message with sku '%s' and name '%s'%n", product.getSku(), product.getName());
}
}
}
}
In the example consumer application, we use the KafkaProtobufDeserializer to deserialize the product message from the cluster. To continuously read the messages from the topic, we use the poll function to poll the cluster for new messages.
We can then compile and read the messages from the cluster.
Conclusion
This post explored the basics of setting up a simple Kafka producer and consumer application that allows you to write and read the messages to a Kafka cluster using the Protocol Buffers.
Although this tutorial allows you to get in the door and start working with Protocol Buffers in Kafka, it is still a basic application that you can extend to include more functionality.
Source: linuxhint.com