Adding Users to Sudoers in Ubuntu
Check the User Type in Ubuntu
Before adding any user to the sudo group, we should have an information regarding the type of user account that we are currently logged in and working right now. For this purpose, the Ubuntu system provides us the single keyword instruction, i.e. “Whoami”. For instance, we log in from the user account named “omar” and launch its terminal utility via the “Ctrl+Alt+T” shortcut. Now, we execute the “whoami” single keyword command with “Sudo” rights in the shell as displayed in the following to check if our currently logged-in user is a “root” user or not. The use of “Sudo” rights is asking for the password for the current user as depicted. Upon providing the correct password, it displays “root”, i.e. the currently logged-in user is already in the sudoers group.
Another way is using the “groups” instruction followed by a user’s name to check for the list of groups that a user may belong to. For example, we demonstrate the use of the following “groups” instruction and the “omar” username. The output of this instruction displays the names of groups that the user belongs to, i.e. omar and sudo.
Add a User to Sudoers via Commands
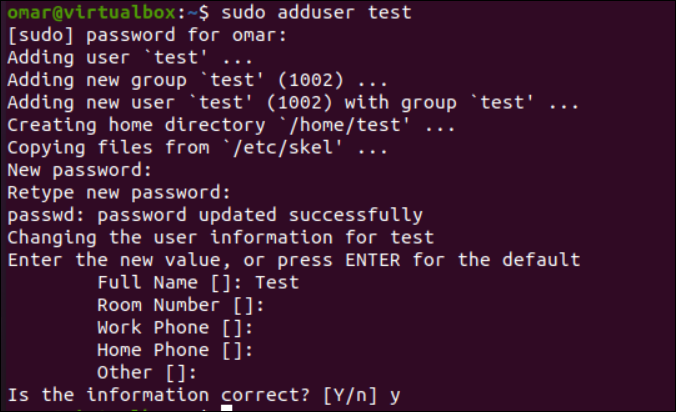
The first method to add any user to a group of sudoers is to use the terminal commands. First of all, you have to create a new user in the Ubuntu system to make it a sudo user as well. To add a new user, execute the “adduser” instruction with the “sudo” rights followed by the username to create a user. Here, we build a “test” user which is displayed in the following:
After adding the correct password for the user in the activity, the Ubuntu system has successfully added a “test” user within the “test” group as per the provided details. After that, it asks to set the new password for the new user to be created, i.e. “test”. Then, it prompts you to press “ENTER” to set some default values for the new user, i.e. its full name and extra information. In the end, you have to affirm that the provided information is correct by tapping on the “y” key.
After creating a new user which is “test”, we execute the “groups” command for it. This instruction returns the “test” group name to which the “test” user belongs.
When you add a user via the useradd instruction, it is a standard user and not a “sudo” user since the “test” user belongs to a “test” group. To add the newly created user to a group of sudoers, you have to use the “usermod” instruction with the “-aG” option that adds the specific user to a specific group. After the “-aG” option, you have to mention the name of a group in which you will add your user which is “sudo”, followed by the name of a user which is “test”. After adding the “test” user to the “Sudo” group, we execute the “groups” instruction for it again. This time, it shows that the use of “test” also belongs to the “Sudo” group along with the “test” group.
$ groups test
Add a User to Sudoers via the User Settings
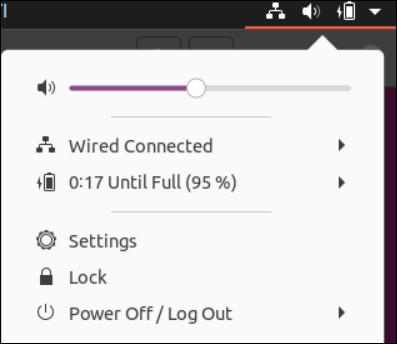
Within your Ubuntu system, you can find the “Settings” utility at the right-most corner of the Ubuntu screen. Tap on “Settings” to open all the Ubuntu settings.
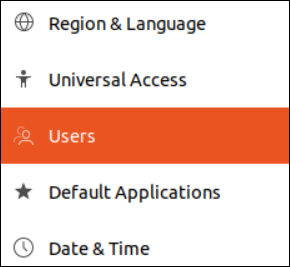
Scroll down to the “Users” option that is available in the settings and tap on it.
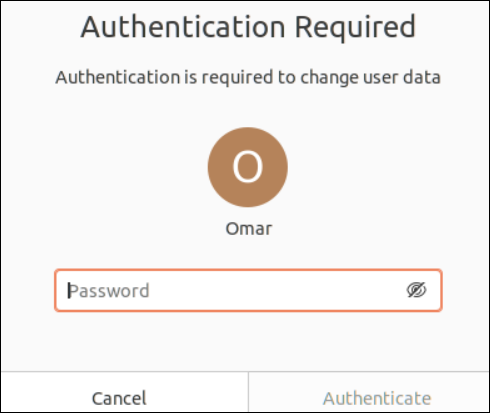
The “Users” setting is currently locked since it is a sensitive part of the system. Tap on the “unlock” button from the highlighted prompt that is shown in the following image:

The correct password for the currently logged-in user should be provided in the prompted screen that is displayed in the following followed by the “Authenticate” button:
After successfully confirming your password, the Users panel will be unlocked to perform the changes to the user settings. The “Add User” button at the top corner of the “User” setting allows you to add a very new user to the Ubuntu system. Let’s create a new user in the system via the “Add User” button.

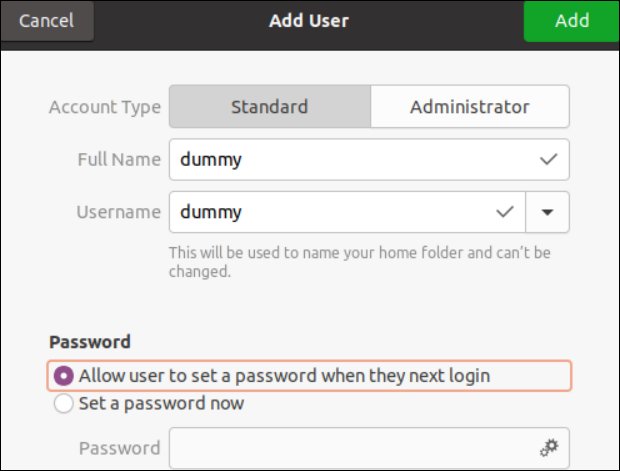
As depicted in the following image, a new window to add a standard user will be opened. We add a full name for a user, i.e. “dummy”, and select the “standard” account type. Now, hit the “Add” button to create this standard account.
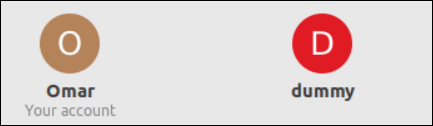
The “dummy” user is now created.
We use the “groups” instruction to look for the groups of “dummy” users. It shows the only “Dummy” group in this user’s case, i.e. it doesn’t belong to sudoers.
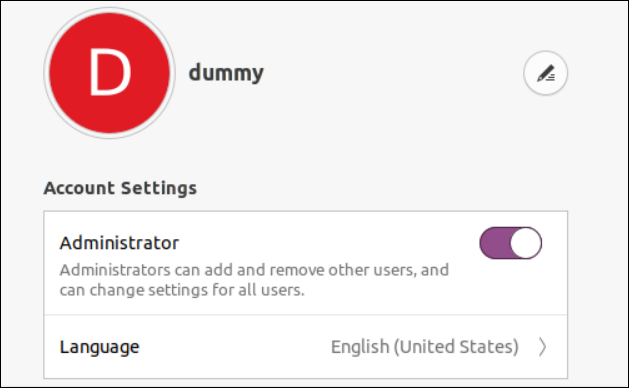
Now, we add the “Dummy” user to the “sudo” group via the same “User” settings. So, open the settings for the “dummy” user and select its account type as “administrator” as depicted in the following image:
Upon running the “groups” instruction once again for the “dummy” user, we found that the “dummy” user now belongs to the “sudo” group as well.
Conclusion
This guide’s introductory paragraph demonstrates the use of different rights that are affiliated with different groups of users in the Linux systems, i.e. the root user versus the sudo user. After that, we demonstrated the method to check for the group of currently logged-in users. Most importantly, this guide elaborates on the two different methods to create new users and add them to the group of sudoers in the Ubuntu system.
Source: linuxhint.com