Add Images in Markdown and Modify Image Size
For Adding Images in Markdown:
The syntax is given below.
For Modifying Image Size in Markdown:
For modifying the size of the image in Markdown, we utilize the “<img>” tag of the HTML. Only this tag helps in modifying the size of the image in Markdown and the syntax of this “<img>” tag is given below.
We can change the size of the image by setting the values of width and height in numbers as well as in percentages. We can also use the style attribute in this “<img>” tag for modifying the size of the image in Markdown.
Example # 01:
We use the Visual Studio Code for performing the Markdown codes. For the Markdown codes, we have to open both the text editor as well as the preview window. In the text editor, we have to add the input and the output is obtained in the preview window. In the text editor, we first add the image in Markdown by placing the “!” symbol and then add square brackets in which we add “Alt text”. Now, we are adding the path of the image.
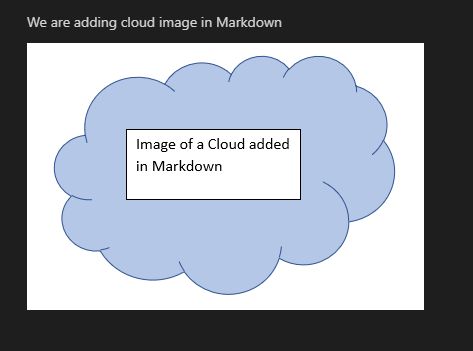
We enter the name of the image with its extension because both the code and the image are saved in the same directory. So, we just add the name here which is “cloud.png”. Then, we add the text which is “Cloud Image” and this is the text which shows only when the mouseover. Now, the image is added and we can also see this image in the preview window.

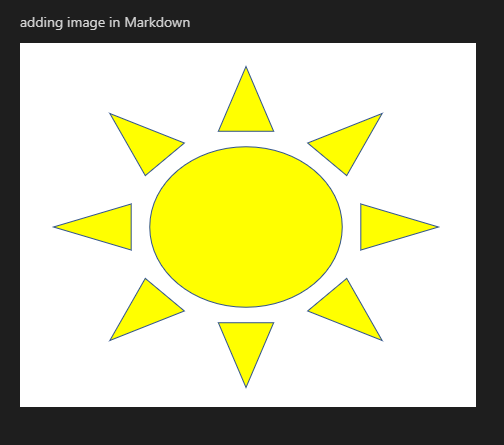
The cloud image is shown below as we have added this image in the Markdown code which is displayed above.
Example # 02:
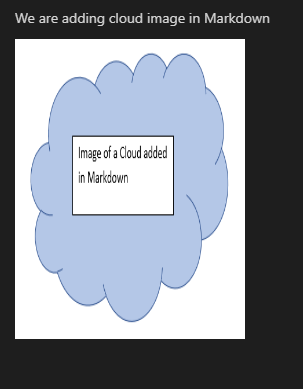
Now, we are modifying the size of this image by using the “<img>” tag. First, we enter the “src” in which the name or path of the image is added. After this, we place “alt” and adjust “Cloud Image”. We adjusted the “width” of the image to “230”. The “height” is adjusted to “300”. We also add the “title” in this “<img>” tag and the value of this “title” is “Cloud title”. Now, the size of the image is modified. You can see the modified size of the image in the preview window.

The size of the image in this outcome is modified and the “width” of the image is “230” and the “height” is “300”. This is because we have adjusted this width and height in the Markdown code.
Example # 03:
We can also modify the image “width” and “height” by putting their values in percentages. After adding the name or path of the image and adjusting the “alt” to “Cloud Image”, we have set the “width” and the “height” of the image to “50%”. Then, add the “title” and close this tag.

Here is the image whose size is modified by using the “<img>” tag. The image’s height, as well as the width, are “50%”.
Example # 04:
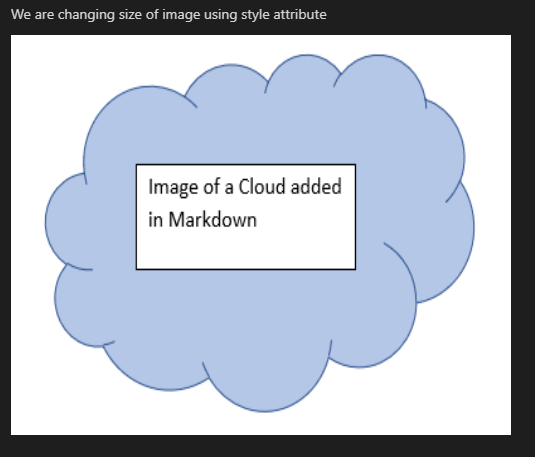
Now, we are utilizing the “style” attribute in this “<img>” tag for modifying the size of the image in Markdown. We must add the name of the image and then the “alt” attribute. After this, we put the “style” attribute and added “width and height” as its values. The “width” we set is in pixels which is “500px” and the “height” is “400px”. Now, the image size will adjust accordingly.

The image’s size in this result has been updated; its “width” is now “500px” and its “height” is “400px”. This is visible as a result of the Markdown code which is given above where we have adjusted the width and height in the style attribute.
Example # 05:
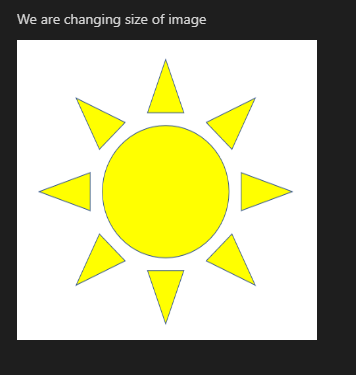
We are adding another image. But in this Markdown code, we don’t change the size of the image. The size of the image is changed only when we have utilized the “<img>” tag. We put the “!” and then add the text inside the square brackets which is “Sun Image”. After closing the square brackets, we place the parentheses in which we have inserted the image name “New_sun.png” and then add the text which will show on mouseover. The original size of the image will show in the outcome.

The image of the sun is shown as we have added this image in the Markdown code. Also, the original size of the image is visible because we can’t adjust the size of the image without using the “<img>” tag.
Example # 06:
By employing the “<img>” tag, we are now changing the size of this image. First, we add the name or path of the image whose size we want to modify to the “src” field. The image’s “width” and “height” has both been changed to “300”. The image’s size has now changed. The preview window shows the new size of the image.

The image’s width and height have been both modified to “300”.
Example # 07:
By setting the image’s “width” and “height” values in percentages, we may easily change these dimensions. We both adjusted the image’s “width” and “height” to “40%” and then closed this tag.

Here is the image with 40% height and also 40% in its width. We have added this width and height inside the “<img>” tag after adding the image’s name.
Example # 08:
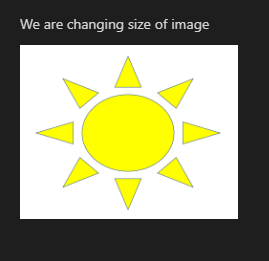
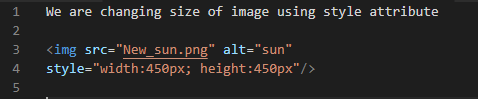
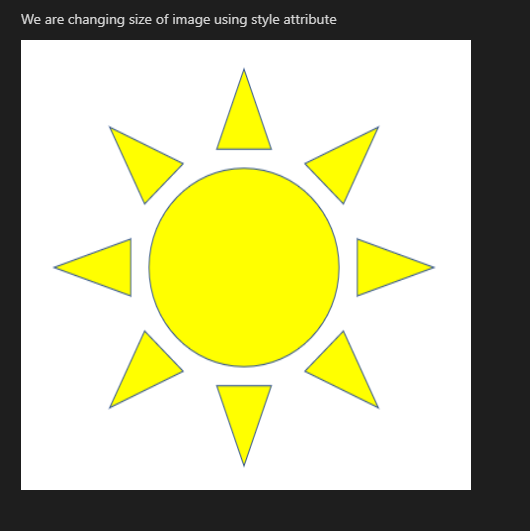
Now, we’re using the “style” attribute in the “<img>” tag to change the image’s size in Markdown. We added “width and height” as the values to the “style” attribute after adding the image name and the “alt” attribute. The “width” we specify is “450px”, while the “height” is also adjusted to “450px.” The image size will now change appropriately according to these new values of width and height.
Now, the result of this code is also shown in the preview window which is displayed below. Both the width and the height of this image are now “450px” in this outcome below.
Conclusion:
We have explored the concept of adding images in detail in this guide and we have also explored how to modify the size of the image in Markdown as well. We have added the images in Markdown and modified their size with the help of the “<img>” tag and have shown how to do all these in Markdown. We have changed the size of the image by putting the values of width and height in numbers as well as in percentages. We have also utilized the style attribute in the “<img>” tag for updating or modifying the size of the image in Markdown.
Source: linuxhint.com