A Complete Guide to Setup DAKboard on Raspberry Pi through Browser
The DAKboard has several paid plans; however, it also has a free basic plan to get the predefined DAKboard screen for your Raspberry Pi system. This article will show you how to set up DAKboard on a Raspberry Pi system by creating a free predefined screen.
How to Setup DAKboard on Raspberry Pi
To setup DAKboard on Raspberry Pi, follow the below-mentioned steps:
Step 1: First, go to the DAKboard website and create an account there.
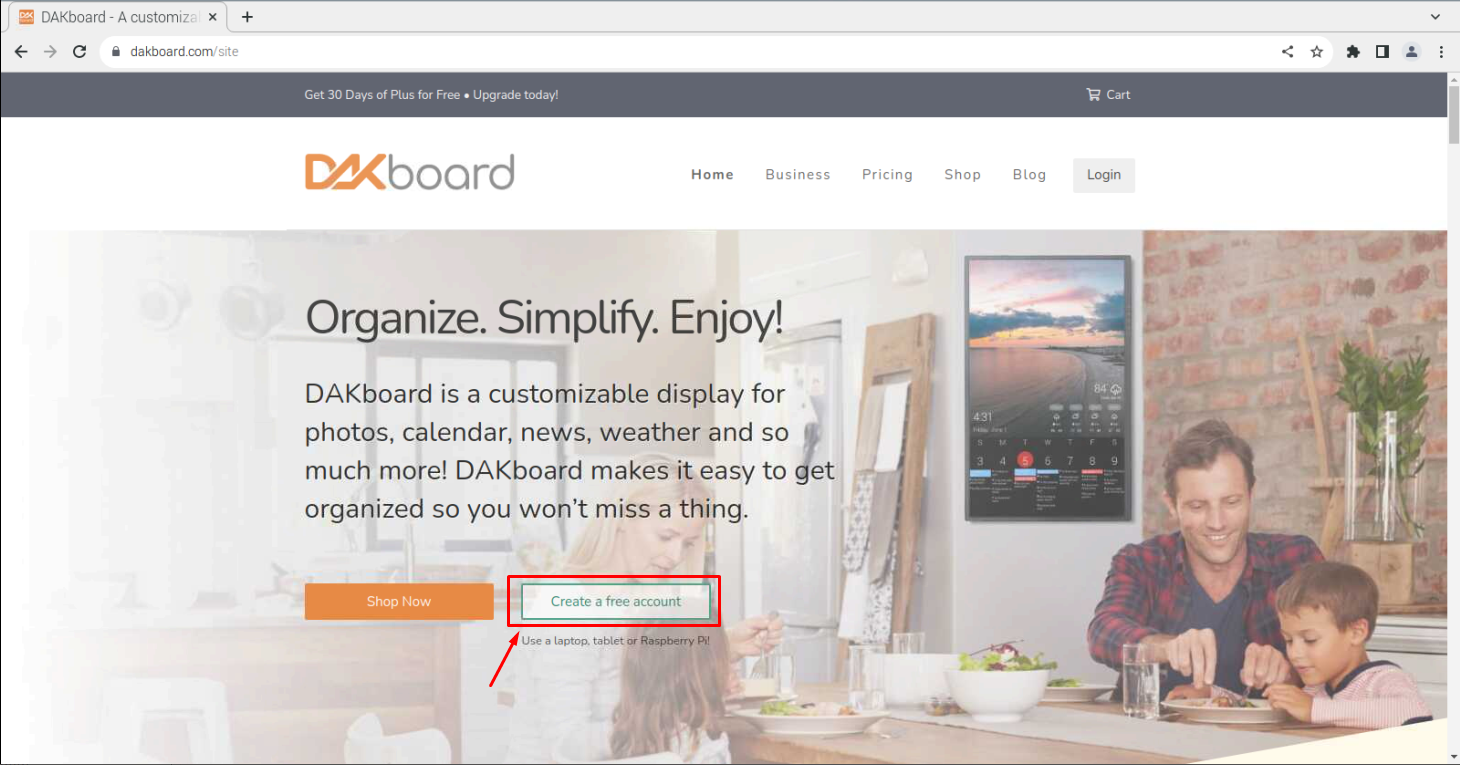
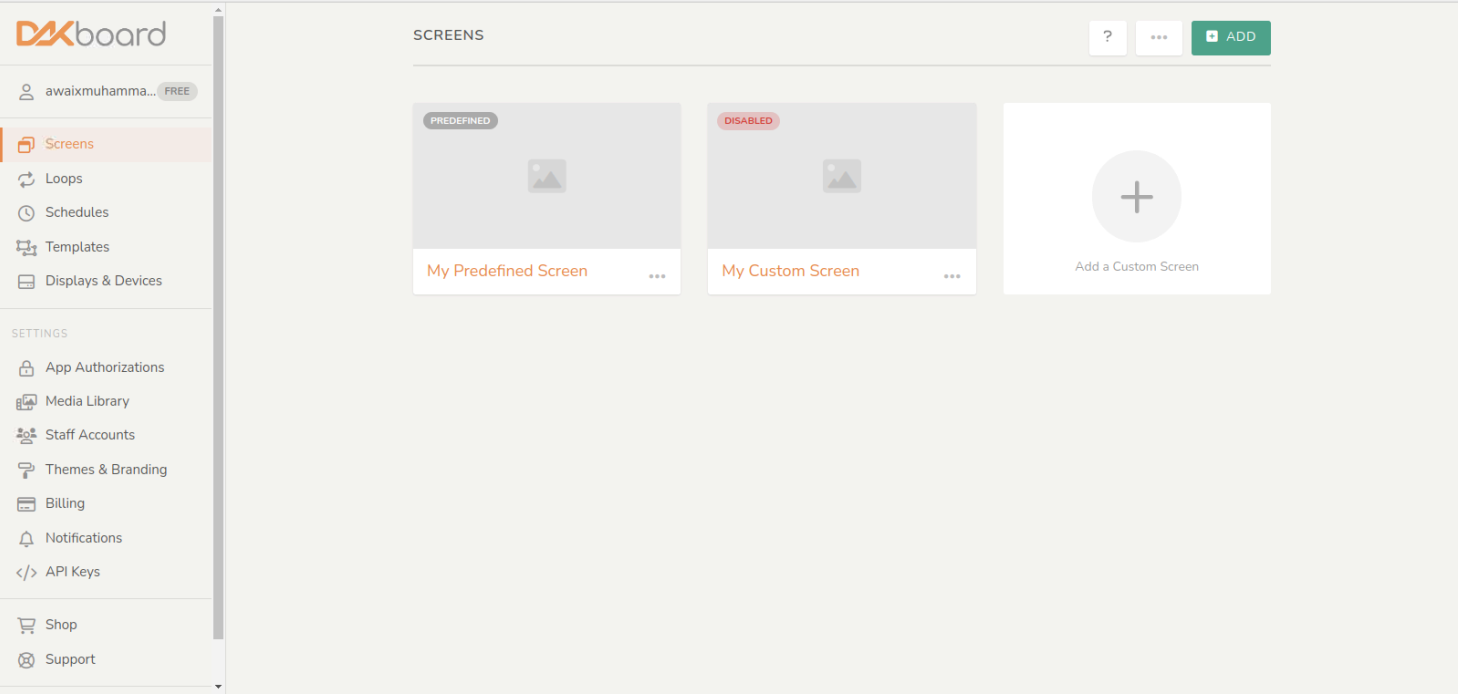
This will open the DAKboard dashboard on your browser.
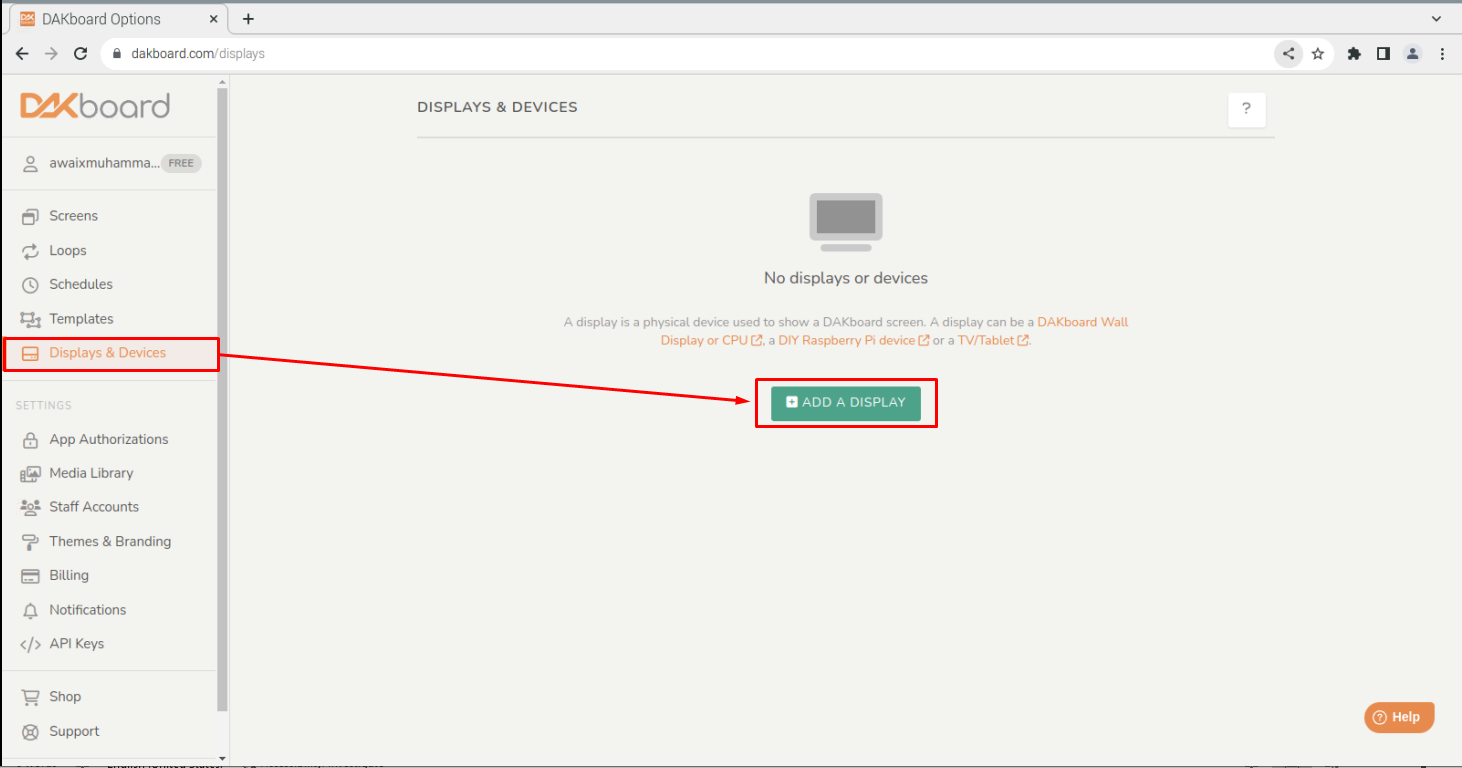
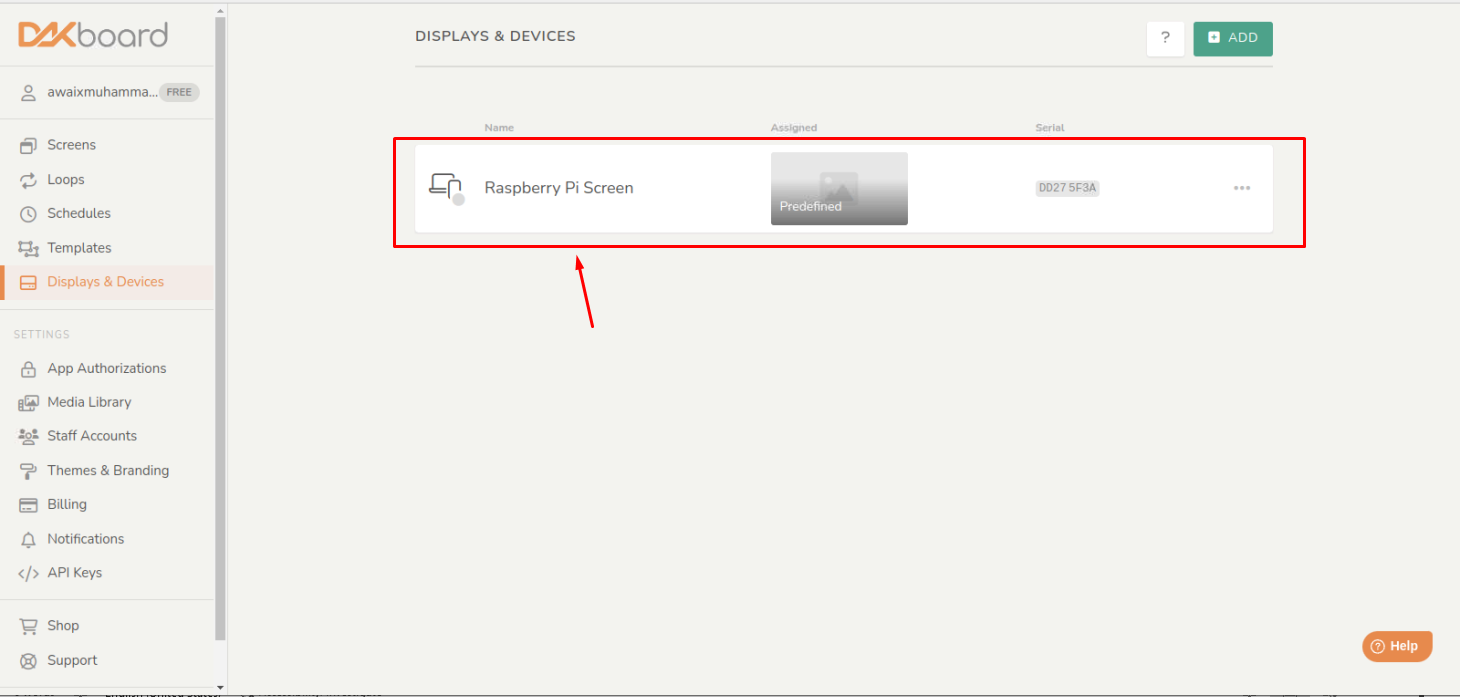
Step 2: Go to the “Display and Devices” section and then select “ADD A DISPLAY” option.
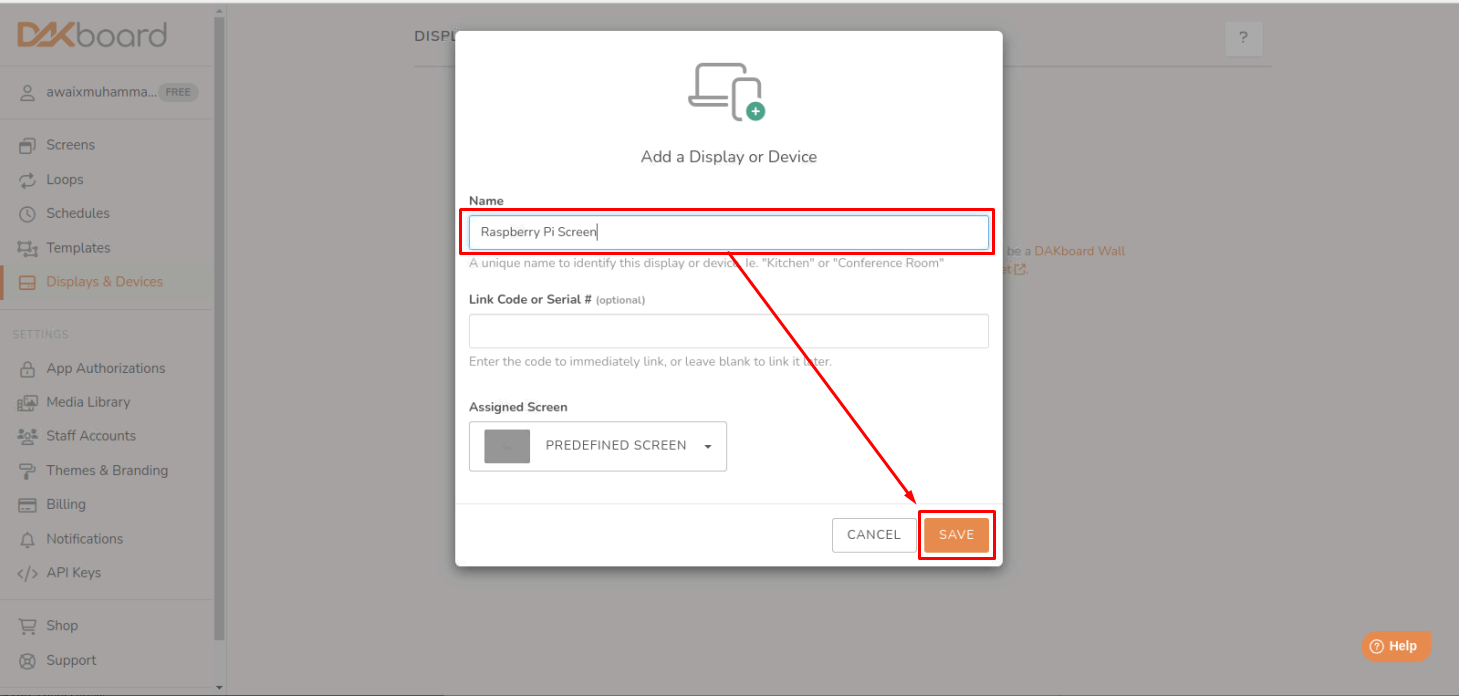
Step 3: Choose a unique name for your display and click on the “Save” button.
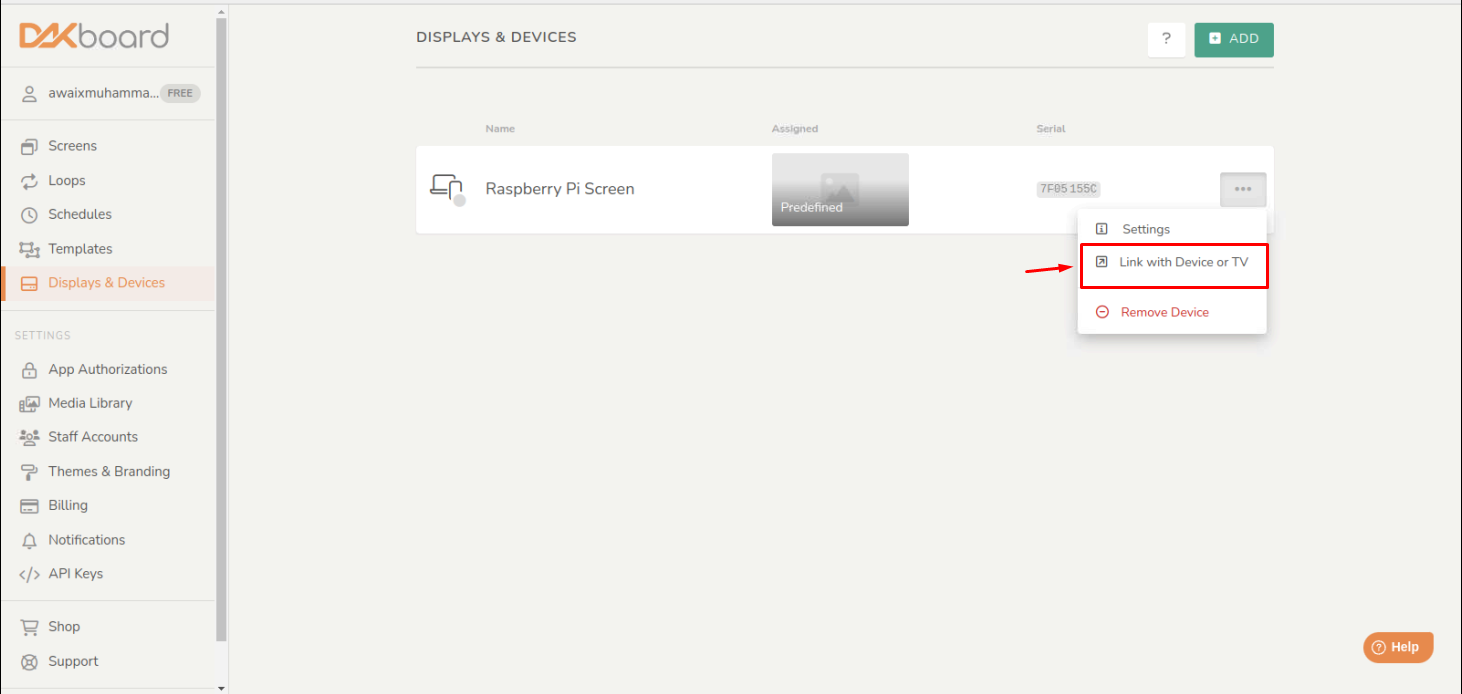
Step 4: Right click on the “…” option and select “Link with device or TV”.
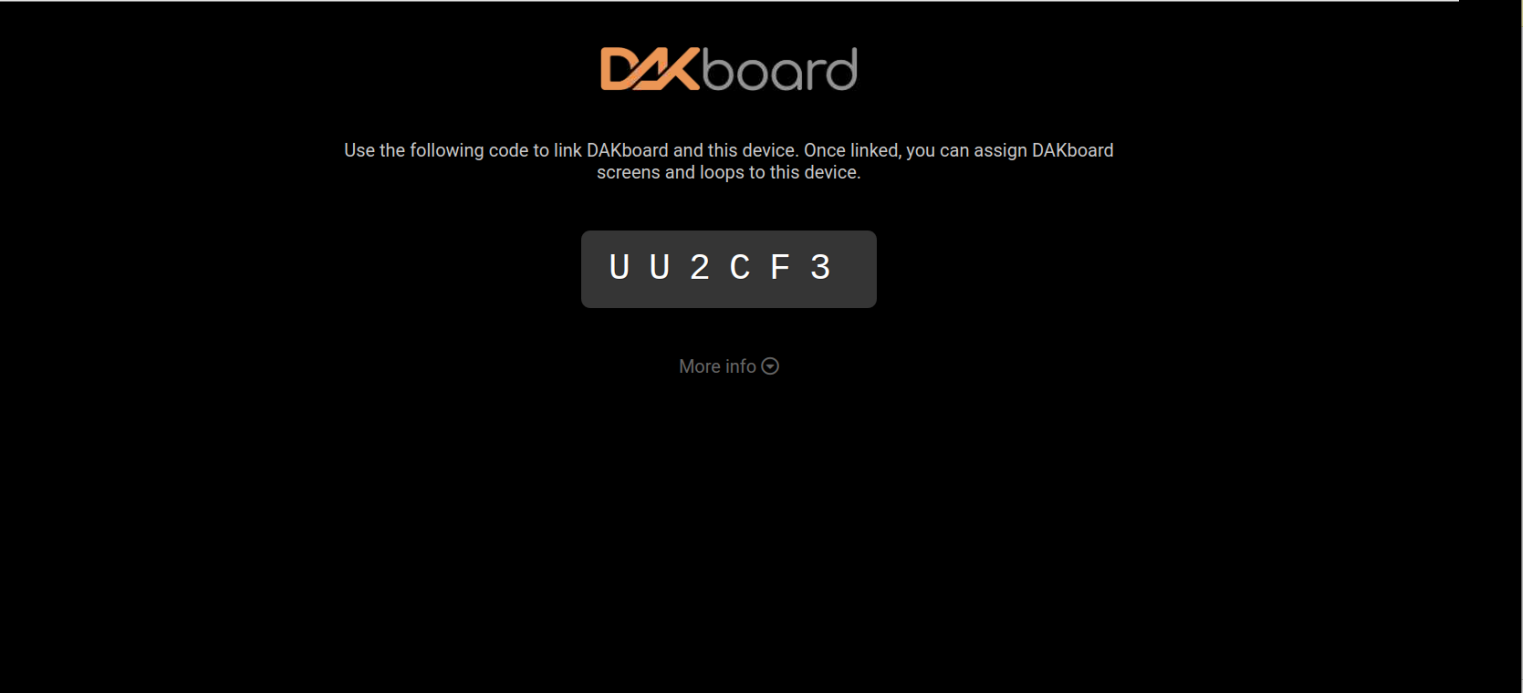
Step 5: Copy the highlighted link on your screen to find the code.

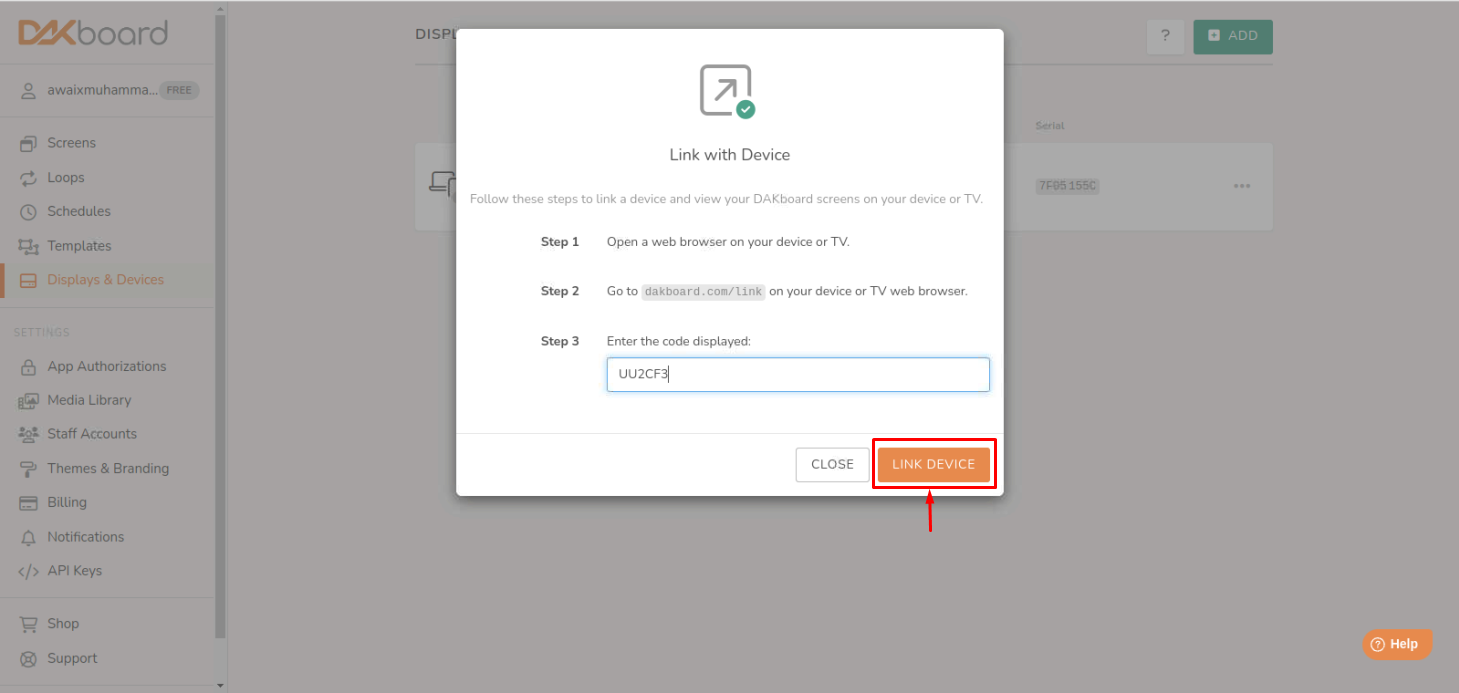
Step 6: Enter the code that you just found in the above step and click on the “LINK DEVICE” button.
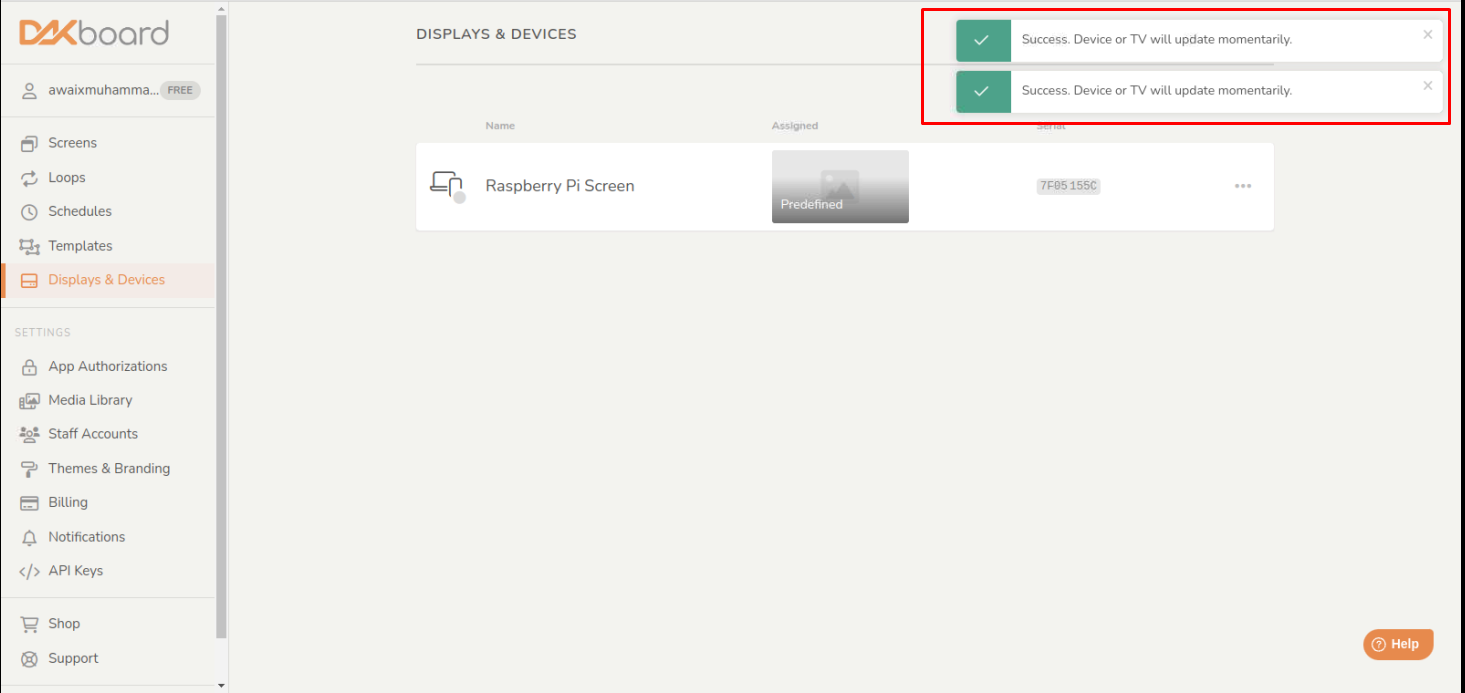
Step 7: This successfully adds the device to DAKboard’s “Display and Devices” section.
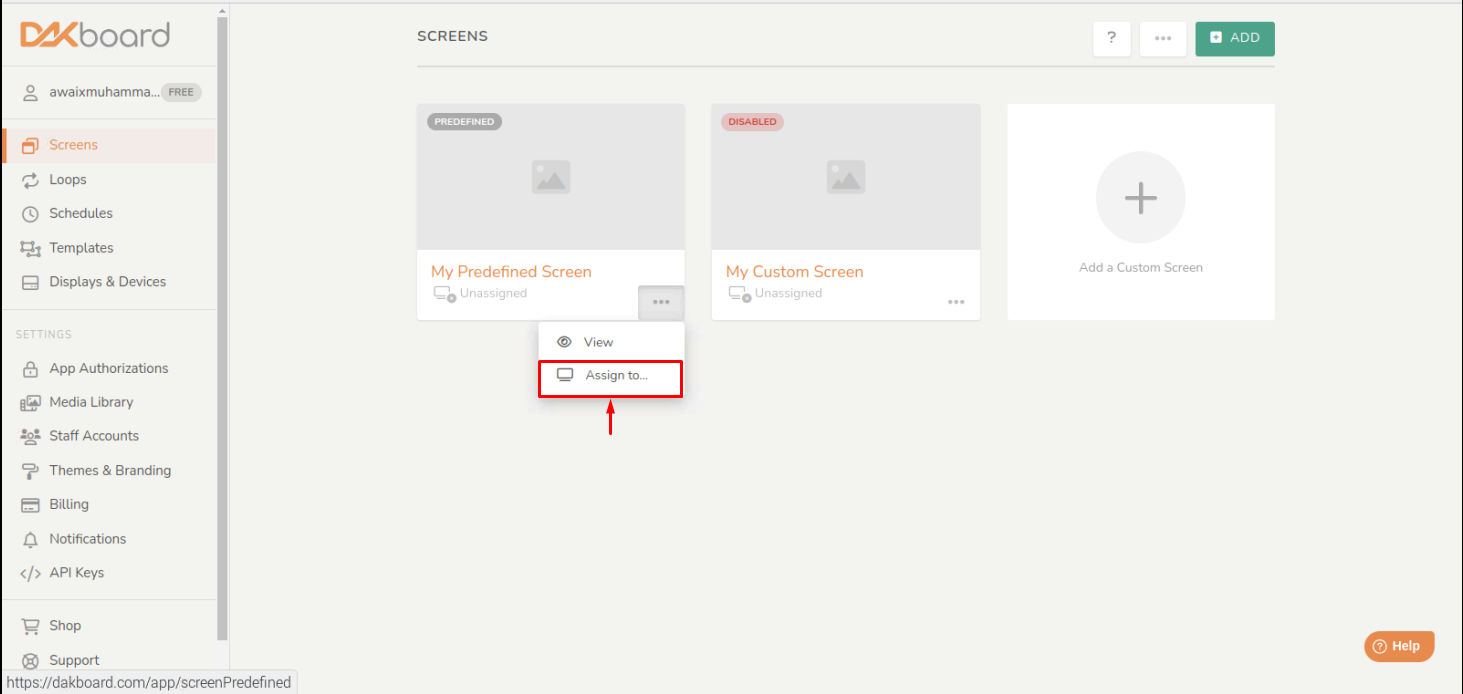
Step 8: Go to the “Screens” section. In the “My Predefined Screen”, right-click on the “…” option and select the “Assign to” option.
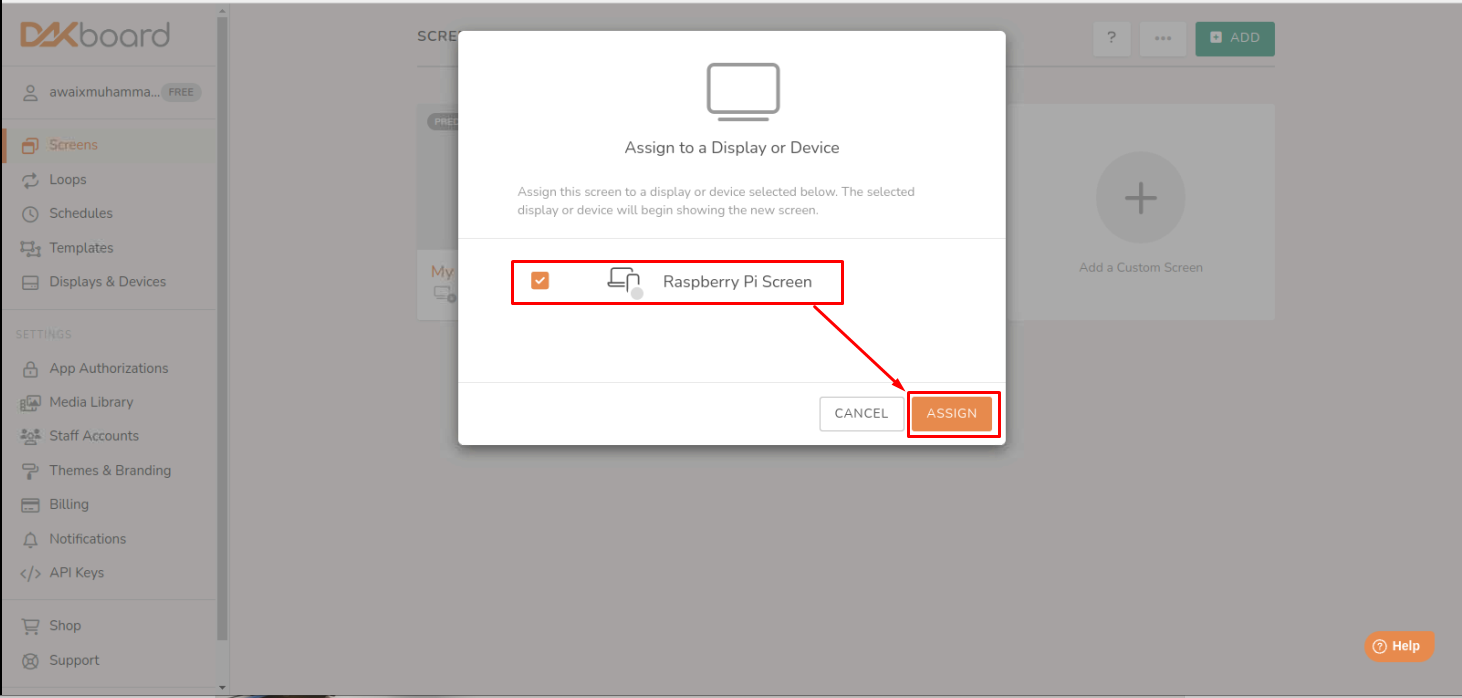
Step 9: Checkbox the screen you just created and assign this screen to display.
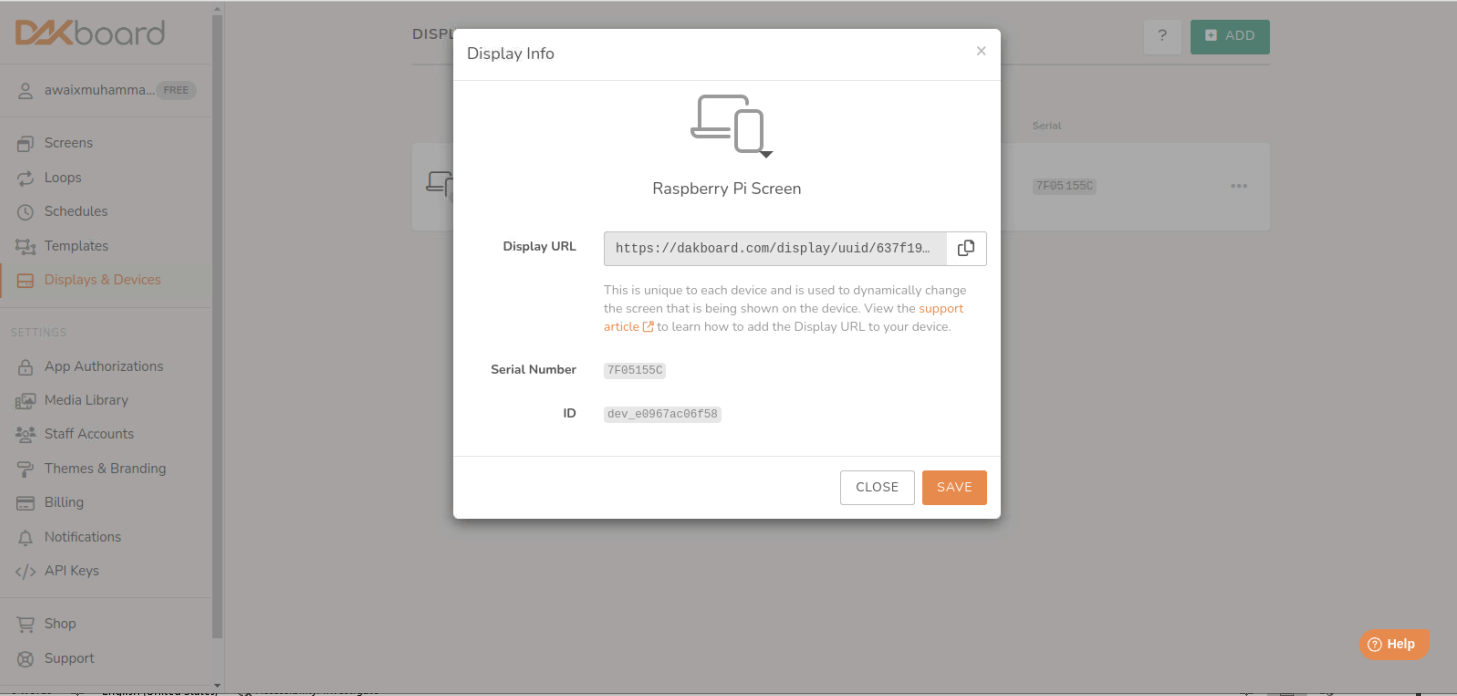
Step 10: Go to the “Display and Devices” section again and go to the screen settings as shown below.
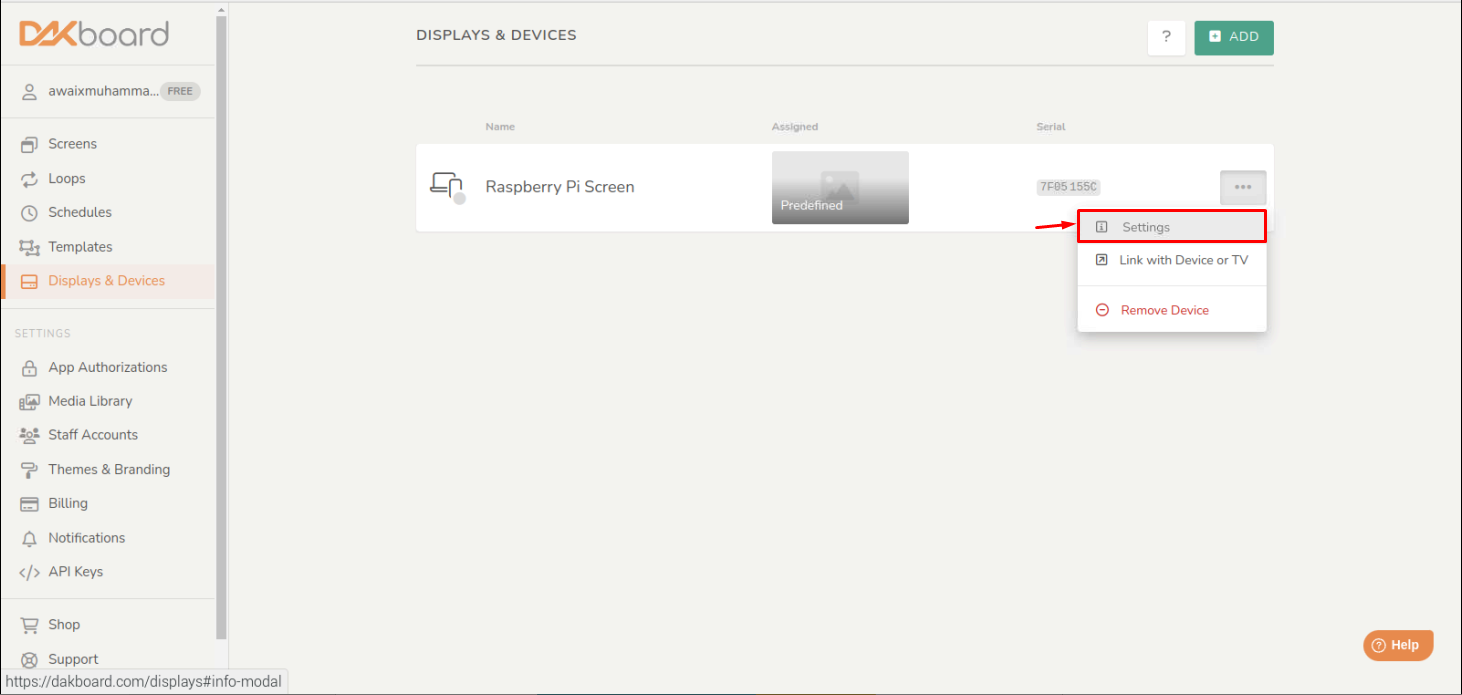
Copy the URL that appears on your screen as you will need it later.
Install Unclutter on Raspberry Pi
Since DAKboard will be run through Chromium browser, we may need to install unclutter as this will help us hide the mouse from the environment if no activity is found from the system at a predefined time. The reason is we are making the environment clean using this tool.
To install unclutter, follow the below-given command:
Run DAKboard at the Startup
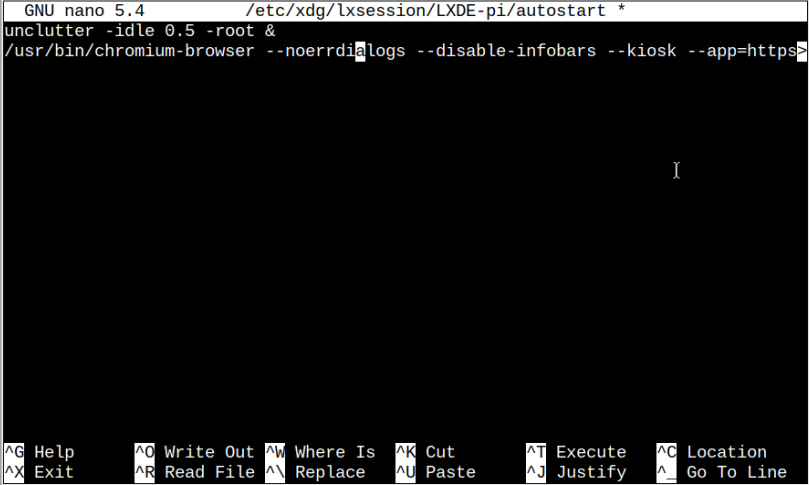
To make the DAKboard appears whenever your system reboots, you should create a startup file using the following command:
Inside the file, add the following lines, where the first line is to make the mouse idle if no activity is observed for more than half a second. The second line is to launch the DAKboard in kiosk mode as soon as the system restarts.
/usr/bin/chromium-browser --noerrdialogs --disable-infobars --kiosk --app=<URL for DAKbaord> &
Save the file using “CTRL+X” keys and reboot the system to make the changes. You will see the DAKboard display on your Raspberry Pi monitor screen when the system reboots.

You can use the Raspberry Pi system anytime by using the “CTRL+F4” keys and right-clicking on the screen to start using the terminal, browser, and other Raspberry Pi applications.

At this point, DAKboard is successfully set up on your Raspberry Pi system.
Conclusion
Raspberry Pi is an effective device that can be used for digital signage around the office using DAKboard. It helps an organization develop a custom welcome board, meeting schedule display, and more. The above step-by-step guidelines will help you set up a custom Raspberry Pi DAKboard from the DAKboard website. It’s up to you whether to go with a free plan or purchase a paid plan using beautiful built-in templates for DAKboard.
Source: linuxhint.com