A Complete Guide to Install Gitea on Ubuntu 22.04
The tutorial provides the simple guidelines to install Gitea on Ubuntu 22.04 LTS.
A Complete Guide to Install Gitea on Ubuntu 22.04
The following is the step-by step guidelines that will let you install Gitea on Ubuntu 22.04:
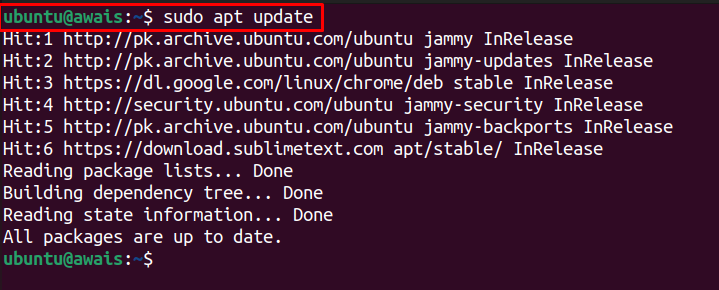
Step 1: Update System Packages
First, update the system packages using the following command:
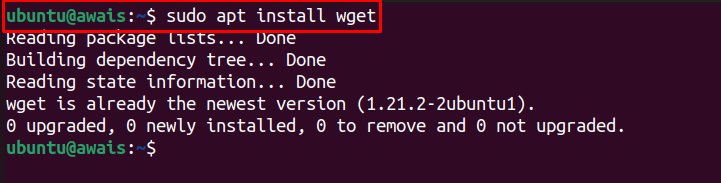
Step 2: Install Wget
After the update, you will require wget to install Gitea binary through the command line. You can install wget using the following command:
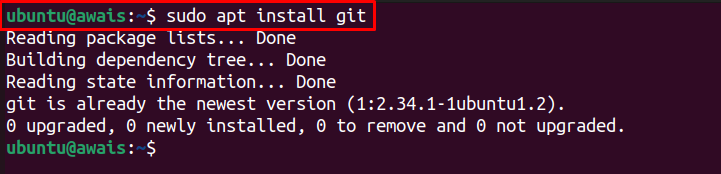
Step 3: Install Git
You will also require to install Git on Ubuntu by running the following command:
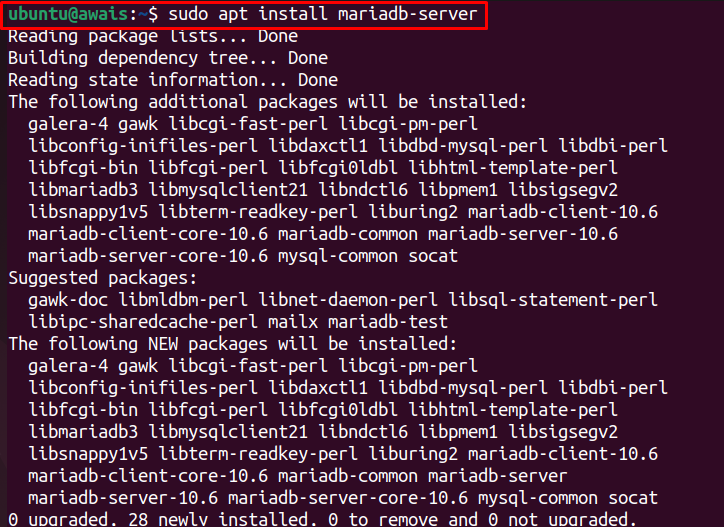
Step 4: Install and Configure MariaDB server
Gitea can work with any server whether it’s MySQL, SQLLite3 or MariaDB. You can install any database management system you want. Here, we are using MariaDB.
To install it on Ubuntu, use the following command:
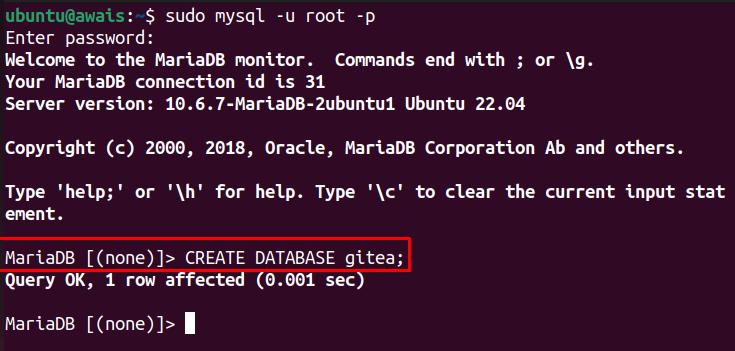
Step 5: Create Gitea Database
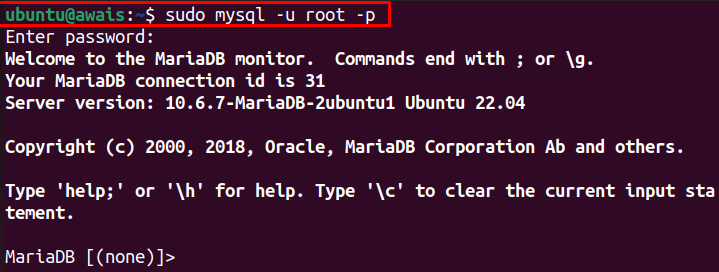
To create Gitea Database, you will first need to login to MariaDB server with the default username and password using the following command:
Then, create a database using the following statement:
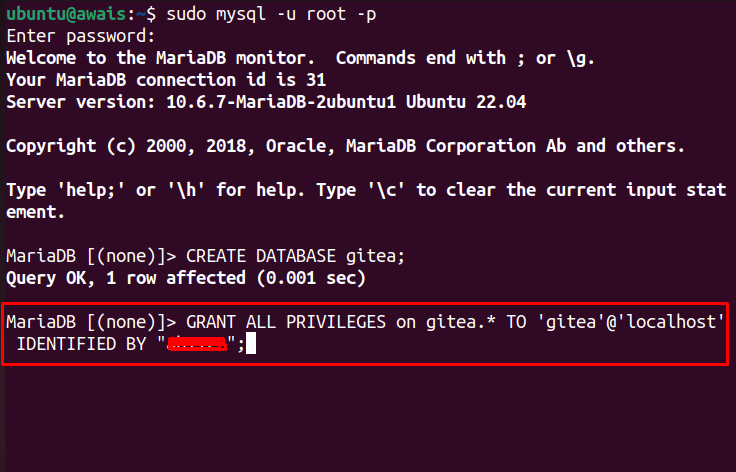
Next, use the following statement to create username and password.
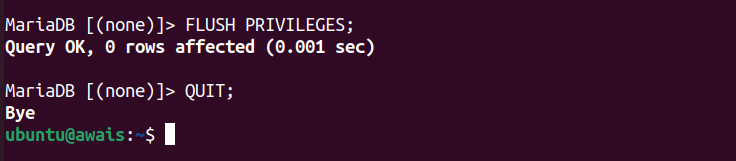
In the end, issue the below-given statements to complete mySQL set up.
QUIT;
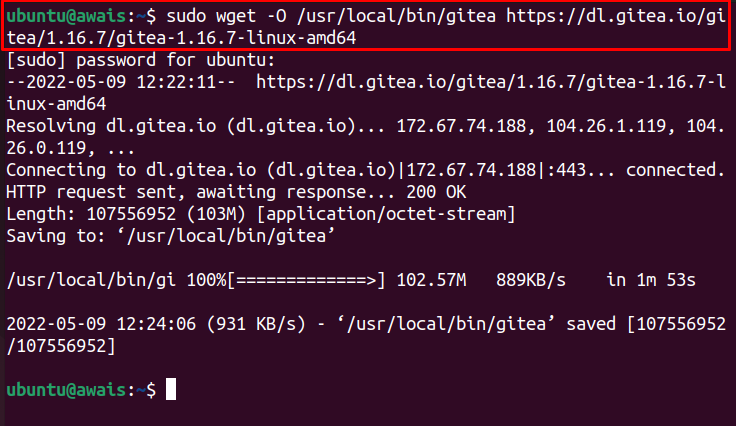
Step 6: Install Gitea
After completing the mySQL setup, its now time to install Gitea on Ubuntu using the following command:
gitea-1.16.7-linux-amd64
Now, make the gitea file executable using the following command:

This will complete the installation of Gitea on Ubuntu 22.04.
You can check the Gitea version via below-given command:

Step 7: Add a new user
Next, add a new user git via the below-mentioned command:
–group –disabled-password –home /home/git git
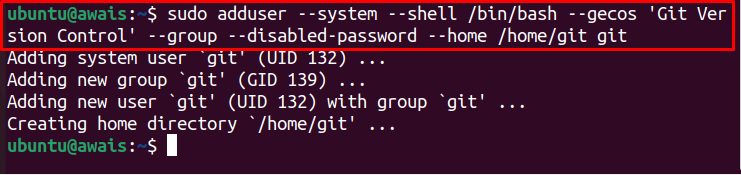
The above command will create a new user.
Next, make some important Gitea’s directories using the following command:

Then modify ownership of the above directories through below-given command:

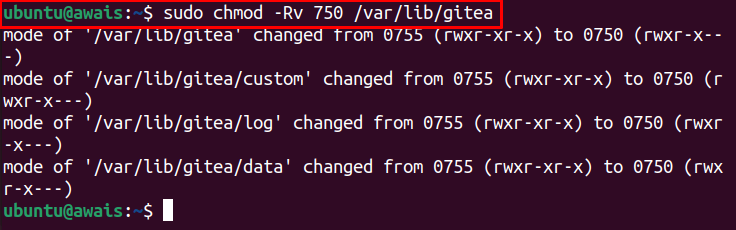
After that you have to fix the correct permission to the Gitea directory through below-mentioned command:
Then, you will require to create configuration directory of Gitea in the location “/etc/gitea” using the following command:

Next, replace the user Gitea with root and group with the git in the configuration directory using the below-given command:

Now allows changing the permission to the configuration directory via following command:

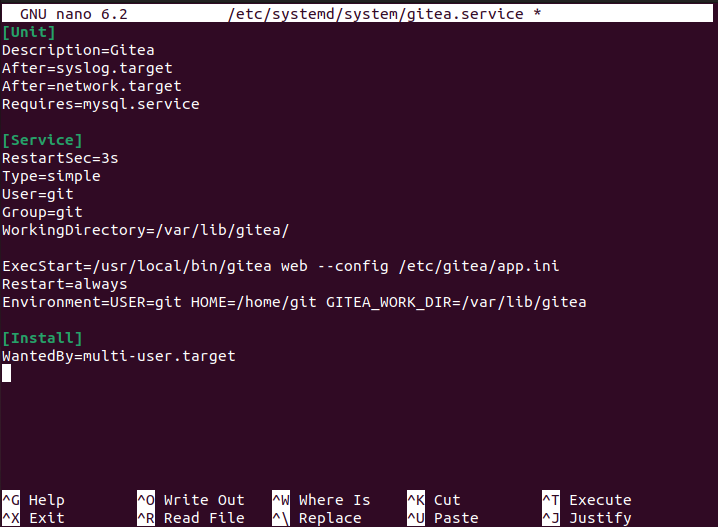
Step 8: Creating Systemd service file
After the above steps are completed, you will then be required to create a Systemd service file with the name “gitea.service” in the directory location “/etc/system/system/”.
In order to create a file for Gitea, run the following command to open a file editor:
Then paste the following texts into the file.
Description=Gitea
After=syslog.target
After=network.target
RestartSec=3s
Type=simple
User=git
Group=git
WorkingDirectory=/var/lib/gitea/
ExecStart=/usr/local/bin/gitea web –config /etc/gitea/app.ini
Restart=always
Environment=USER=git HOME=/home/git GITEA_WORK_DIR=/var/lib/gitea
[Install]
WantedBy=multi-user.target
Save the file by pressing the “Ctrl+X” key and choose Y then press Enter.
Now restart the Gitea service through following command:

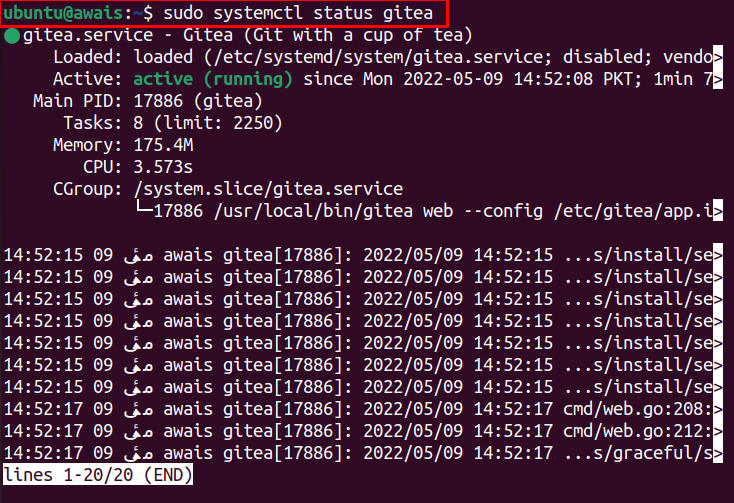
You can check the Gitea status through following command:
Next, you will also need to enable the Gitea service through the following command so that the service will automatically start after the reboot.

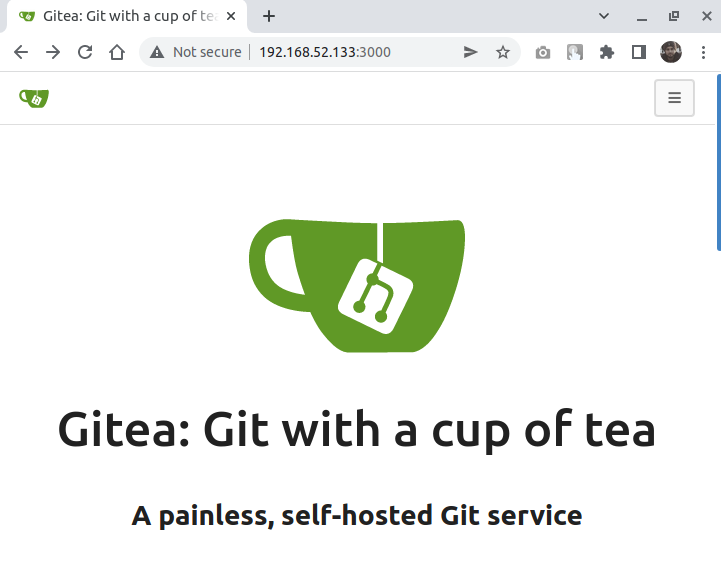
Now open your web browser on Ubuntu and use the address http://<Ubuntu_IP_Address>:3000. To check your system IP address, you can use the following command:

The above address will open the Gitea on the browser.
Go to the “Register” option by clicking at the top left corner.

Create an account on Gitea server and start using its services on Ubuntu 22.04.
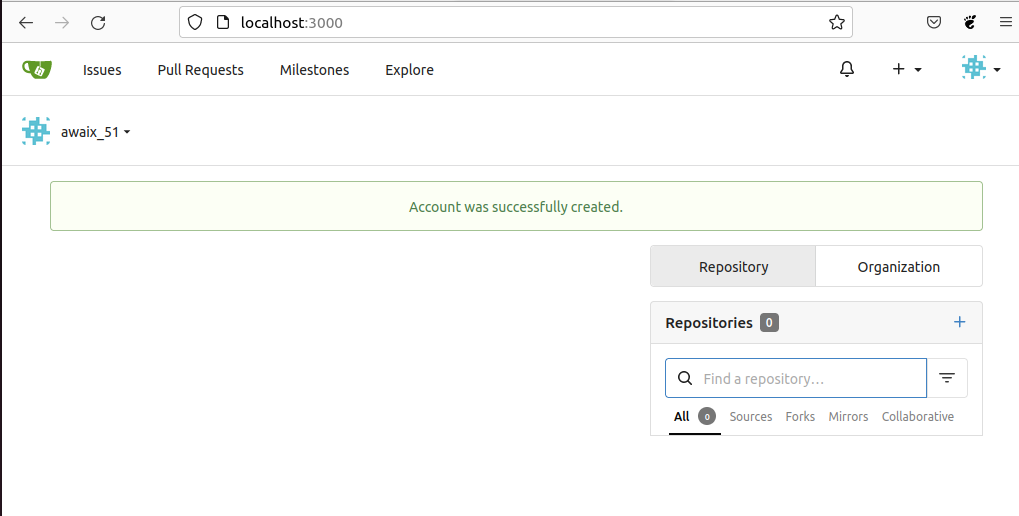
The above screen appears when you successfully Register an account on Gitea server and this ends the installation of Gitea on Ubuntu 22.04.
In case, if you need guidance on using Gitea server, you can get help from its documentation.
Conclusion
Gitea is an open-source, widely used self-hosted Git server that is more lightweight and simpler to configure than Gitlab. The above instructions will help you install Gitea on Ubuntu 22.04 so that you may be able to enjoy its features such as repository management, web-based file upload and creation, code review and much more.
Source: linuxhint.com