A Beginner’s Guide to a Multistage Docker Build
This write-up will provide a guide to a multistage Docker build.
A Beginner’s Guide to a Multistage Docker Build
In order to create a Docker image through simple Dockerfile, and multistage Dockerfile builds, take a look at the listed methods:
How to Build a Simple Docker Image?
To create a simple Docker image using a simple Dockerfile, go through the given instructions.
Step 1: Open Terminal
From the Windows “Startup” menu, open the Git terminal:
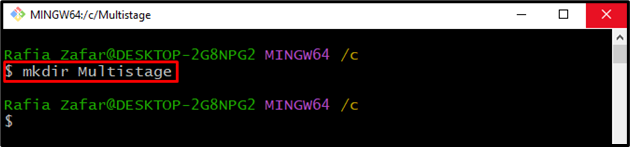
Step 2: Create New Directory
Next, create a new project directory using the given command:
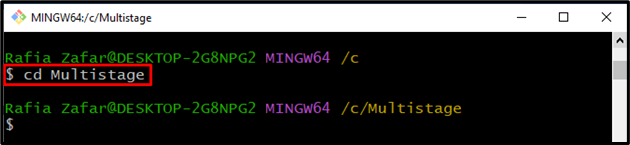
After that, open the project directory with the help of the “cd” command:
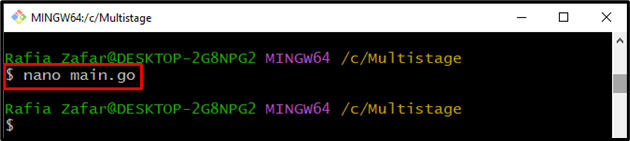
Step 3: Create Program File
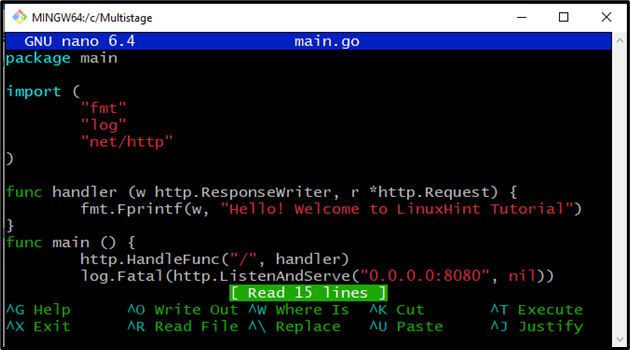
Create and open a new program file to implement the “golang” program. For instance, we have created a “main.go” file:
Paste the provided code in the “main.go” file. This program will print the simple output “Hello! Welcome to LinuxHint Tutorial” on the local host:
"fmt"
"log"
"net/http"
)
func handler (w http.ResponseWriter, r *http.Request) {
fmt.Fprintf(w, "Hello! Welcome to LinuxHint Tutorial")
}
func main () {
http.HandleFunc("/", handler)
log.Fatal(http.ListenAndServe("0.0.0.0:8080", nil))
}
Press “CTRL+O” to save the changes and “CTRL+X” to exit.
Step 4: Create DockerFile
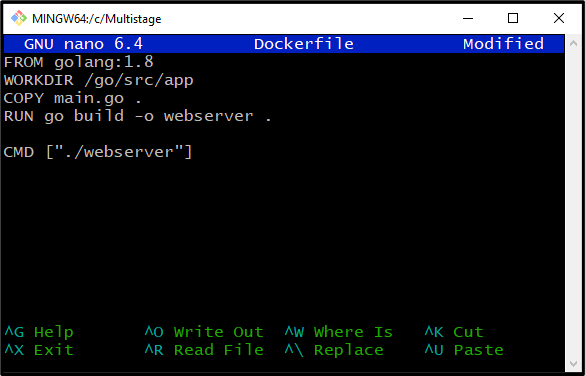
Create and open a new Dockerfile in the Nano text editor using the “nano Dockerfile” command:

Paste the following code inside the “Dockerfile” that will instruct the container on how to deploy the project:
WORKDIR /go/src/app
COPY main.go .
RUN go build -o webserver .
CMD ["./webserver"]
Press “CTRL+O” to save the file and “CTRL+X” to exit the editor:
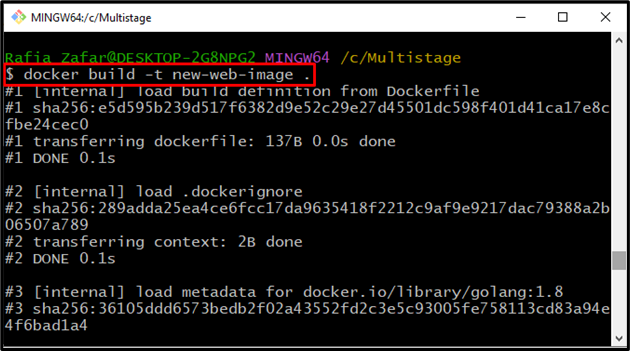
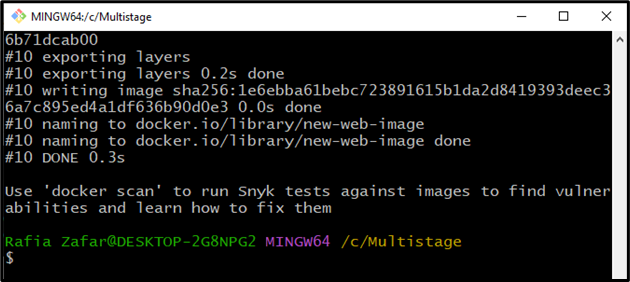
Step 5: Create Docker Image
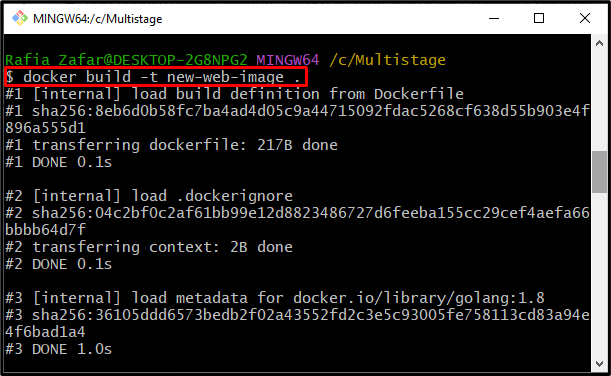
With the help of Dockerfile, create a new Docker image through the “docker build” command. The “-t” tag is used to specify the image tag/name:
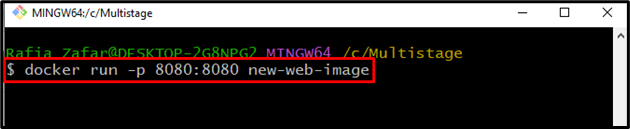
Step 6: Run Docker Image
After creating the Docker image, utilize the below-mentioned command to run the Docker image. The “-p” option is used to specify the port number where the Docker container will execute the program:
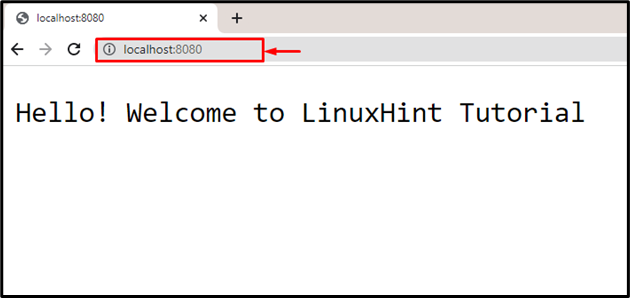
After that, navigate to “http://localhost:8080” to check whether the application is running or not:

From the above output, you can see that we have successfully deployed the application on localhost:
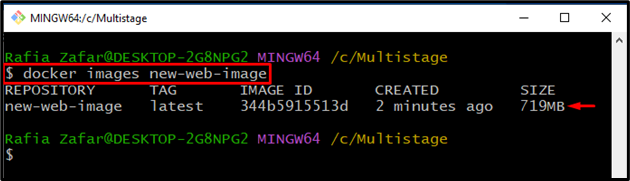
Step 7: Check Docker Images
Lastly, execute the “docker images <image-name>” command to check the additional information about the newly created Docker image:
It can be observed that the size of the Docker image is too huge to execute the small project. In such a scenario, the multi-stage build can be utilized to reduce the Docker image size:
How to Build a Docker Image From Multistage Dockerfile?
To create a multistage Dockerfile to break down the development processes into stages and to reduce the image size, take a look at provided steps.
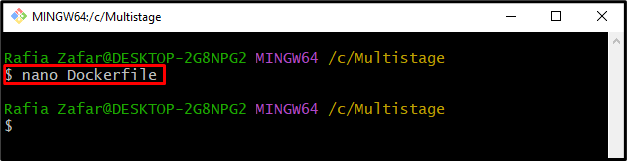
Step 1: Open Dockerfile
First, open the Dockerfile in the “Nano text editor” through the mentioned command:
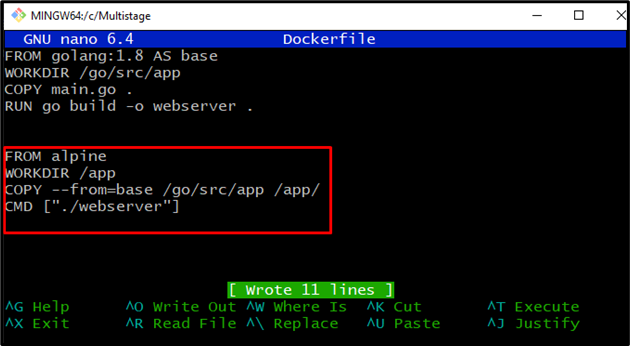
Step 2: Create Multistage Dockerfile
Paste the following code in Dockerfile. It can be noticed that the Docker file contains more than one “FROM” statement, which means we are creating a multi-stage Dockerfile:
WORKDIR /go/src/app
COPY main.go .
RUN go build -o webserver .
FROM alpine
WORKDIR /app
COPY --from=base /go/src/app /app/
CMD ["./webserver"]
Press “CTRL+O” to save changes and “CTRL+X” to exit the editor.
Step 3: Create Docker Image
Now, build the new Docker image with the help of a multistage build. For this purpose, execute the given command:
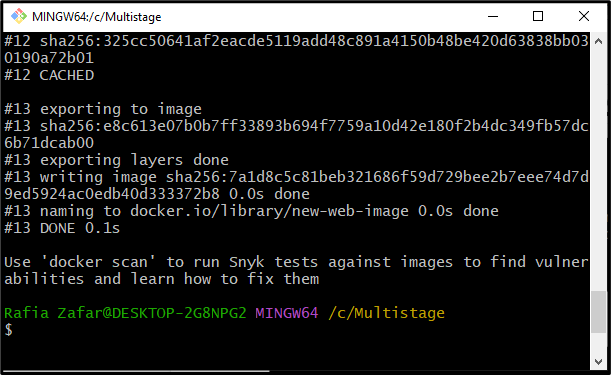
Again, check the additional information about the Docker image through the “docker images” command:
The output shows that we have successfully created a docker file and the size of the Docker file is reduced to only “12.9MB”:

Step 4: Run Docker Image
Lastly, run the Docker image to execute the container to verify whether the Docker image is working properly or not:

Open the local host server by navigating to the “http://localhost:8080” on the browser:
The output shows that we have successfully deployed the program through a multistage build.
Conclusion
The Docker multistage build specifies the series of builds into stages. To create a multistage Dockerfile, specify more than one “FROM” statement and refer to the first “FROM” statement as the base build. After that, create a new Docker image using the “docker build -t <image-name> .” command. The post has elaborated a complete guide to a multistage Docker build.
Source: linuxhint.com