HTML radio Tag
This article will guide you in creating an HTML radio button with the help of a practical example.
How to Add a Radio Button in HTML?
To add a radio button in HTML, follow the below-given syntax:
Here is the description of the stated syntax:
- “type”: This attribute specifies which type of input you wish to create such as text, radio, checkbox, and more. To create a radio button, the attribute value must be set as “radio”.
- “name”: It defines the name of the input element. This attribute should be the same for the list of radio buttons.
- “value”: This specifies the value which will be sent to the server when the radio button is marked as checked.
Example: Adding a Radio Button in HTML
This example will discuss the procedure of adding a radio button in HTML using the input radio button. In
Step 1: Creating HTML File
First, add a <div> tag in the HTML file:
Inside the created <div>:
- First, add the “<h1>” tag to give a heading to the page.
- Then, a “<p>” tag for a paragraph or text line.
- After that, the input tag is added with an attribute “type” having value “radio”, the name is set as select, and “value” as “red”. Different values are given to every radio button that has the same name. The same name represents the same group or list.
- If you want to add a button that is by default marked as checked, then assign the attribute “checked” to that button.
- Lastly, the “<label>” element on each radio button is utilized to add captions. It also provides better accessibility.
The below code is the interpretation of the above scenario:
<p>Which is your favorite color?</p>
<input type="radio" name="selectcolor" value="red" checked>
<label for="radio1">Red</label>
<br>
<input type="radio" name="selectcolor" value="blue">
<label for="radio1">Blue</label>
<br>
<input type="radio" name="selectcolor" value="green">
<label for="radio1">Green</label>
<br>
<input type="radio" name="selectcolor" value="purple">
<label for="radio1">Purple</label>
<br>
<input type="radio" name="selectcolor" value="others">
<label for="radio1">Others</label>
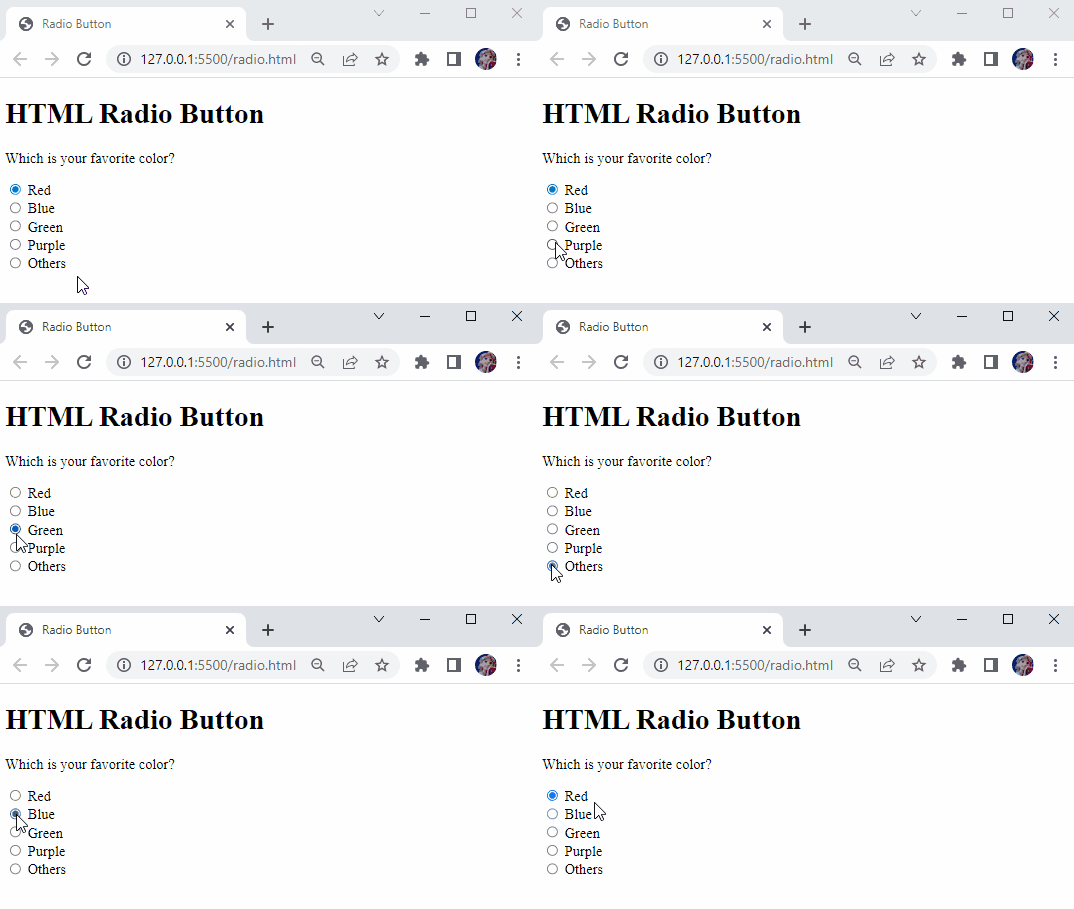
It can be seen that the radio buttons are created successfully:

You can also apply styles to the above-created radio button by following the below-mentioned CSS code.
Step 2: Applying Style to HTML
The “div” indicates the div tag we have created in the HTML file:
- First, the “background-color” property is set as “#8197f0”.
- “border” property is set as “5px dotted #13023a”, where 5px represents the width of the border, dotted indicates the type of line, and next indicates the border’s color.
- “padding” is set as “20px 100px” where 20px specifies the padding from top and bottom and 100px indicates the padding from left and right.
- For font styling, assign the “font-family” property value as “cursive”.
CSS
background-color: #8197f0;
border: 5px dotted #13023a;
padding: 20px 100px;
font-size: 20px;
font-family: cursive;
}
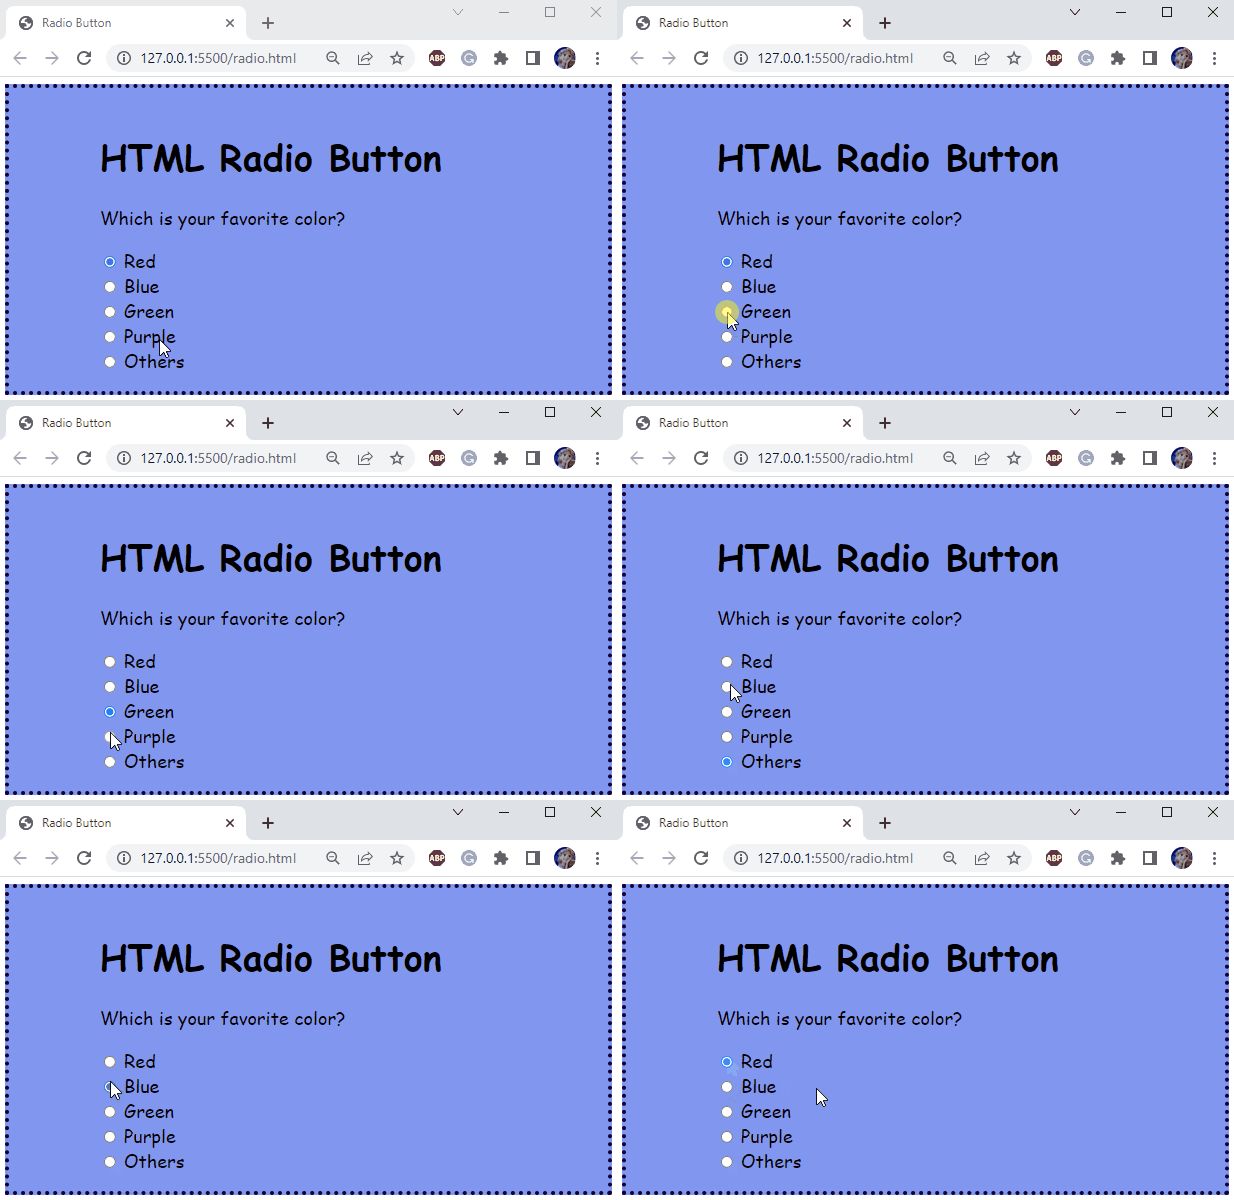
It can be seen that the div element is styled successfully:

That’s it! We have explained in detail about the HTML radio button.
Conclusion
A radio button is an input that always appears in groups of two or more options. From this group, the user can only select one option. In HTML, a radio button can be created using the “<input>” tag having the attribute type with the value “radio”. This blog demonstrated the method for adding radio buttons in HTML.