How to Install Rust on Ubuntu 22.04
“Are you looking for how to install Rust on Ubuntu 22.04? Rust is an open-source programming language that offers memory safety, speed, and parallelism. Rust offers a better approach to creating various applications, including operating systems, game engines, browser components, file systems, etc.
Today’s guide presents a comprehensive tutorial on installing Rust on Ubuntu 22.04 and creating your first Rust program.”
Step-by-Step Installation of Rust on Ubuntu 22.04
If you’ve not tried Rust on Ubuntu, we will see the steps for importing and installing Rust on Ubuntu 22.04 and offer an introduction to interacting with its terminal to create a simple Rust program. Let’s check out the required steps.
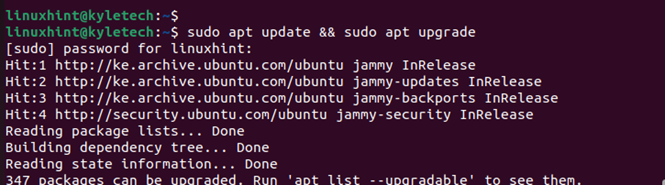
- Update Your System
Before we get to the installation of Rust, first update your Ubuntu system to get the latest version of packages and eliminate dependency issues by running the command below.
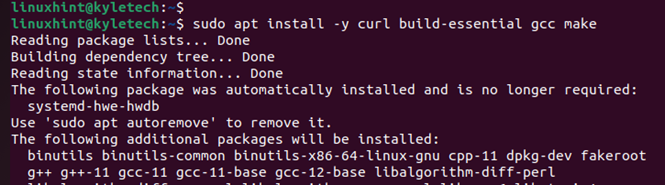
- Install Rust Dependencies
For a successful installation of Rust, various packages should be installed on your system. So, use the command below to install all the needed dependencies.
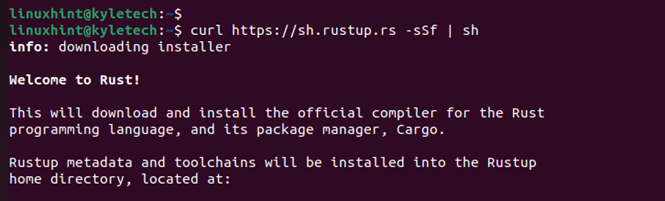
- Download and Install Rust
Once you have the required dependencies installed, we must download the Rust installation scripts using curl. Note that we are using the rustup shell script, which is the recommended way of installing Rust on Ubuntu. Use the below command to download and start the Rust installer.
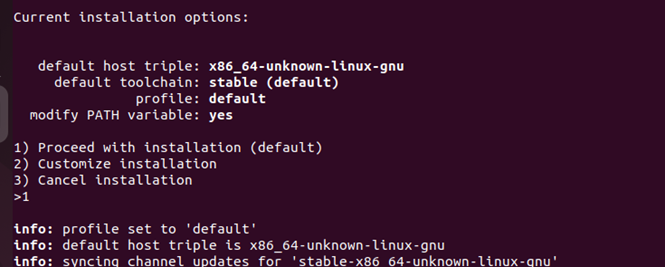
You will be prompted to select the installation type for Rust during the installation. I recommend using the default option unless you understand the rustup installer.
So, enter 1 to select the default option and press the Enter key to continue the installation.
Wait for the installation to complete; the duration depends on your server’s internet speed. Once the installation completes, you will be notified that Rust is installed, as in the image below.

At this point, you must now configure your current shell for the Rust environment. The below commands will activate the environment.
$ source ~/.cargo/env

- Verify Rust Installation
Once you’ve activated the environment for Rust, confirm that the installation was a success by checking its version using the below command.

We can confirm that we have Rust installed, and for our case, the installed version is 1.64.0
- Creating a Simple Rust Program
So far, we’ve installed Rust and verified its installation. However, we can still create a simple Rust program to test the installation. The first thing to do when working with Rust is to create a workspace for your project.
Therefore, let’s create a directory using the below command. You can create your workspace in any location on your system.

Next, navigate the created directory and use an editor to create a Rust file. In this case, we are using nano editor, and our file is linuxhint.rs

With your Rust file opened, let’s create a simple hello world Rust program, as shown in the image below.

Save the file by pressing ctrl + 0 and exit by pressing ctrl + x.
The next thing is to compile the Rust file using the rustc command.

Once compiled, create your executable file and execute it, as in the case below.
Bingo! You’ve created your first Rust program on Ubuntu 22.04

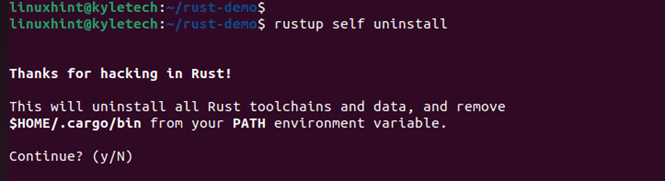
With Rust up and running on your Ubuntu 22.04, proceed to create other Rust projects for your activities. Note that if you wanted to remove Rust from your Ubuntu 22.04, the below command would work for your case.
Conclusion
Rust offers a faster and more lightweight option for building applications. We’ve seen the steps to follow to install Rust on Ubuntu 22.04 and create a simple Rust program. Thanks to this guide, you can now work on Rust projects on your Ubuntu 22.04.
Source: linuxhint.com