7 Fixes for Hardware Reserved Memory Windows (2022)
This write-up aims to fix the specified error that assists in running the required program.
How to Resolve the “Hardware Reserved Memory” Problem in Windows?
The stated error can be fixed by adopting the below methods:
- Install 64-Bit Windows
- Disable maximum memory on boot
- Customize virtual memory
- Disable RAM virtualization
- Run Windows memory diagnostic test
- Run hardware troubleshooter
- Reinstall RAM
Let’s look into each of the fixes one by one.
Fix 1: Install 64-Bit Windows
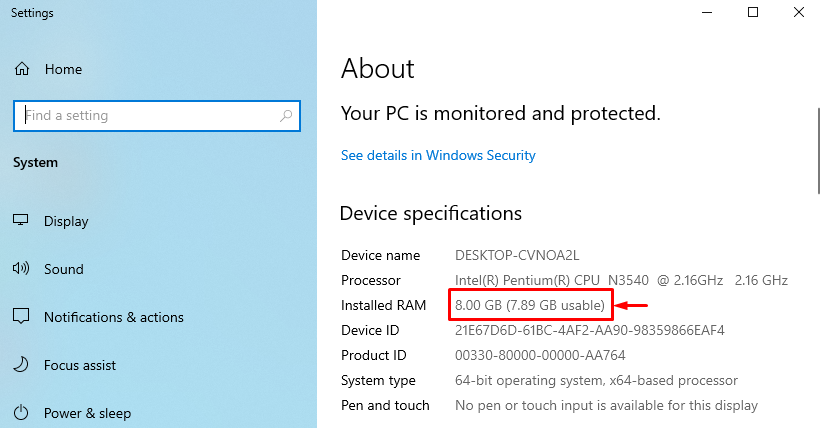
As 32-bit uses 3.5GB of RAM as a reserve. So, the memory above 3.5GB is available for other programs to run. On the other hand, a 64-bit system reserves so much less memory.
For instance, in the below-given image, it can be observed that our 64-bit Windows system only reserved 0.11GB of RAM out of 8GB:
In case if you have a 64-bit system with a 32-bit Windows OS, then go for the 64-bit Windows OS.
Fix 2: Disable Maximum Memory On Boot
The “Hardware Reserved Memory” problem can be fixed by disabling the “Maximum memory” feature on boot.
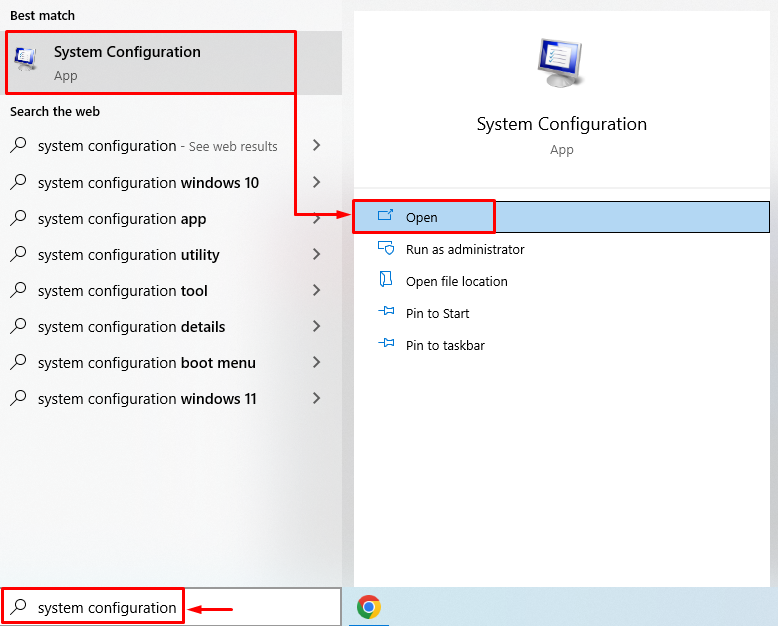
Step 1: Open System Configuration
First, launch “System Configuration” via the Start menu:
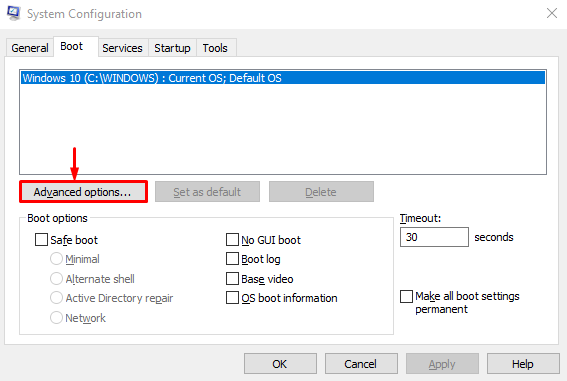
Step 2: Launch Advanced Options
Navigate to the “Boot” tab and hit the “Advanced options” button:
Step 3: Disable Maximum Memory
Unmark the “Maximum memory” checkbox and hit the “OK” button:
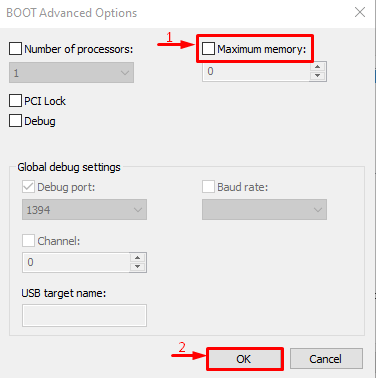
The maximum memory feature has been disabled. Now, examine whether the issue is fixed or not.
Fix 3: Customize Virtual Memory
The “Hardware Reserved Memory” problem in Windows can also be resolved by adjusting virtual memory. For that purpose, the steps are given below.
Step 1: Launch Advanced System Settings
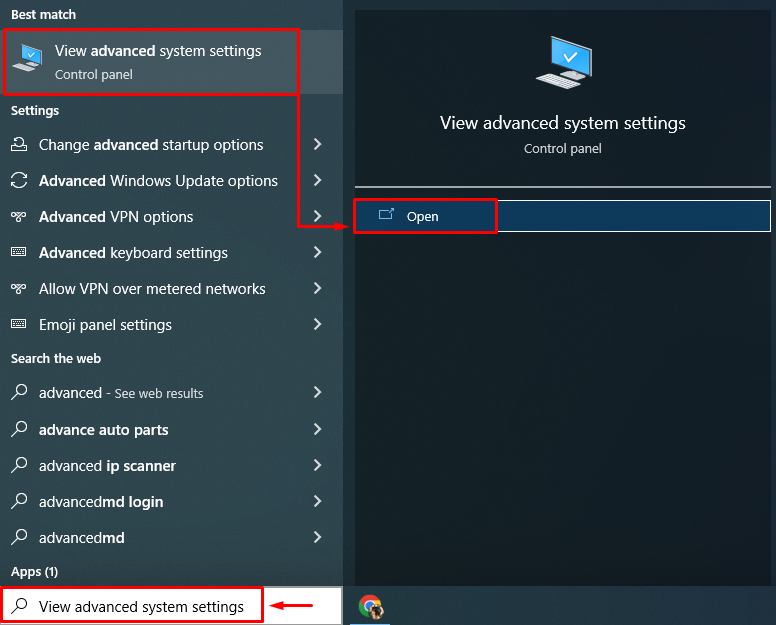
Launch “View advanced system settings” via the Start menu:
Step 2: Launch System Properties
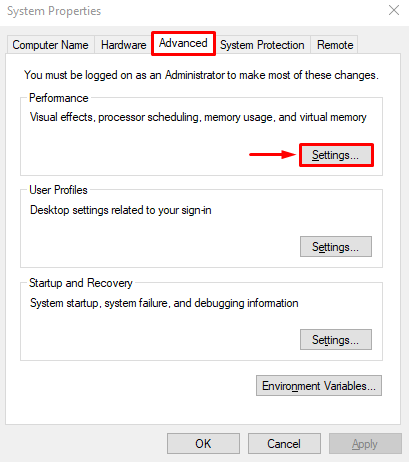
Switch to the “Advanced” section and click on the “Settings” button:
Step 3: Open Performance Options
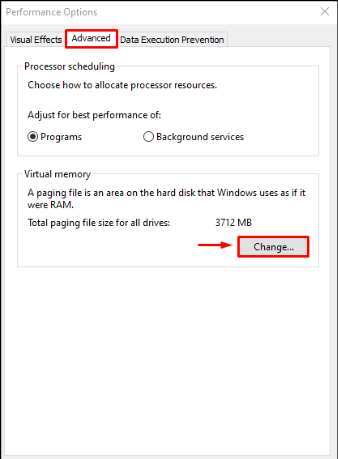
Move to the “Advanced” section, and hit the “Change” button:
Step 4: Manually Add Virtual Memory Size
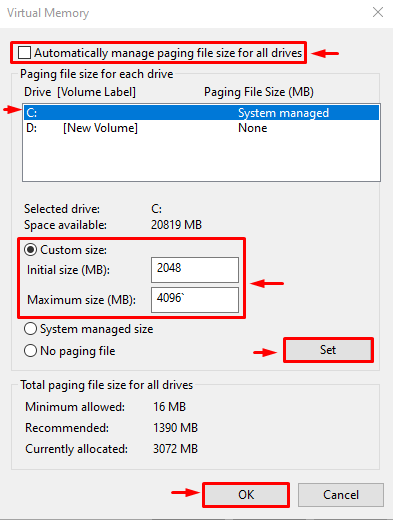
Uncheck the “Automatically manage paging file size for all drives” box. Select your drive and enter the memory size, both initial and maximum. Click on the “Set” button and finally hit the “OK” button:
As a result, the custom size for the virtual RAM will be successfully set on your system.
Fix 4: Disable RAM Virtualization
The mentioned error can also be fixed by disabling the RAM virtualization. For that purpose, follow these instructions.
- First of all, launch “View advanced system settings” via the Start menu.
- Switch to the “Advanced” section and hit the “Settings” button.
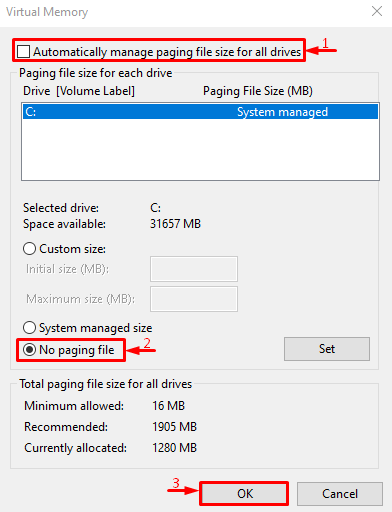
- Unmark the “Automatically manage paging file size for all drives”.
- Mark check the “No paging file” radio circle and hit “OK”.
The RAM virtualization has been disabled successfully. Now, examine if the stated error is rectified or not.
Fix 5: Run Windows Memory Diagnostic Test
Running the Windows memory diagnostic can also fix the Hardware Reserved Memory error.
Step 1: Launch Windows Memory Diagnostic
First of all, search and open “Windows Memory Diagnostic” via the Windows Start menu:

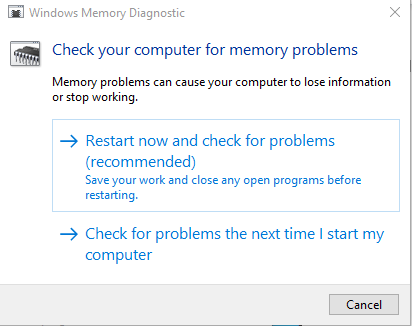
Step 2: Restart the PC to Run Scan
Select the “Restart now and check for problems” option for restarting the PC and start scanning:
After restarting, the Windows memory diagnostic will check for memory problems and fix them.
Fix 6: Run Hardware Troubleshooter
The Hardware Troubleshooter can also assist in finding and fixing problems with hardware and devices. Moreover, you can also run it for fixing the Hardware Reserved Memory issue by following the given instructions.
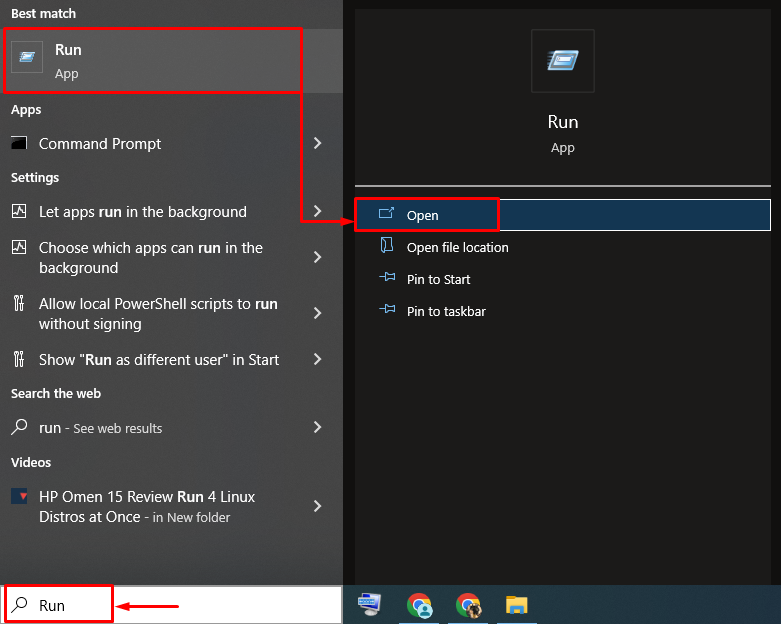
Step 1: Open Run
First, search and launch the “Run” from the Windows Start menu:
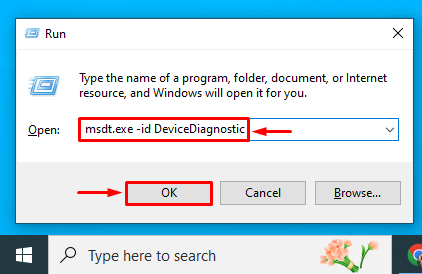
Step 2: Launch Hardware and Devices
Type “msdt.exe -id DeviceDiagnostic” and click on the “OK” button:
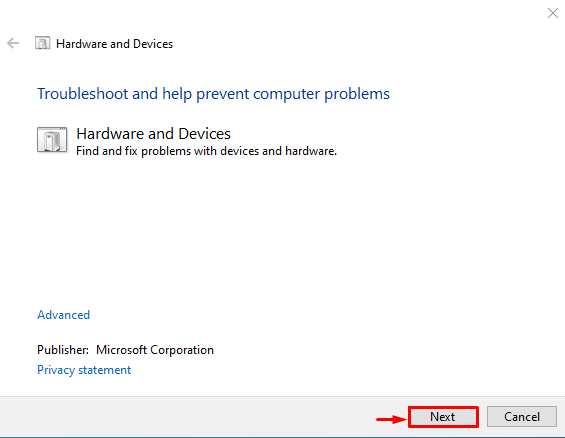
Step 3: Run Hardware Troubleshooter
Click on the “Next” button to initiate the hardware troubleshooting process:
As soon as the troubleshooting gets completed, reboot the system, and examine if the issue is resolved or not.
Fix 7: Reinstall RAM
Sometimes, the RAM terminals become dirty or get misplaced from their slot, causing the Hardware Reserved Memory error.
- Remove the computer case, remove the RAM from its slot, and then clean its terminals.
- After cleaning it, reinstall the RAM back to its slots correctly.
- Reboot the computer and examine if the stated error got rectified or not.
Note: In case if you are a laptop user, then remove the battery and its cover. Repeat the process as we did for the desktop computer and examine if the error got fixed or not.
Conclusion
The “Hardware Reserved Memory” problem can be resolved by using several approaches, such as installing 64-bit Windows, disabling maximum memory on boot, customizing virtual memory, disabling the RAM virtualization, running Windows memory diagnostic, running hardware troubleshooter, or reinstalling the RAM. This blog has demonstrated several approaches to rectify the stated issue.
Source: linuxhint.com