5 Fixes: Windows 10 Won’t Install or Download Updates
How to Fix the “Windows 10 Won’t Install or Download Updates” Problem?
Here are the various methods to resolve the stated problem:
- Run Windows update troubleshooter
- Restart Modem or Router/ Adapter
- Delete software distribution folder
- Run SFC
- Restart BITS Service
Let’s navigate through each of the methods!
Fix 1: Run Windows Update Troubleshooter
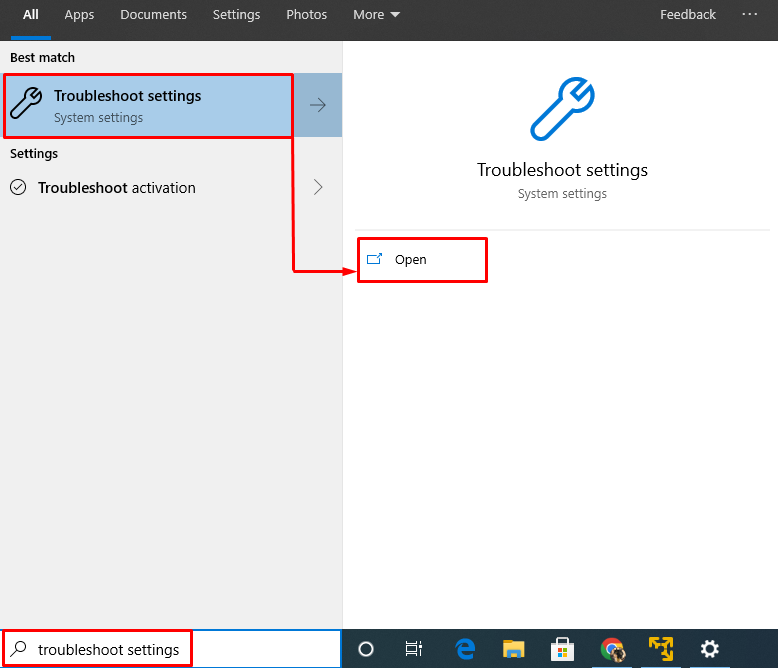
The “Windows won’t install update” error can be resolved with the help of a Windows update troubleshooter. Let’s run the Windows update troubleshooter to fix the stated problem. For that reason, first, launch “Troubleshoot settings” from the Windows Start menu:
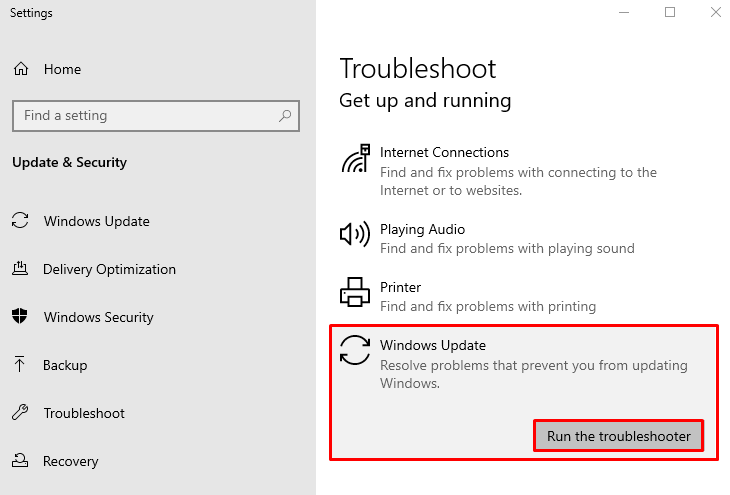
Look for the “Windows Update” section and click on “Run the troubleshooter”:
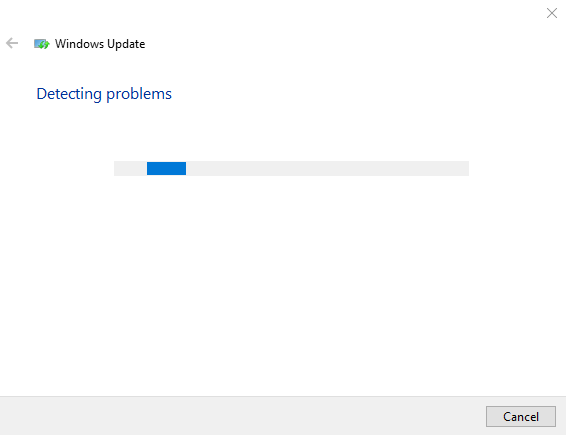
The Windows update troubleshooter has started to diagnose the problem:
Once Windows has completed the diagnosis process, restart the Windows Operating and check if it is resolved or not.
Fix 2: Restart Modem or Adapter
One reason to encounter the “Windows 10 Won’t Install, or Download Updates” problem could be your Wi-Fi modem. So, Restart the Wi-Fi adapter to resolve the stated issue. To do so, first, plug out the power cord from the Wi-Fi adapter. Wait for 15 seconds and restart the router. When it is turned on, check if the problem is fixed or not.
Fix 3: Delete Software Distribution Folder
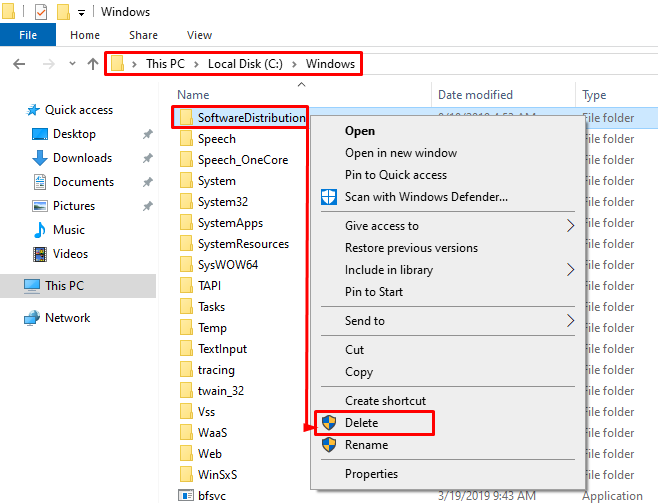
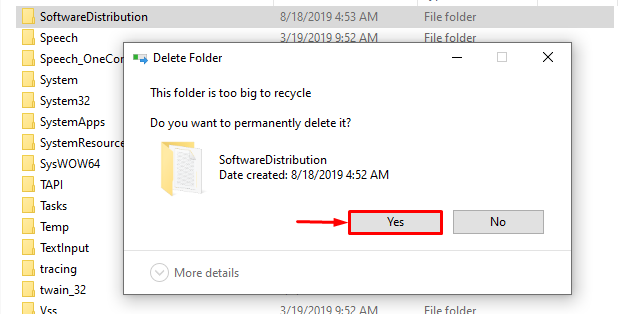
In Windows operating system, the software distribution folder keeps some files for Windows to install updates. The stated issue can occur if the software distribution folder contains some corrupted files. In such a case, deleting the software distribution folder will resolve the stated error. For this purpose, firstly, open “Windows Explorer” by pressing “Windows+E” and navigate to this path: “This PC>Local Disk (C:)>Windows”. Look for the “SoftwareDistribution” folder. Right-click on it and select “Delete”:
Click on the “Yes” option to delete the folder:
Restart Windows after the software distribution folder is deleted.
Fix 4: Run SFC Scan
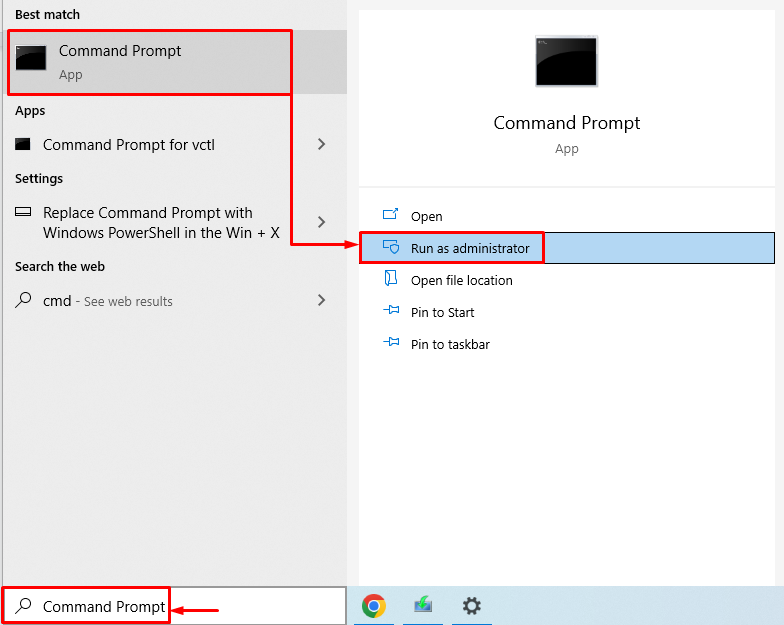
The system file checker scan of SFC is used to repair missing and corrupt system files. SFC scan will help to resolve the stated problem by fixing the corrupt system files. To do so, firstly, open the “Command prompt” from the Windows Start menu:
Execute the given code in the Command prompt console to initiate the system file checker scan:
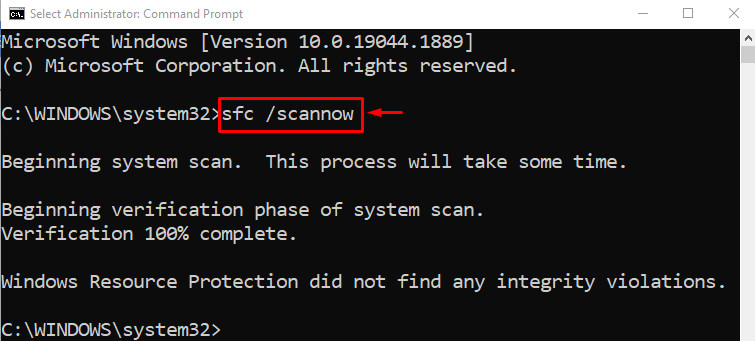
The system file checker scan will take some minutes to complete. SFC scan looked for corrupt and missing system files and then repaired those files to resolve the problem.
Fix 5: Restart BITS Service
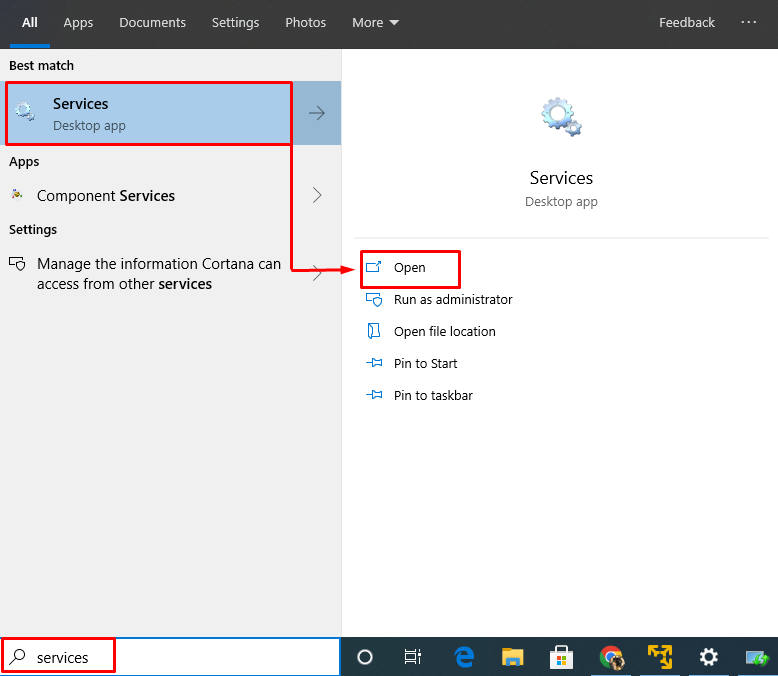
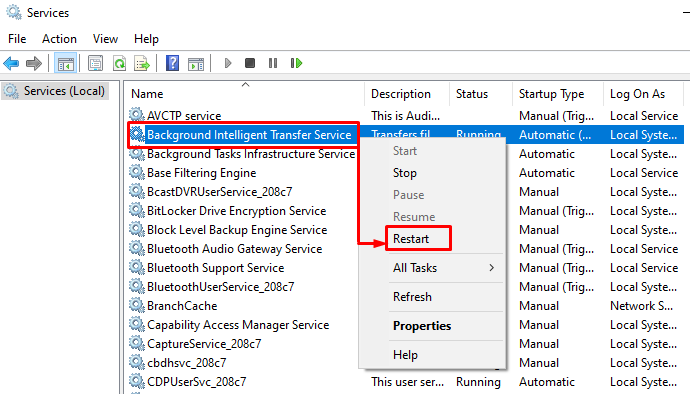
The background intelligent transfer service is responsible for allowing the system to download updates in the background. If this service is not active, then the specified error can occur. We need to restart the BITS service to fix the stated problem. For that reason, firstly, launch “Services” from the Windows Start menu:
Look for “Background Intelligent Transfer Service”. Right-click on it and select “Restart”
Restart Windows and check if the stated problem is resolved or not.
Conclusion
The “Windows 10 Won’t Install update” error can be resolved via different approaches. These fixes include running a Windows update troubleshooter, turning off the metered connection, deleting the software distribution folder, running an SFC scan, or restarting the background intelligent transfer service. This blog post has provided various methods to fix the stated problem.
Source: linuxhint.com