4 Fixes to Enable Stereo Mix in Windows 10
This write-up will demonstrate how to enable stereo mix on Windows. So, let’s explore the guide!!!
How to Enable Stereo Mix in Windows 10?
The Stereo mix can be enabled using these approaches:
- Enable Stereo mix from sounds
- Turn on microphone access
- Update audio driver
- Install stereo mix using Realtek audio drivers
Let’s explore all the methods one by one.
Fix 1: Enable Stereo Mix From Sounds
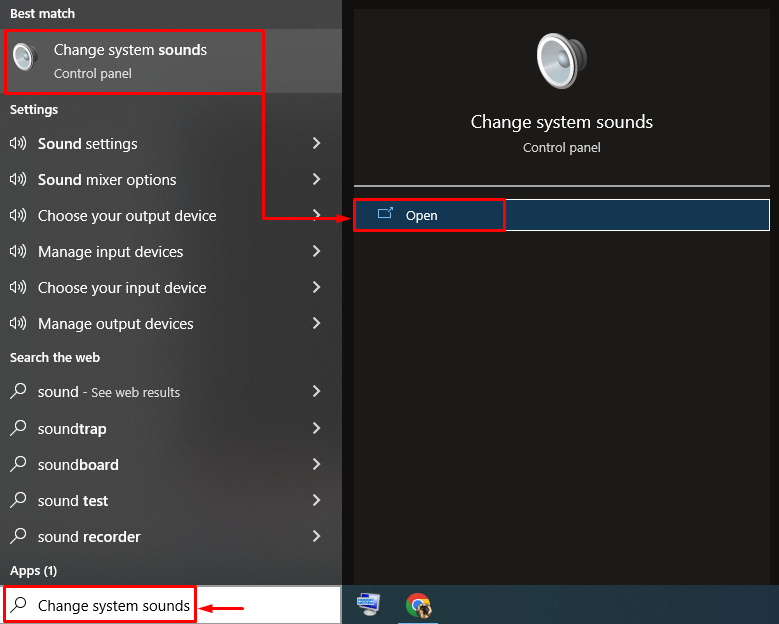
The first approach to resolve the problem is to enable stereo from sound settings. For that reason, first of all, launch “Change system sounds” via the Windows Start menu:
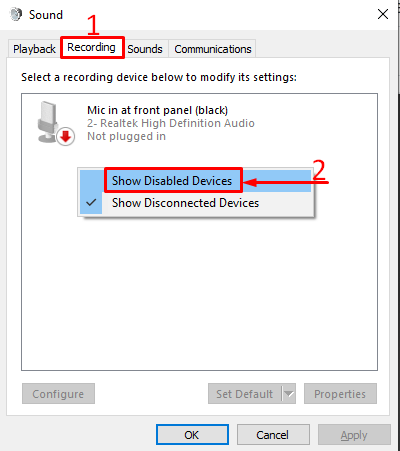
Navigate to the “Recording” tab. Right-click in the vacant space and choose “Show Disabled Devices”:
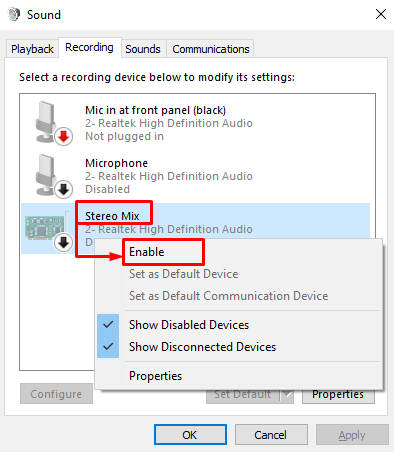
The disabled devices list is now visible. Find “Stereo Mix” from the list. Right-click on it, and trigger “Enable” to enable stereo mix:
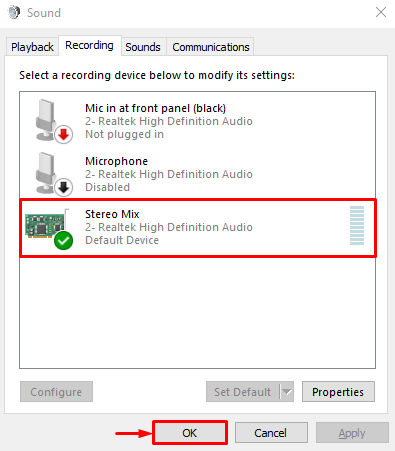
The green tick on the Stereo mix indicates that it is now enabled. Hit the “OK” button to save changes:
Fix 2: Turn on Microphone Access
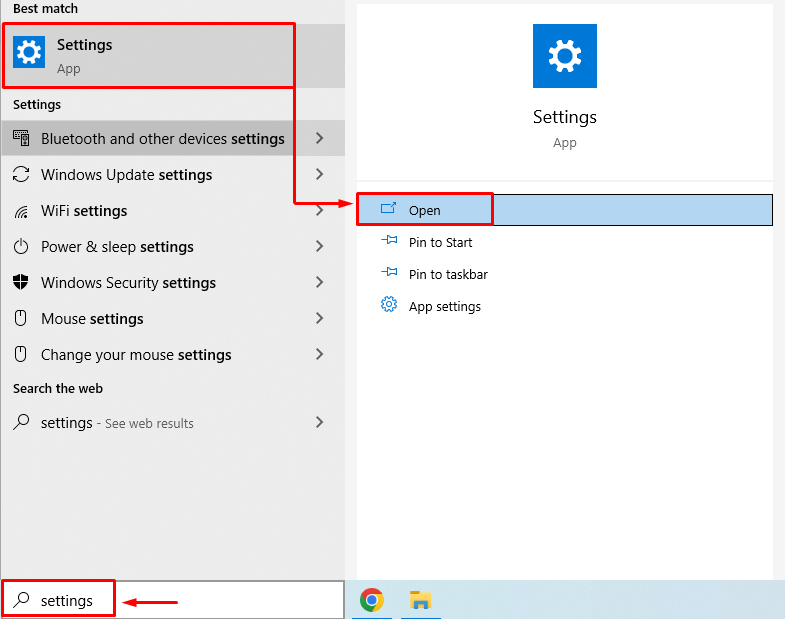
The other approach is to allow the microphone access to all the apps. To do so, initially, launch “Settings” from the Windows Start menu:
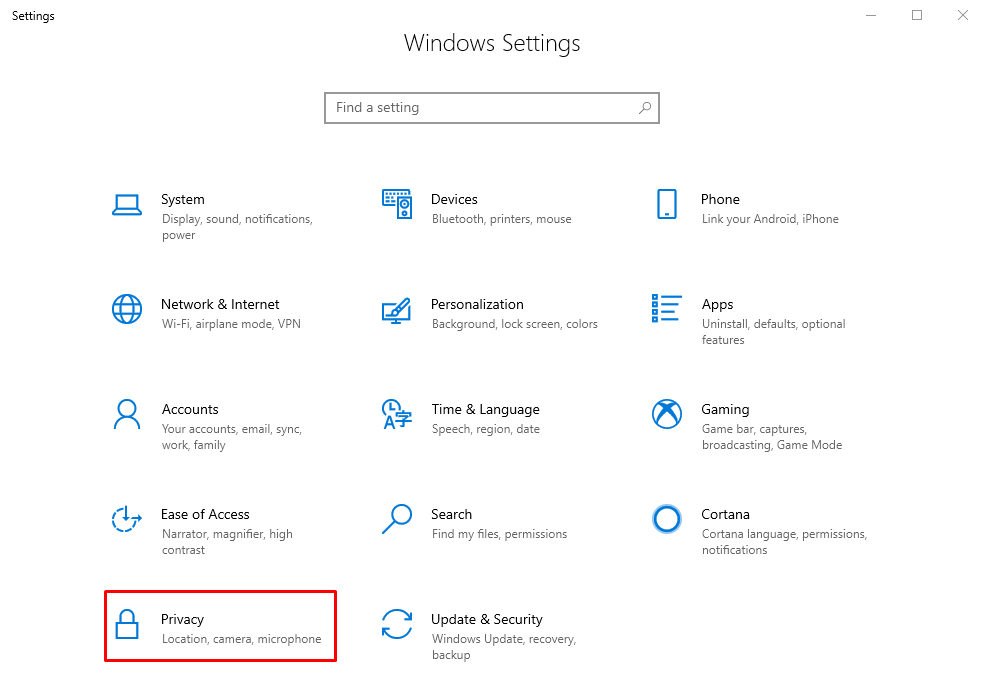
Choose “Privacy” settings:
Navigate to the “Microphone” tab. Turn on “Allow apps to access your microphone”:
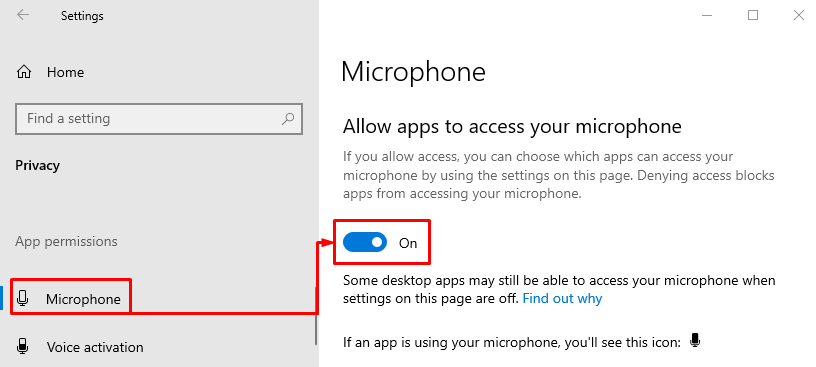
After doing so, examine if the problem is fixed or not.
Fix 3: Update Audio Driver
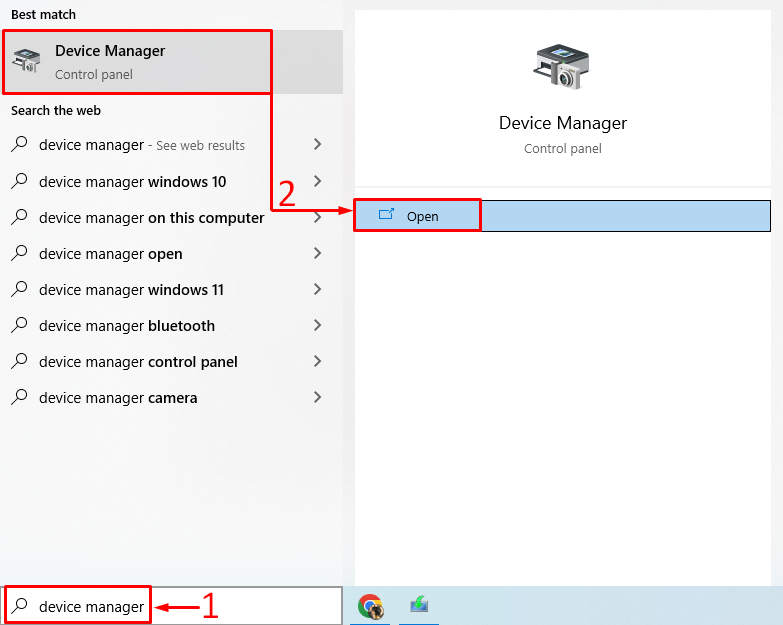
Faulty drivers can also be the cause of the stated problem. Updating audio drivers will fix it. To do so, firstly, open “Device Manager” from the Windows Start menu:
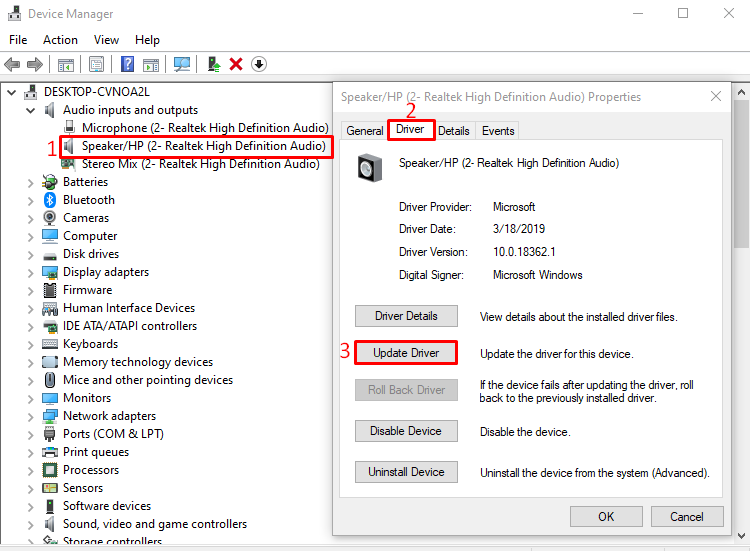
Click on “Audio inputs and outputs” to extend the list. Double-click on the audio driver to open “Properties”. Navigate to the “Driver” tab and click on the “Update Driver”:
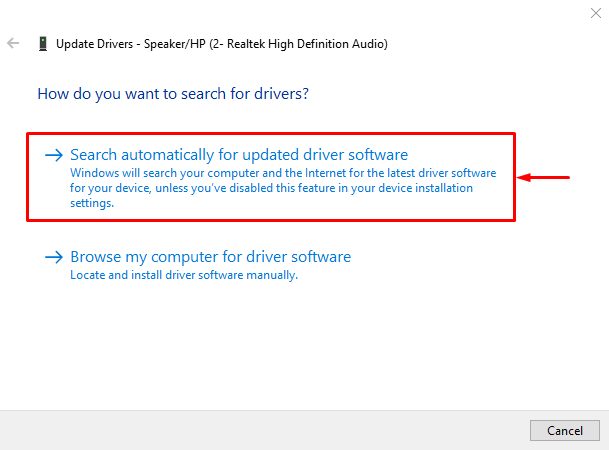
Click on “Search automatically for updated driver software”:
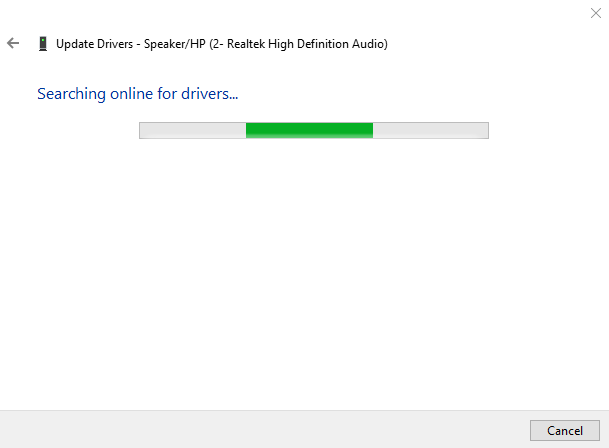
As you can see, the device manager has started to find the audio driver update:
This will install the updated audio driver if available. After updating the audio driver, restart Windows to apply changes.
Fix 4: Install Stereo Mix Using Realtek Audio Drivers
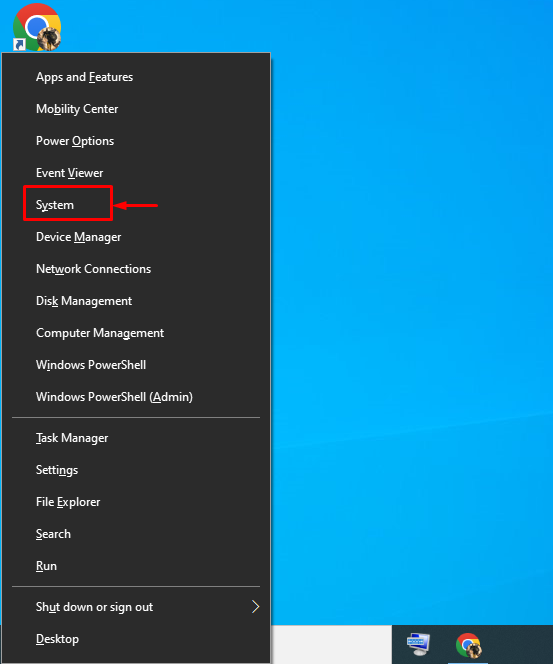
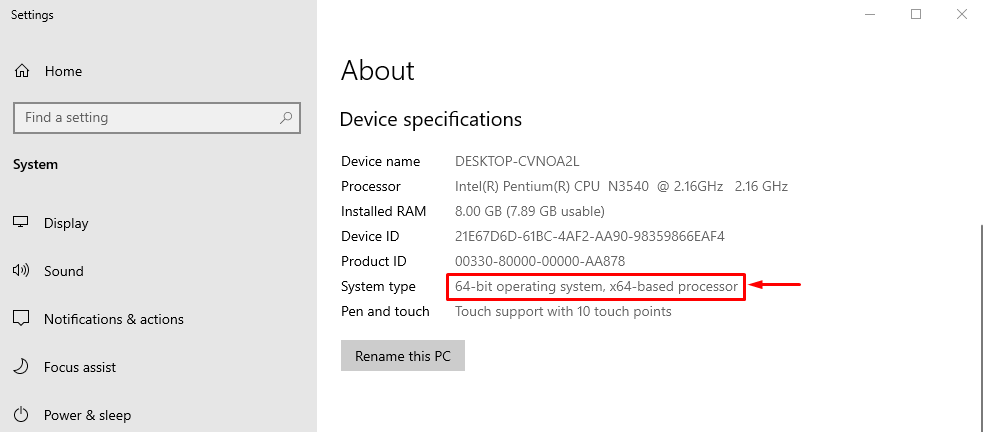
Download the Realtek stereo mix audio drivers and install them. To download the stereo mix driver, you must check your system’s specifications. For that reason, open the “Quick Link menu” by pressing the “Windows+X” key. Select “System” to open system properties:
As you can see, the system properties windows are now open. Check your system type and download the driver accordingly:
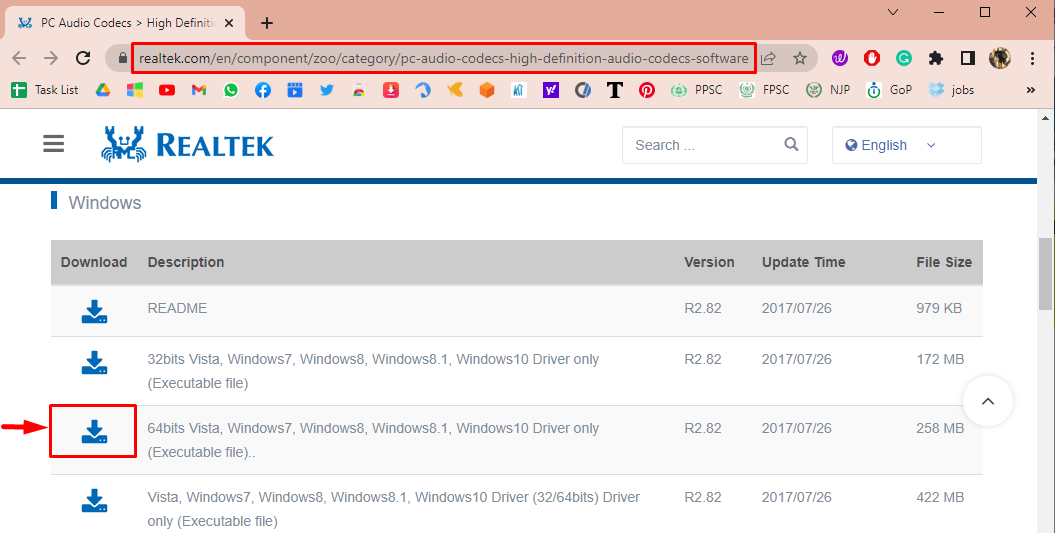
Now, you know the system type of your system. Navigate to this link, to download the stereo mix driver. Trigger the download button to begin downloading:
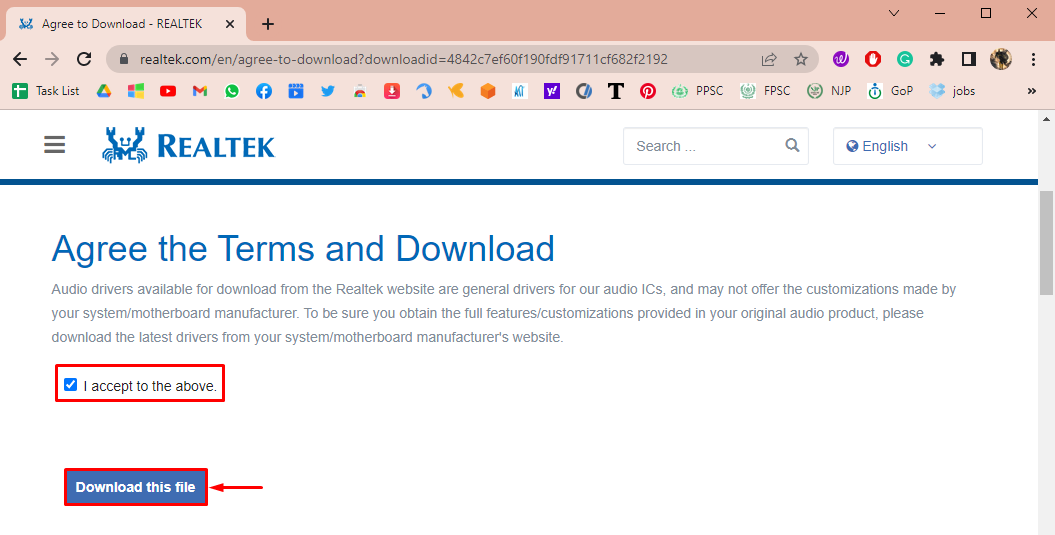
Tick the “I accept the above.” check box first and then hit the “Download this file” button to start downloading:
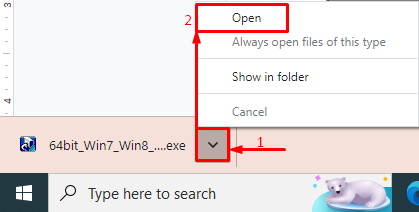
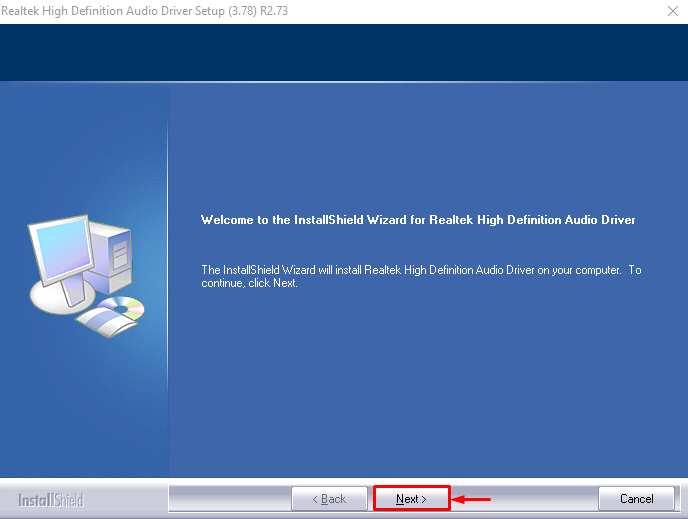
As you can see, the downloading of the driver is finished. Now, open the downloaded file to install:
Click on the “Next” button:
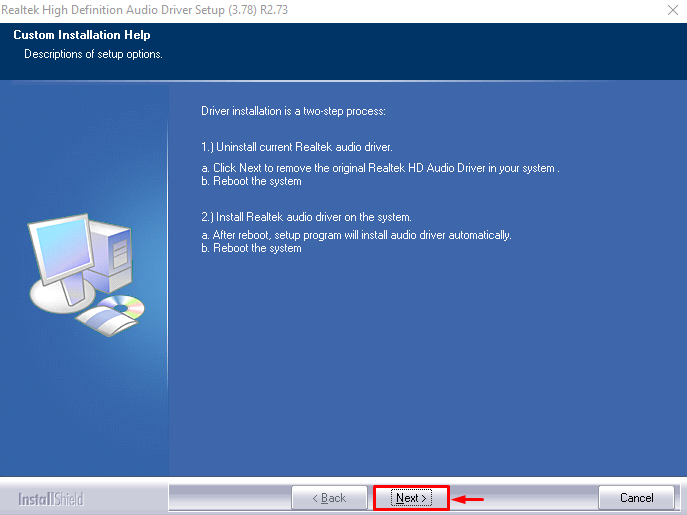
Again, click on the “Next” button:
Select the highlighted option and trigger the “Finish” button:
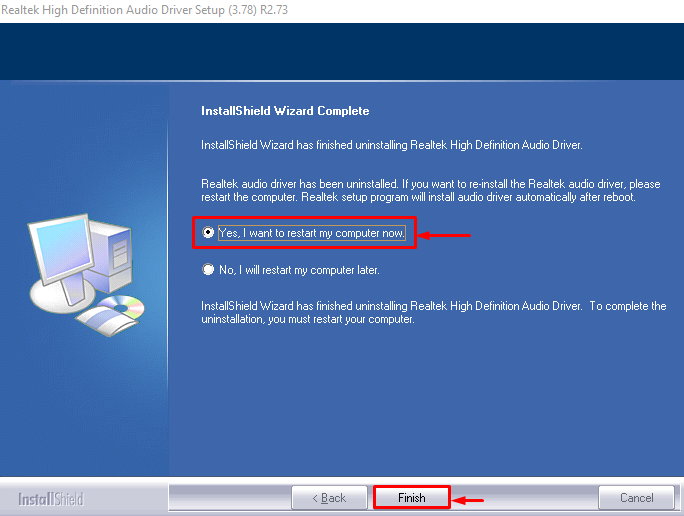
This will restart Windows and complete the Realtek audio driver installation. After the reboot, examine if the stated issue is fixed.
Conclusion
The stereo mix driver can be enabled using several methods. We have listed a few of the methods that include enabling stereo mix from the sound setting, turning on the microphone access, updating the audio driver, and installing the stereo mix using the Realtek audio driver. This blog has demonstrated several methods to fix the stated problem.
Source: linuxhint.com