4 Fixes for Blue Yeti Not Recognized in Windows
This write-up aims to fix the blue yeti not recognized on Windows error via a practical guide.
How to Fix the “Blue Yeti Not Recognized on Windows” Problem?
The stated error can be rectified by several methods, and these are listed below:
- Reinstall blue yeti drivers
- Run audio troubleshooter
- Restart the Windows audio service
- Set blue yeti as the default
Let’s get started by exploring each of the methods one by one.
Fix 1: Reinstall Audio Drivers
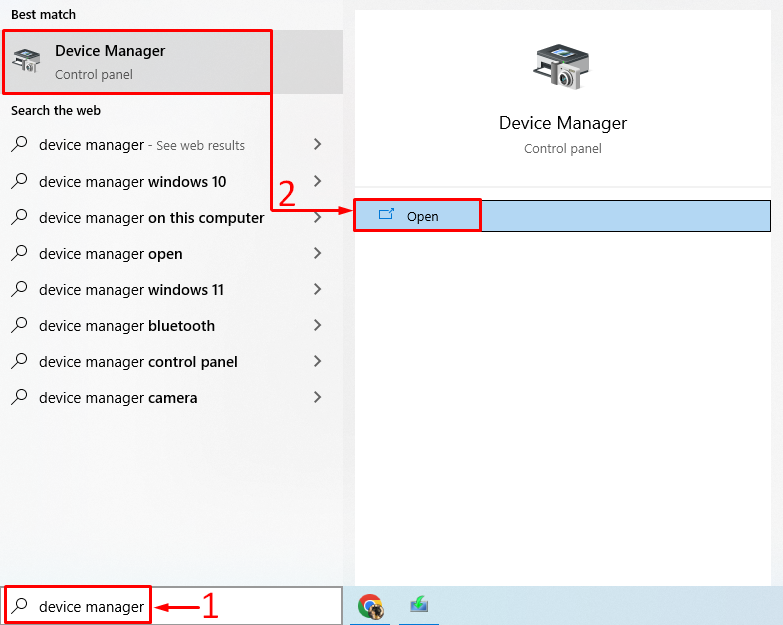
The first approach to fix the stated error is to reinstall the audio driver. For that particular reason, firstly, open “Device Manager” via the Start menu:
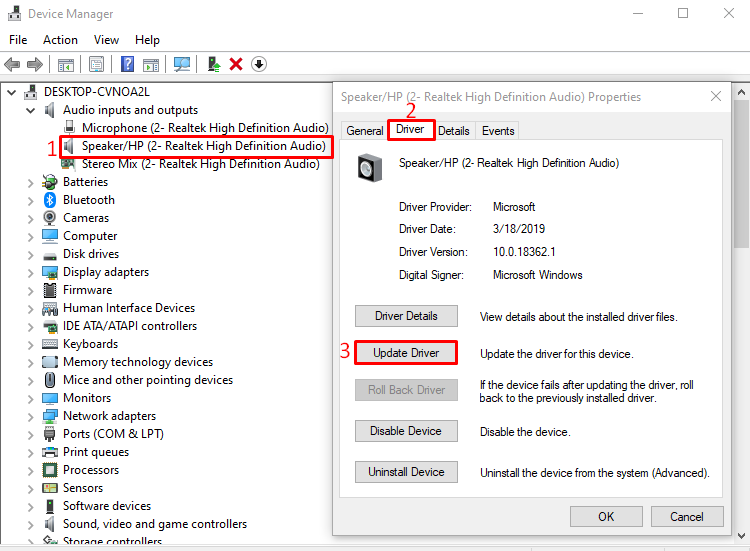
Extend the “Audio inputs and outputs” list. Double-click on the audio driver to open “Properties”. Navigate to the “Driver” tab and click on “Update Driver”:
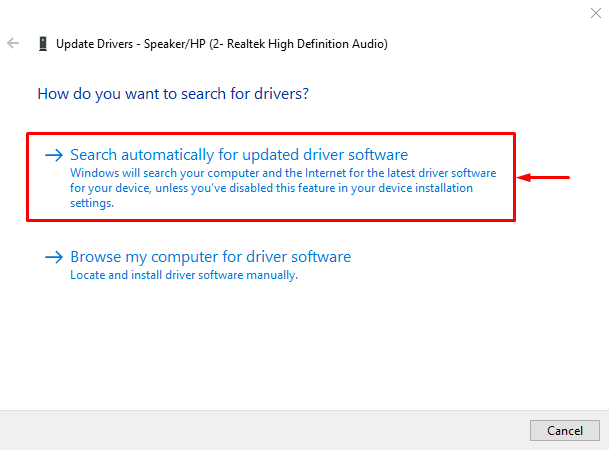
Select the “Search automatically for updated driver software” option:
As you can see that the device manager started to search for audio driver updates:
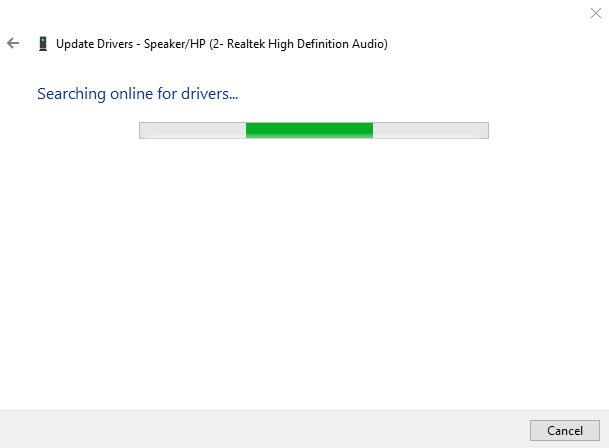
If the audio driver updates are available, then it will update the driver.
Fix 2: Run Audio Troubleshooter
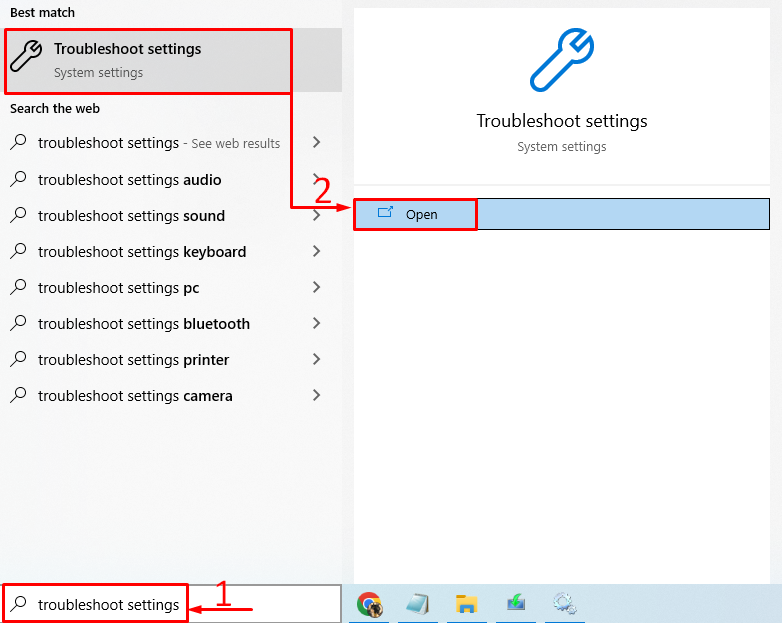
Run the audio troubleshooter to fix the stated error. For that reason, initially, launch “Troubleshoot settings” via the Windows Start menu:
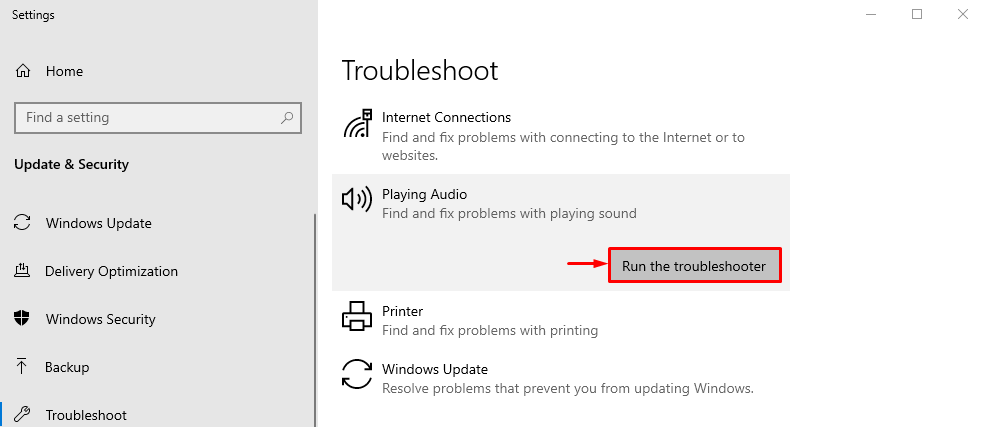
Locate “Playing Audio” and click on “Run the troubleshooter”:
This will troubleshoot the errors that are causing the blue yeti to disappear.
As you can see that the troubleshooter has started to look for the errors:
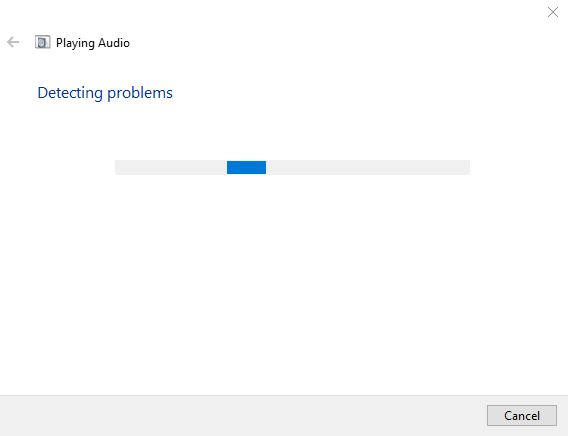
The error will be fixed as soon as it is detected. After completing troubleshooting, restart Windows and check if the blue yeti is recognized or not.
Fix 3: Restart Windows Audio Service
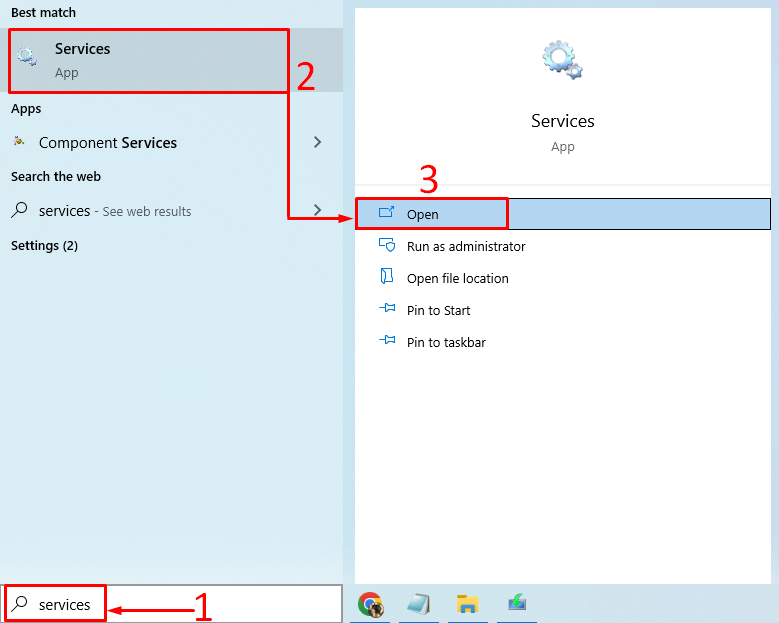
Maybe the Windows audio service is stuck or stopped working. Restarting Windows audio service will fix the issue. For that reason, first of all, open the “Services” setting from the Windows Start menu:
Look for the “Windows Audio” service. Right-click on “Windows Audio” and choose “Restart”:
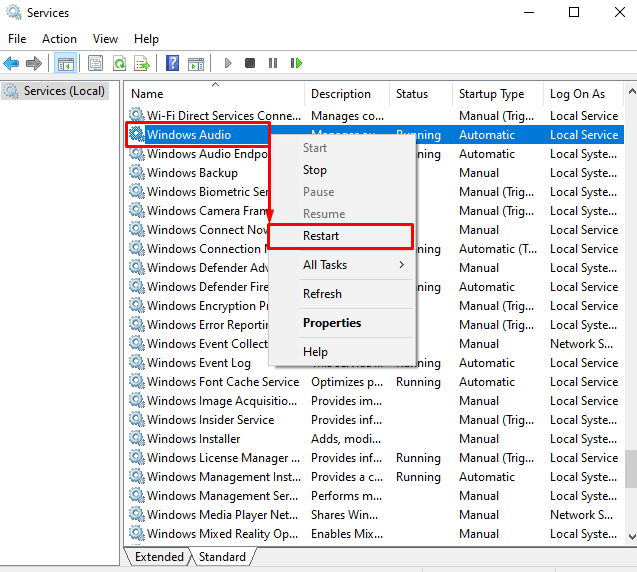
This will restart “Windows Audio”. After restarting this service, check if the blue yeti not recognized problem has been fixed or not.
Fix 4: Set Blue Yeti as the Default
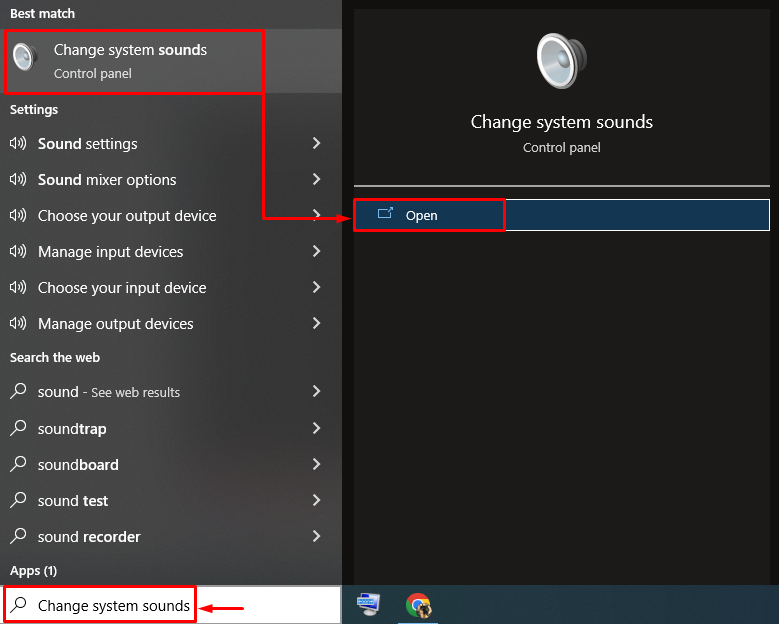
Setting the blue yeti mic as the default mic will fix the stated error. To do so, launch “Change system sounds” from the Start menu:
Switch to the “Recording” tab. Select the blue yeti microphone and hit the “Set default” button:
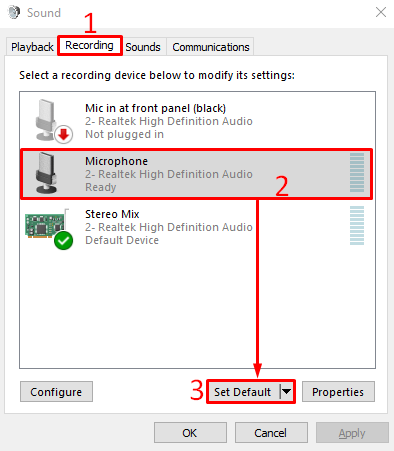
This will set the blue yeti as the default microphone.
As you can see in the below snippet, the blue yeti microphone is set as the default. Now, click on the “OK” button to finish setting:
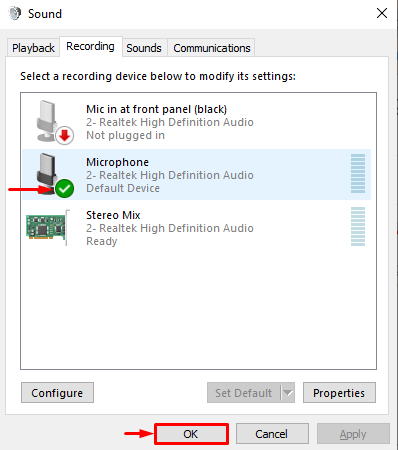
Now, check if the blue yeti not recognized problem has been resolved or not.
Conclusion
The “Blue yeti not recognized on Windows” error can be resolved using several fixes. These methods include reinstalling blue yeti drivers, running an audio troubleshooter, restarting Windows audio service, or setting blue yeti as the default mic. This blog has offered various ways to resolve the “blue yeti not recognized on Windows” error.
Source: linuxhint.com