3 Ways to Comment out Arduino Code
As a beginner in Arduino programming lots of people face difficulty in writing code. So, to make sure users understand the code, comments are generally used. Comments can also help to terminate specific parts of code and can disable any lines of code if not needed.
Let’s discuss how we can add comments in Arduino programming using different ways.
How to Add Comments in Arduino Code
Generally, comments are referred to lines in Arduino sketch which help users to understand about how the program works. But we can also comment out specific parts of our code or one can debug Arduino code and can identify the lines which are causing problems.
Another way of using comments in Arduino programming is we can disable some specific instructions or part of a code to prevent it from running while compiling Arduino code. They can be either used for self-understanding or for the others to help them learn code instructions.
Here are three ways to comment Arduino code:
We will use the LED blink example to help you to understand all three ways.
1: Using Forward Slash
Forward slash is the most common and frequently used way of commenting out Arduino code. Using forward slash, we can temporarily turn off Arduino code lines. Two forward (\\) slashes are used at the start of the line which we want to disable. Once the double forward slash is used the lines will change its color to gray indicating the commented line. Here is an example which shows a commented line:
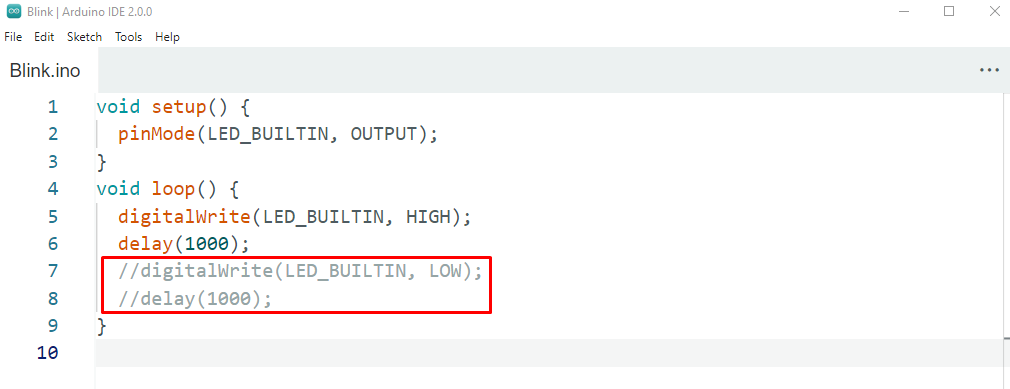
In above code we have disabled the second half of Arduino code, now once the program is uploaded to Arduino board the LED will remain in HIGH state as the LOW state is disabled because of commenting out its code.
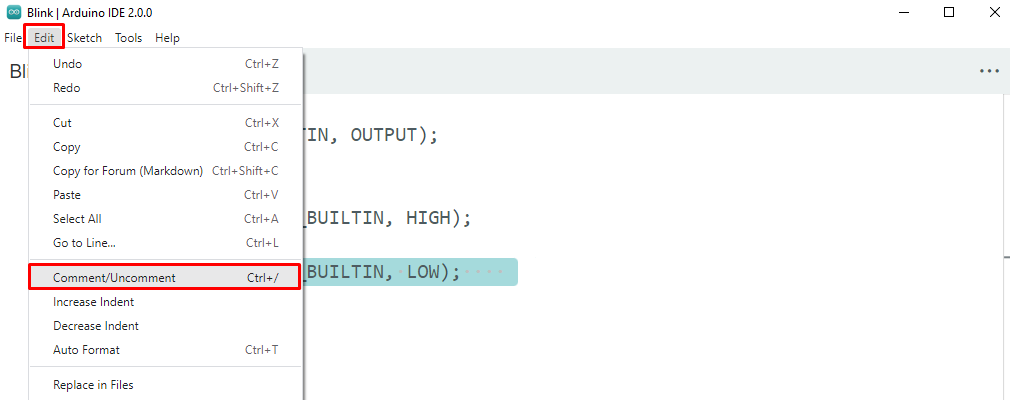
Shortcut: This can also be done by first selecting the lines which we want to comment and then press “Ctrl+ /”.
Another way of doing the same thing is using IDE “Edit” settings. First select the code line to comment then go to edit and click comment/uncomment.
2: Multiline Comments
Previous forward slash method has one shortcoming that it cannot comment out multiple two or three lines; it’s only limited to one line per forward slash comment. However, there is another way of doing this by using the multiline comment option.
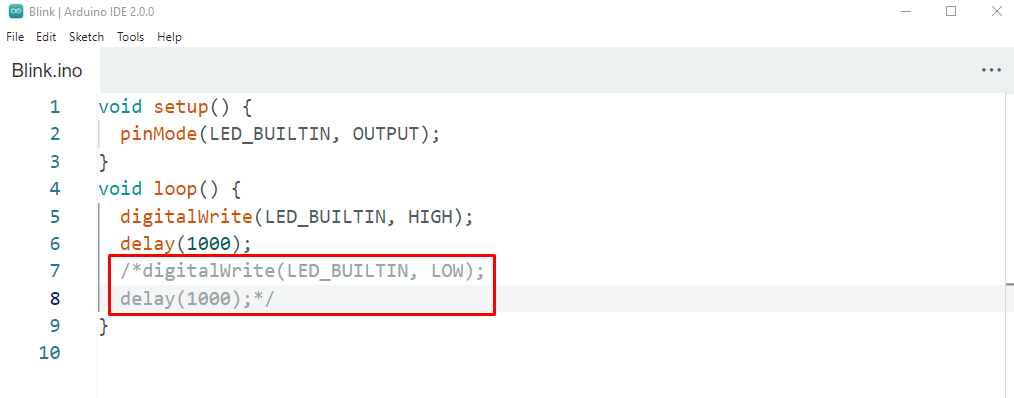
For multiline comments use both forward slash and asterisk sign together. We must add this in both start of comment and at the end, unlike single line comments which only need to be written at first. Following is the syntax for writing multiline comments.
Code will
Be written here */
Note: Multiline comments have no shortcut in Arduino IDE.
3: Using Preprocessor Directives
Preprocessor directives is the third way of commenting. It’s specially for multiline code which we don’t want to run during simulation. Preprocessor is the line of code which runs in our program before it gets compiled. So, using directives with preprocessor code we can allow some code to run and turn off some part of the code. Here the preprocessor directive which we are going to use is “if statement”.
//Code will be written here
#endif
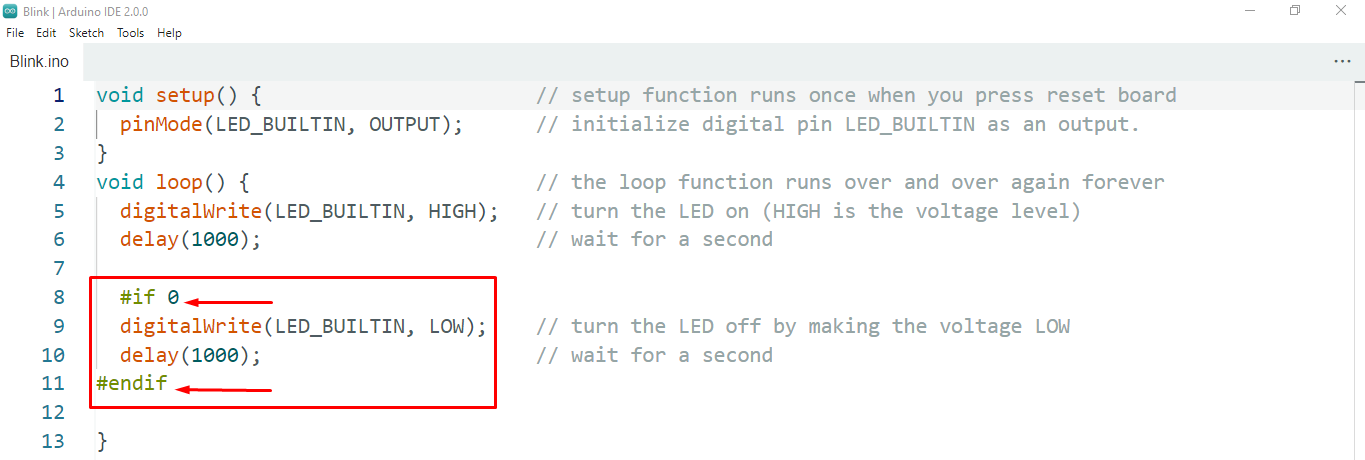
Statement will start with hashtag “#” and then we will add “if 0” and where we need to end our code again using hashtag “#” sign along with endif. Any condition or line of code written between them will not run.
In the above blink example LED will remain ON because LOW state is not running by the program.
Conclusion
Commenting out some lines of code help to disable a specific part of Arduino code and once it is compiled that part will not be executed by Arduino IDE. Here this guide covers three different ways of commenting Arduino code. Double forward slash is the common way of commenting Arduino code however for multiline comment we can use other two methods. Also don’t forget the windows shortcut key Ctrl+/ for commenting.
Source: linuxhint.com