2 Ways to Install Git on Raspberry Pi
This article presents a detailed guide to easily install Git on a Raspberry Pi system.
2 Easy Methods for Installing Git on Raspberry Pi
Git can be installed on Raspberry Pi from two methods, which are mentioned below:
Method 1: Installing Git from the Official Repository
Git can be installed from the official Raspberry Pi repository using the apt command. To install Git through this method, follow the below-mentioned steps:
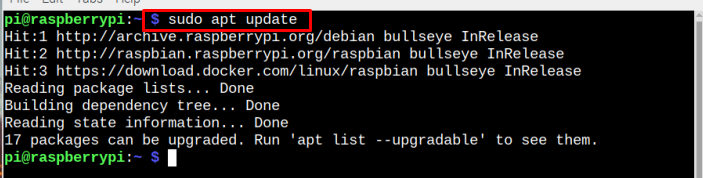
Step 1: Update and Upgrade the Repository
Before installing any package or tool from the official repository, it is always recommended to update and upgrade the repository. So, use the update command as mentioned below to first check for packages updates:
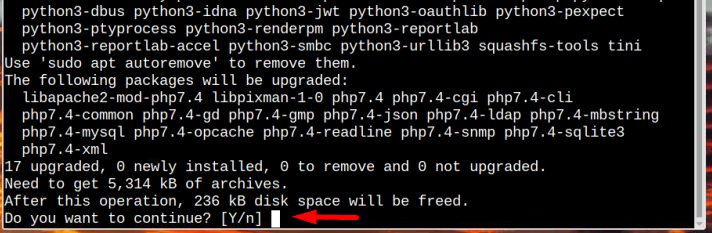
Then use the below-given command to upgrade the packages:
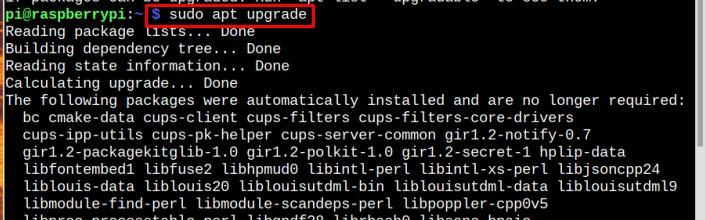
Make sure to enter “Y” to continue the upgrading process:
Once the upgrading is completed, move towards step two.
Step 2: Installing Git
After upgrading, now it is time to install Git from the official repository and for this purpose, use the following command:
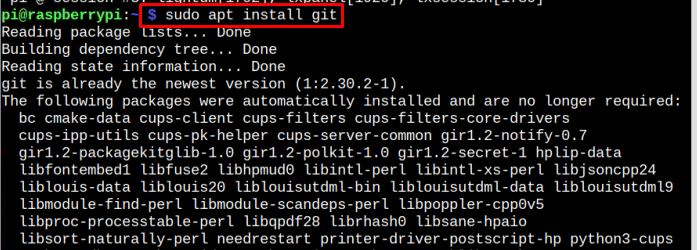
That’s it, the installation process is completed. This is the easiest and two steps method to install Git, but the only drawback of this method is that it installs an old version of Git, which is shown below using the version command:

If you want to install the latest version you can opt for the next method.
Remove Git from Raspberry Pi
To go with removing Git from your Raspberry Pi system, do it by running the following command:

Method 2: Installing Git from GitHub Source
To install the latest updated version of Git, it is preferred to install it from the GitHub source. So, to perform this method, make sure to do the following steps carefully:
Step 1: Installing Dependencies
Before installing Git from the GitHub source, there are some pre-required dependencies that need to be installed first using the below-mentioned command:

Step 2: Downloading Git tar.gz File
Then download the latest Git tar.gz file from the below-mentioned command:
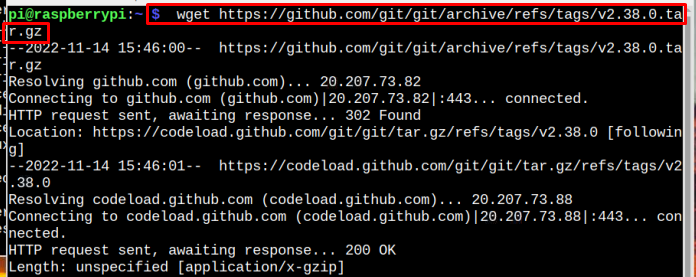
Note: Check for latest Git updates here.
Step 3: Extract the Downloaded File
After downloading, it is now time to extract the file, from the following command:

Step 4: Setting Up Git Installation
The downloading and extraction process is completed and it’s now time to set up Git on Raspberry Pi. For that, first, open the Git directory by using the below-mentioned command:

Now build the Git installation files using the below-mentioned command:
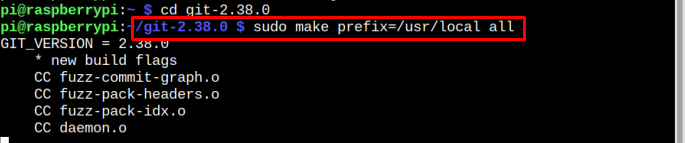
As there are a lot of files, it is going to take some time to compile all of them. Once the compilation of the file is done, follow the below-mentioned command to finally install Git:

Wait once it completes the Git installation.
Step 4: Verify Installed Version
To find out the installed version of Git, follow the below-mentioned command:

This above command also verifies the installation of Git on the Raspberry Pi system.
Conclusion
Git can be installed on Raspberry Pi from two ways; either from the official Raspberry Pi repository or through the GitHub source. Both these ways are explained in the above guidelines. Through the official repository, Git can be installed in just two steps but the installed version will be an old one. To install the latest version, follow the installation method from the official GitHub source.
Source: linuxhint.com