10 Useful Things After Installing Ubuntu 22.04 LTS
Welcome Ubuntu 22.04 and congratulations to the user community in every country! And now this is the traditional what to do after installing Jammy Jellyfish we’d love to present to everybody. We hope this helps you a lot!
Subscribe to UbuntuBuzz Telegram Channel to get article updates.
Getting Started to the New Ubuntu
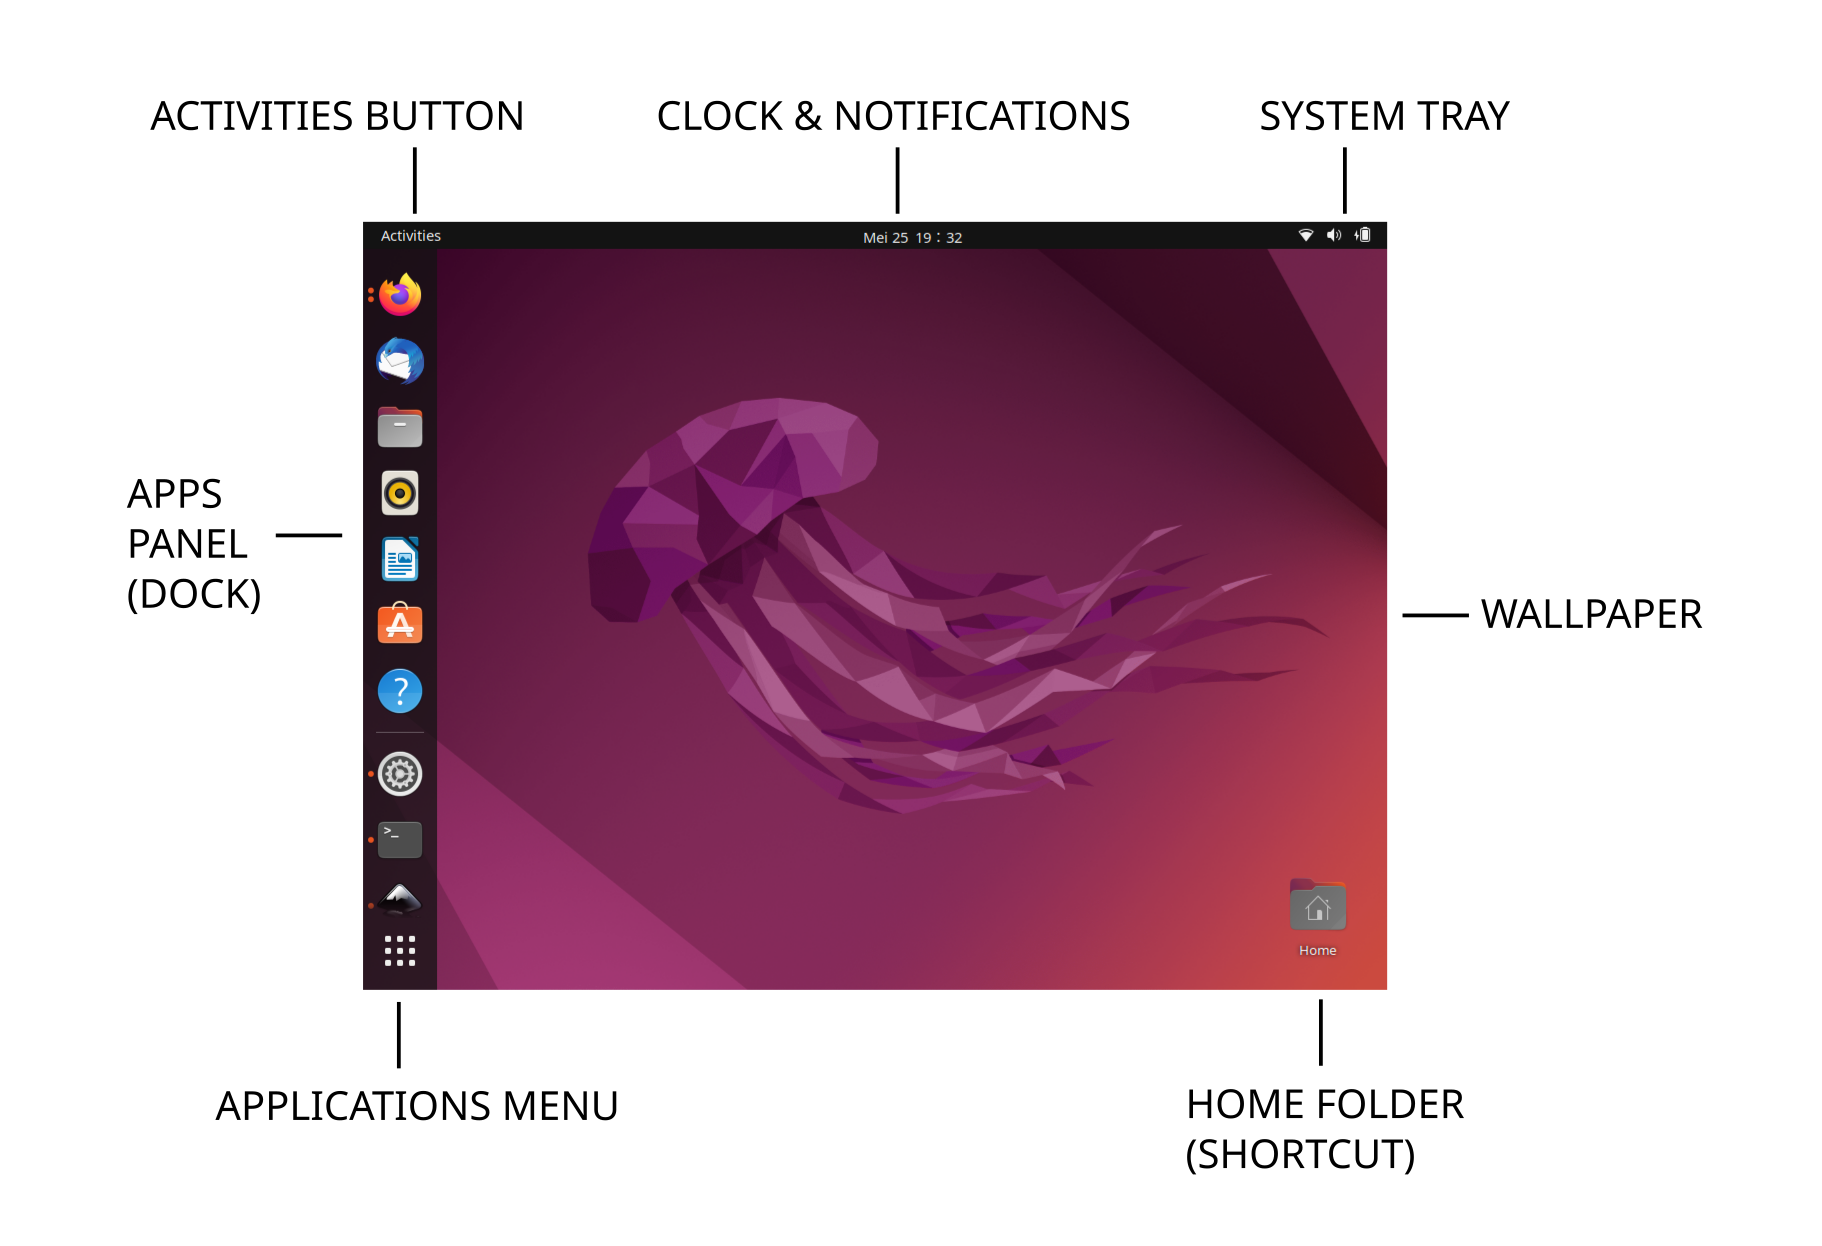
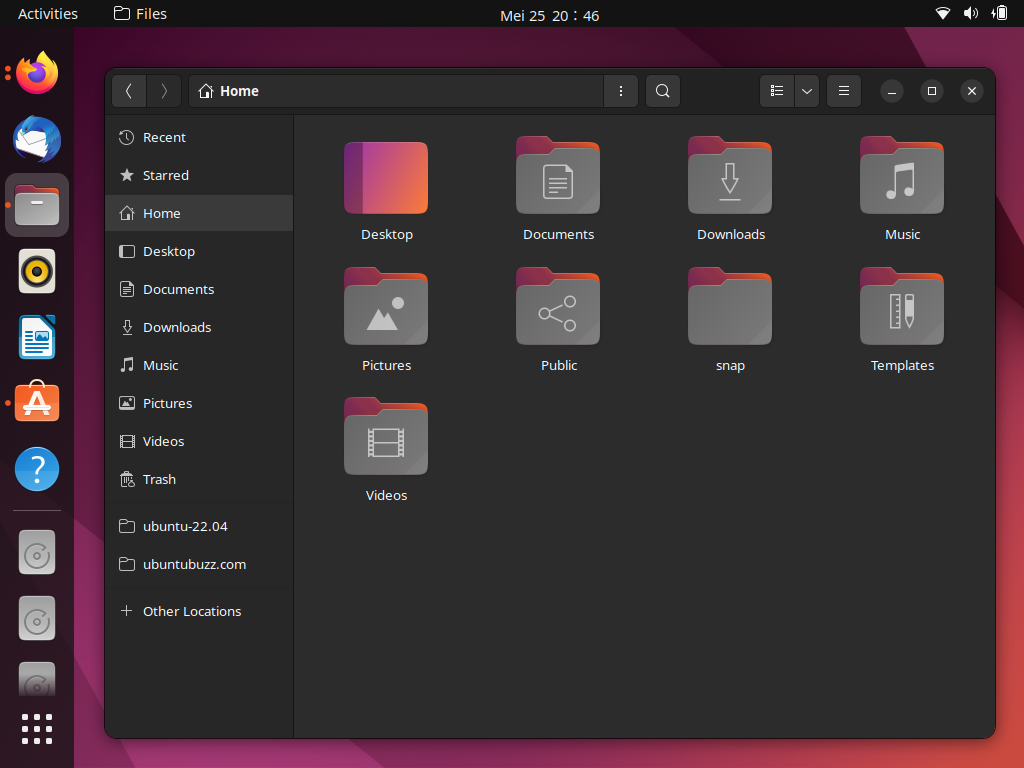
Today, user runs a standard Ubuntu more or less like below:
Step 1. Click Applications Menu.
Step 2. Click one application. Or, search for it.
Step 3. Application runs.
Step 4. Repeat 1-3 to run another applications.
Step 5. Click Activities Button to show all and switch between running apps.
Step 6. Do number 1 or 5 to move an app to another workspace conveniently.
As for the explanation, please have a look to diagrams we prepared below.
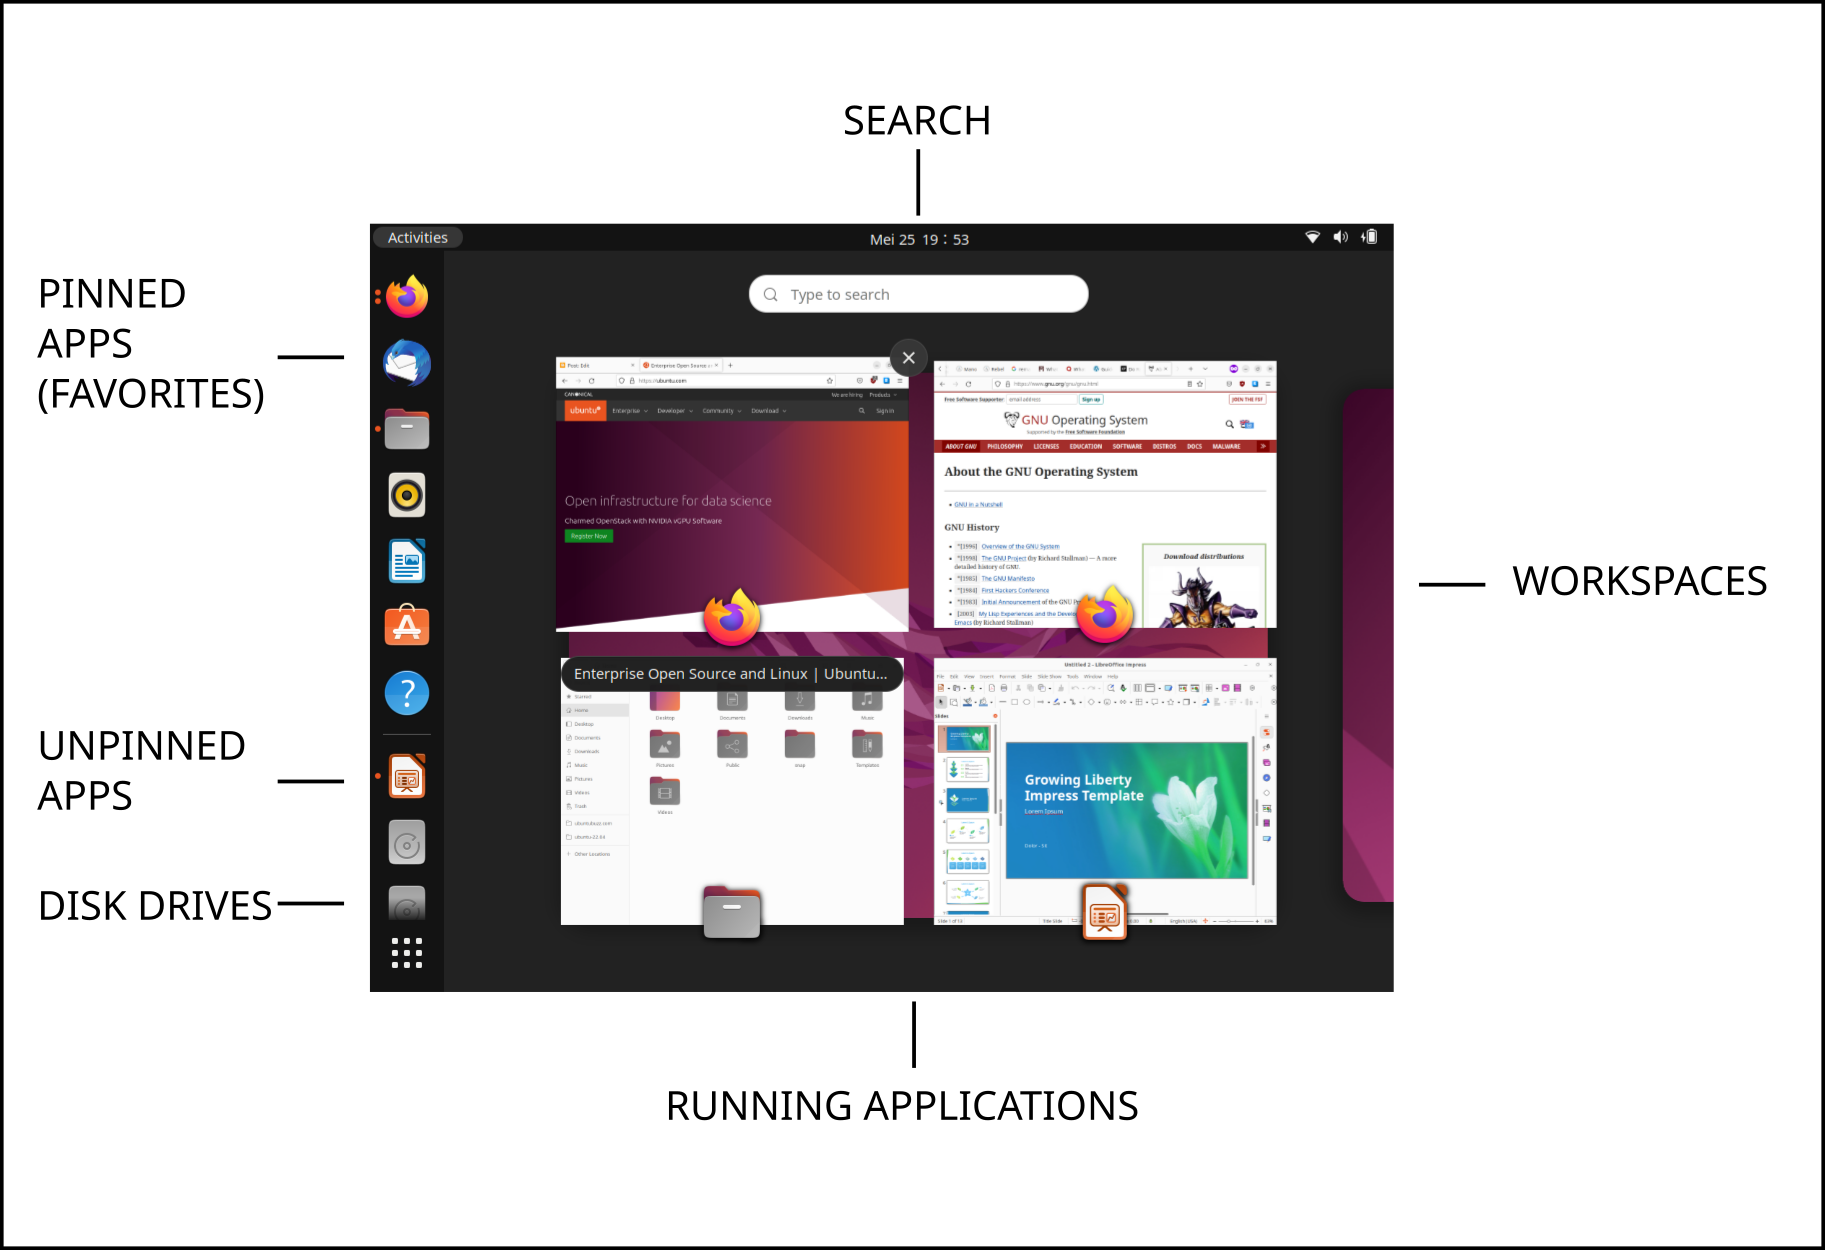
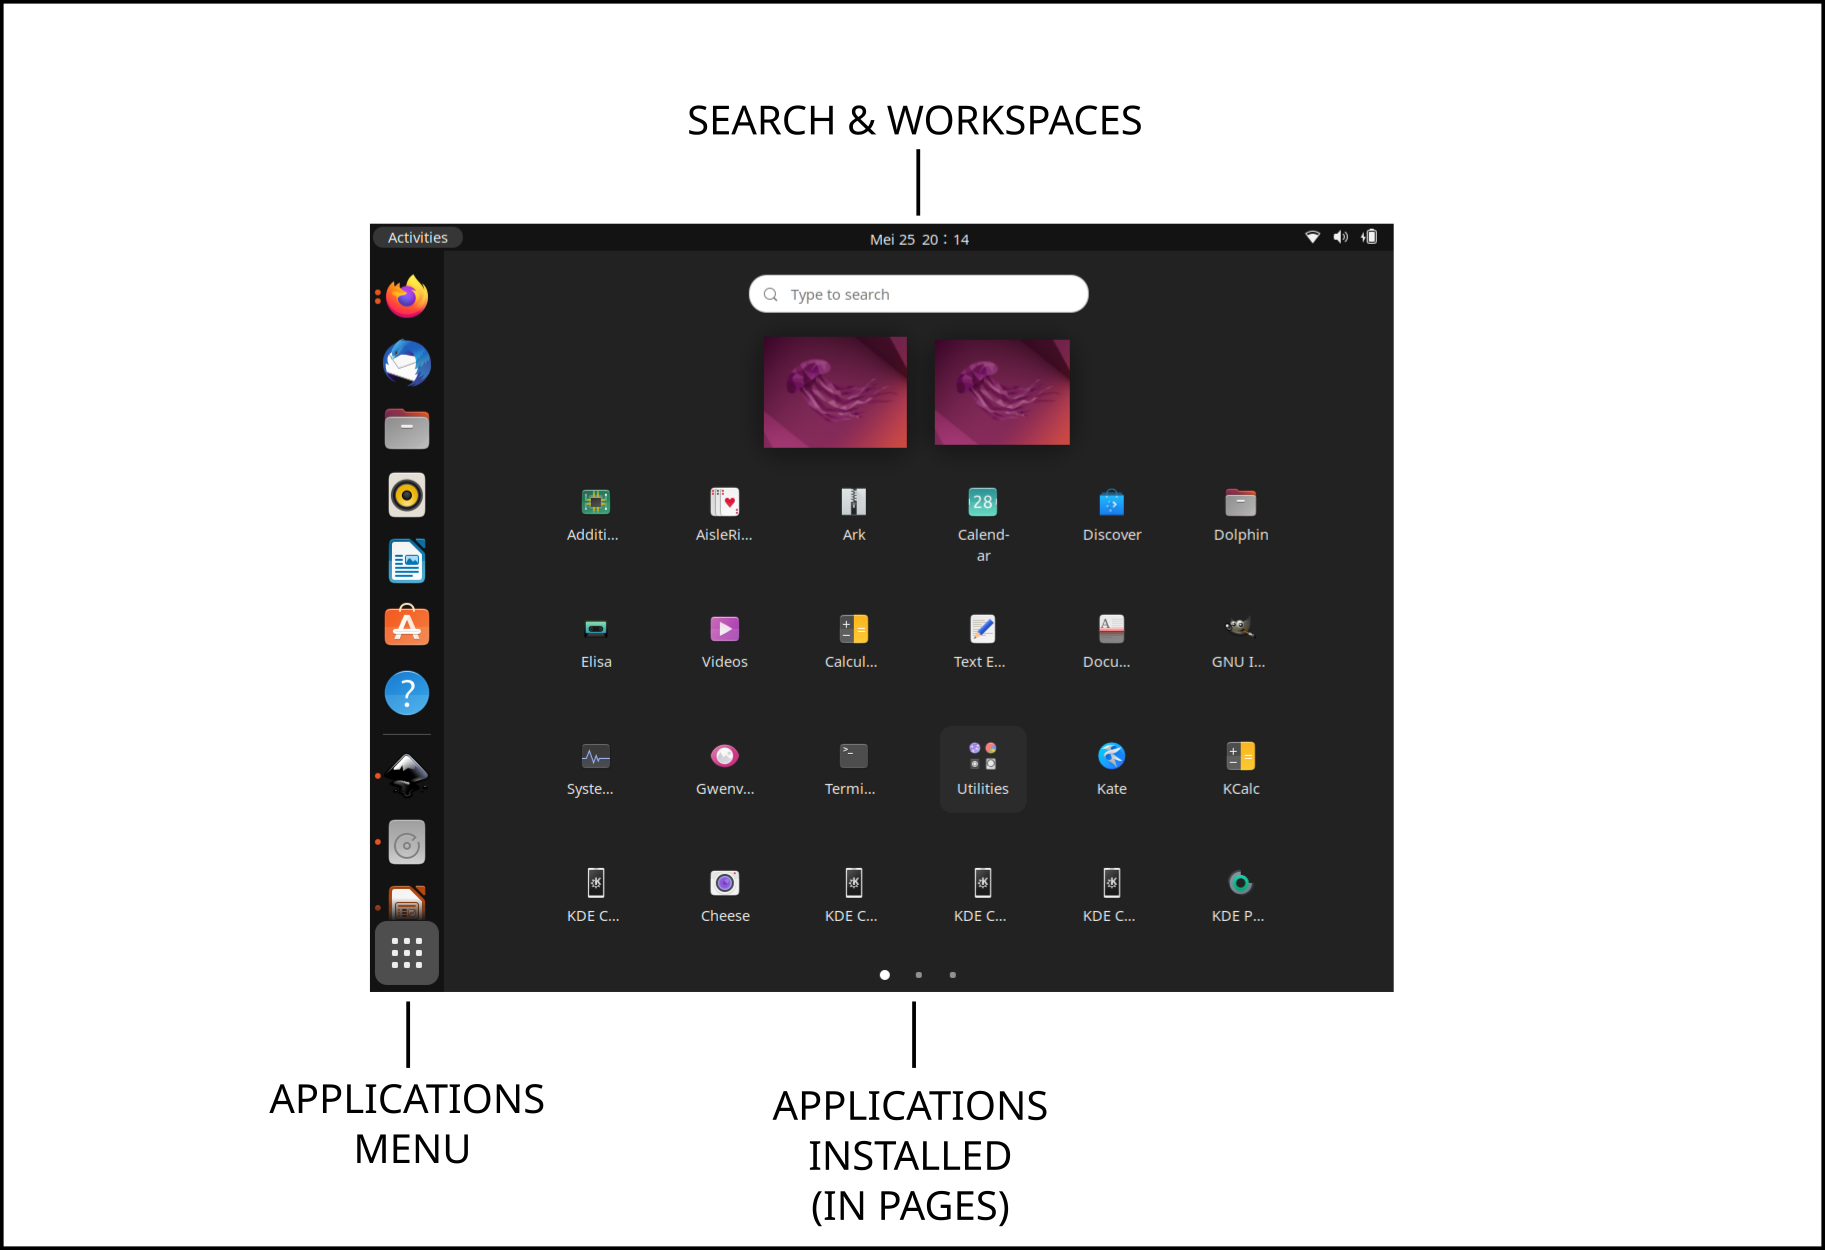
Applications Menu: when pressed, your applications are presented like below:
Enable Automount and Make Shortcuts

Step 1. Run Disks.
Step 2. Select your main hard disk drive.
Step 3. Select a disk partition.
Step 4. Click Gear Button (Additional Partition Options) > Edit Mount Options.
Step 5. Disable the first option > give display name, for example, “DATA PARTITION” * > give mount point “/media/master/data” ** > OK > insert your password.
*) Change it to your own partition name.
**) Change ‘master’ with your username.
Step 6. Restart to see the changes. To make the others automatically mounted too, repeat step 1-5 for them.
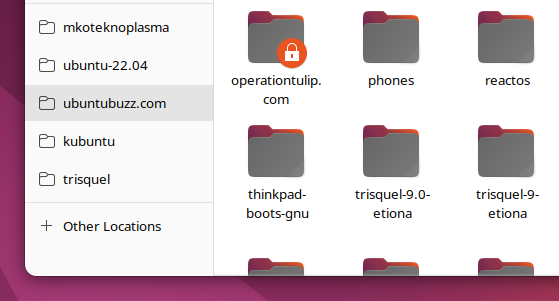
Step 7. To make a shortcut, open a folder > click triple dots on the address bar > Add To Bookmarks > shortcut created on the left panel.
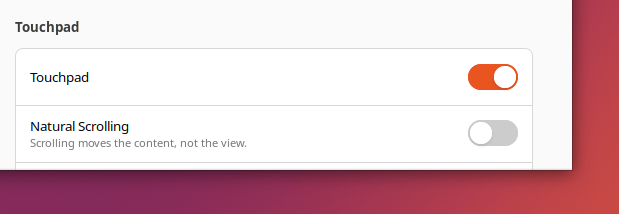
Change Touchpad Direction
On default configuration, Ubuntu uses ‘Natural Scrolling’, which is not suited to laptop’s users, as scrolling up does not mean go up but down instead, and vice versa. If you want to change it, then please do:
Step 1. Run Settings.
Step 2. Open ‘Mouse & Touchpad’ page.
Step 3. Disable ‘Natural Scrolling’ option by clicking it once.
Step 4. Try scrolling with touchpad. Did it work as you wish?
Enable Dark Theme etc.
Ubuntu 22.04 features Dark Theme already and to enable it:
Step 1. Run Settings.
Step 2. Open Appearance page.
Step 3. Under ‘Style: ‘ section, Select Dark Theme.
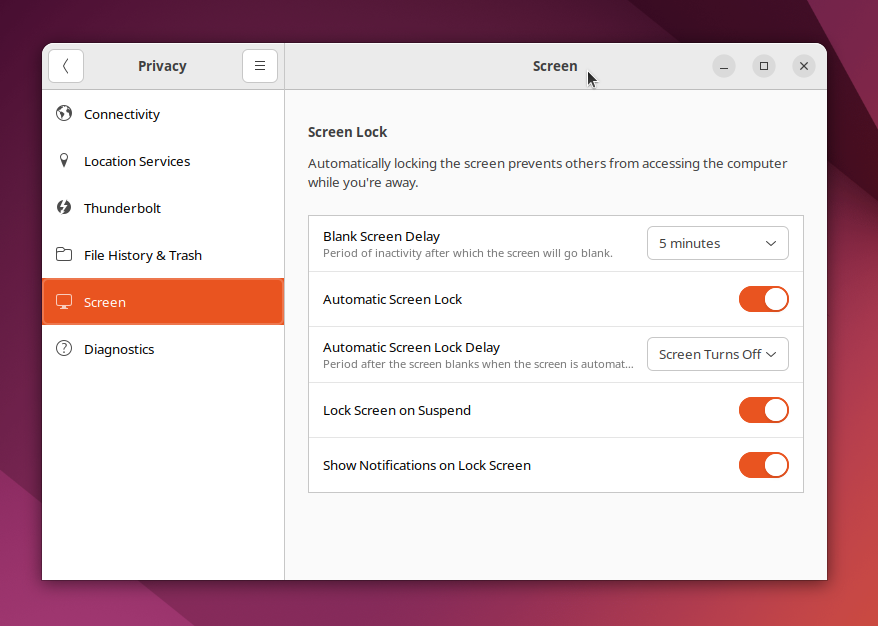
Protect Your Privacy
Ubuntu provides built-in privacy protection as the following:
Step 1. Run Settings.
Step 2. Open Privacy page.
Step 3. There you can adjust several options, for example, enabling Screen Lock after several minutes of idle. This will help protect your computer when you are away for a while.
Equally important, you can consider these privacy tips:
– Enable adblock: install uBlock Origin.
– Enable browsing protection: install HTTPS Everywhere.
– Enable DNS encryption: follow DNS over HTTPS (DoH) tutorial.
– Enable even stronger DNS encryption: follow DNS Over TLS (DoT) tutorial.
– Have a good password manager: use KeePassXC on Ubuntu (see tutorial here).
– Consider to switch search engine to Startpage or DuckDuckGo.
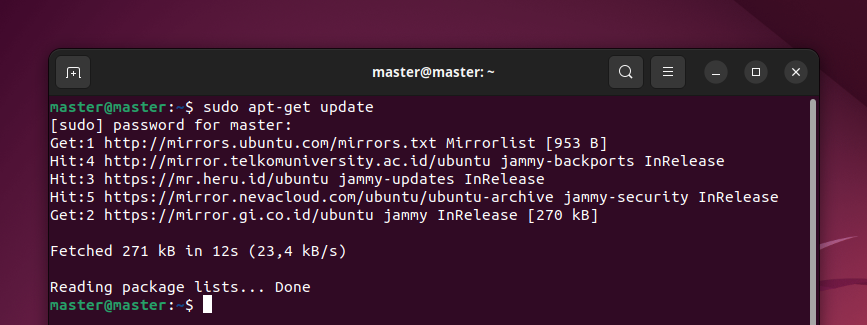
Taking Care of Software Repository
As a tradition to all Ubuntu users, after we installed the OS, we usually refresh the OS’ repository.
Step 1. Run Terminal.
Step 2. Press Enter after typing command line below.
$ sudo apt-get update
Step 3. Wait for the process to finish.
Step 4. If you’re not satisfied with the download speed, run Software & Updates from start menu.
Step 5. Under ‘Download from ‘ section, select the top most mirror choice and click OK and then repeat Step 1.
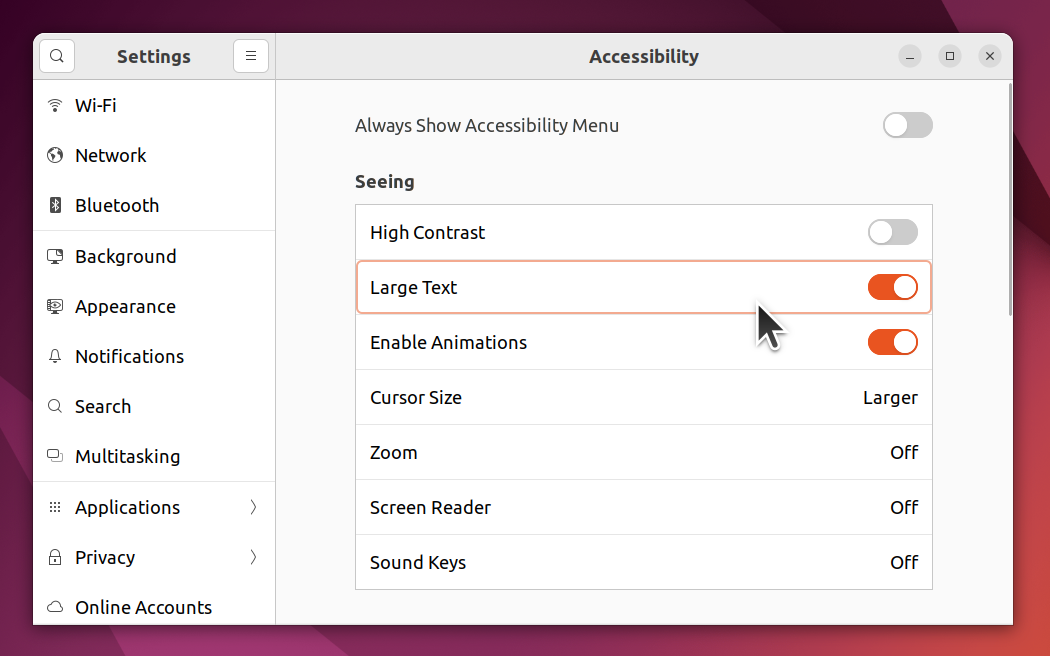
Enlarge Fonts
Useful for older people and online classrooms, as usually we feel that small text size on screen hinder visibility, so the solution is to enlarge them:
Step 1. Run Settings.
Step 2. Find Accessibility.
Step 3. Enable / disable ‘Large Text’ option.
Step 4. Additionally, click Cursor Size and select a larger one if you wish.
Setup Printer and Other Hardware Devices
To install a printer, for example, follow Canon MP160 guide.
To scan, for example. follow Canon MP160 scanning guide.
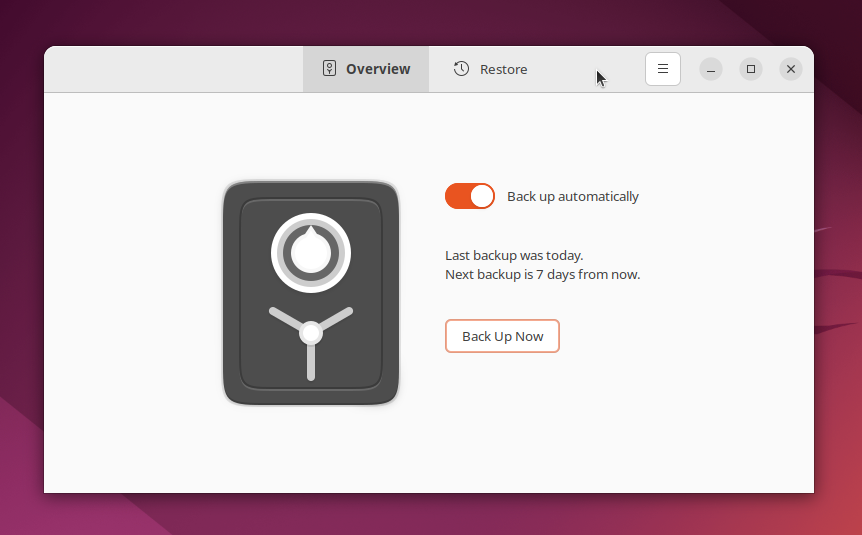
Enable Backups
Ubuntu 22.04 is able to do automatic backup for your data and send the copy to either Google Drive, Local Network, or simply your Hard Drive. For example, to make computer does backup regularly once a week:
Step 1. Run Backups from applications menu.
Step 2. Click Create My First Backup.
Step 3. Select a folder to backup from.
Step 4. Select a storage location, for example, select Local Folder > Data Partition.
Step 5. Select Allow Without Password, otherwise create a password if you want.
Step 6. OK.
Step 7. Enable Backup Automatically option.
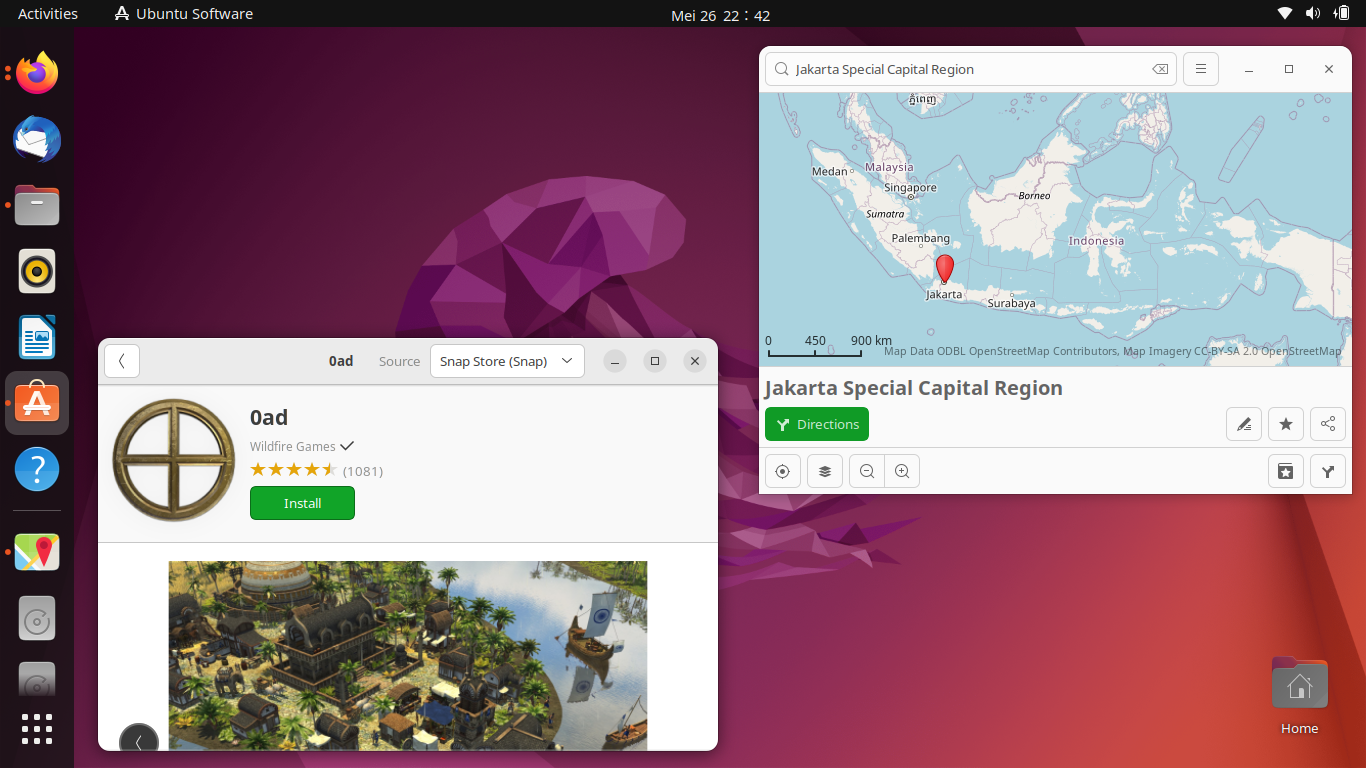
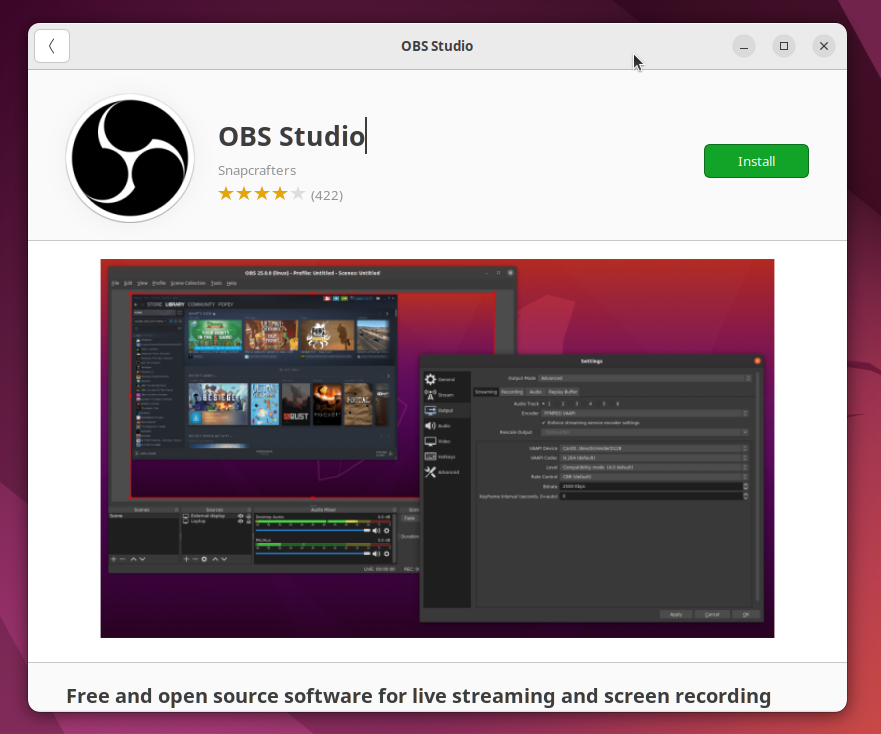
Get More Apps and Games
Ubuntu offers more than 70000 software packages, including video games, in its repository and they’re offered to you via Ubuntu Software. To install some applications:
Step 1. Run Ubuntu Software.
Step 2. Let it initializes itself.
Step 3. Once it displays some applications, you are ready.
Step 4. Type application name or game you want then press Enter.
Step 5. Ubuntu Software will display the application.
Step 6. Click Install button.
Step 7. Once installed, run the application from the start menu.
Want some recommendations? Please read our 2019 recommended apps list here.
Learn More About Ubuntu
We believe you will like our Ubuntu Full Guide for Beginners from the Basics.
Join Ubuntu Community
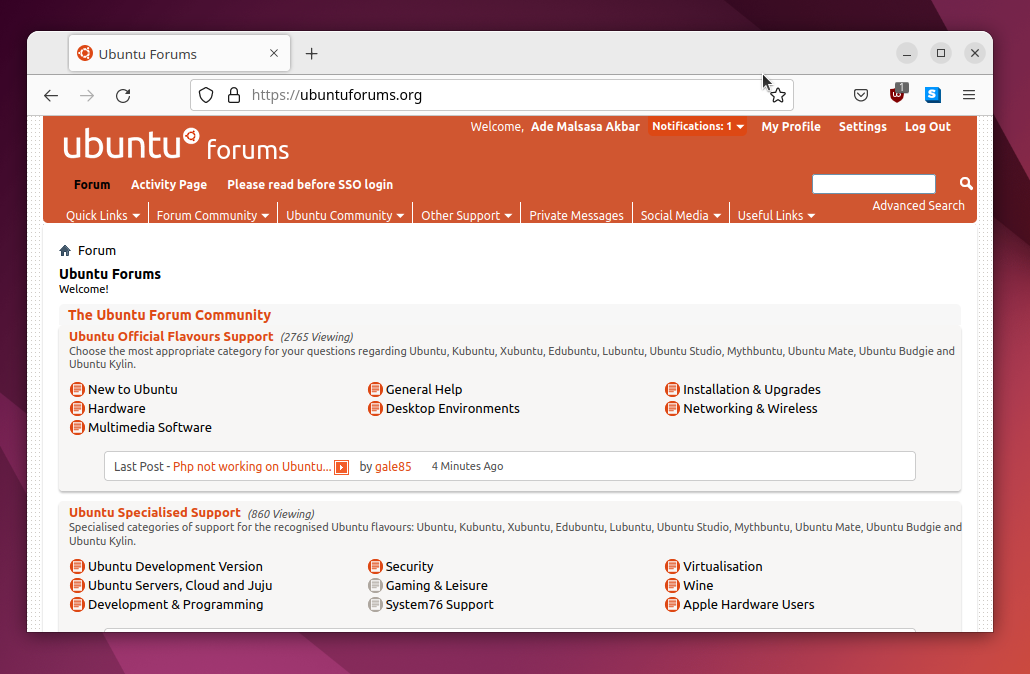
Ubuntu is a large, worldwide Free Libre Open Source Software (FLOSS) community consists of many of both local and international people where everyone is allowed to join. That being said, chances are there is at least one Ubuntu Local Community (LoCo) at your place, at your country, you could meet in person. Finally, feel free to Join https://ubuntuforums.org.
This article is licensed under CC BY-SA 3.0.
Source: Ubuntu Buzz !